


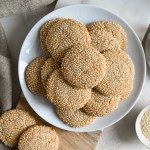


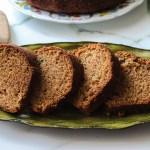


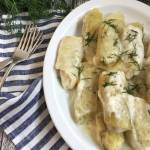


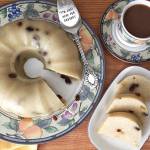


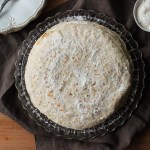


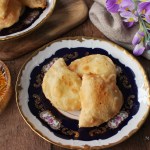


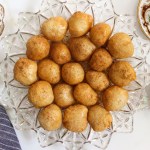


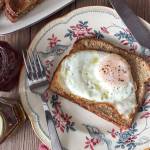


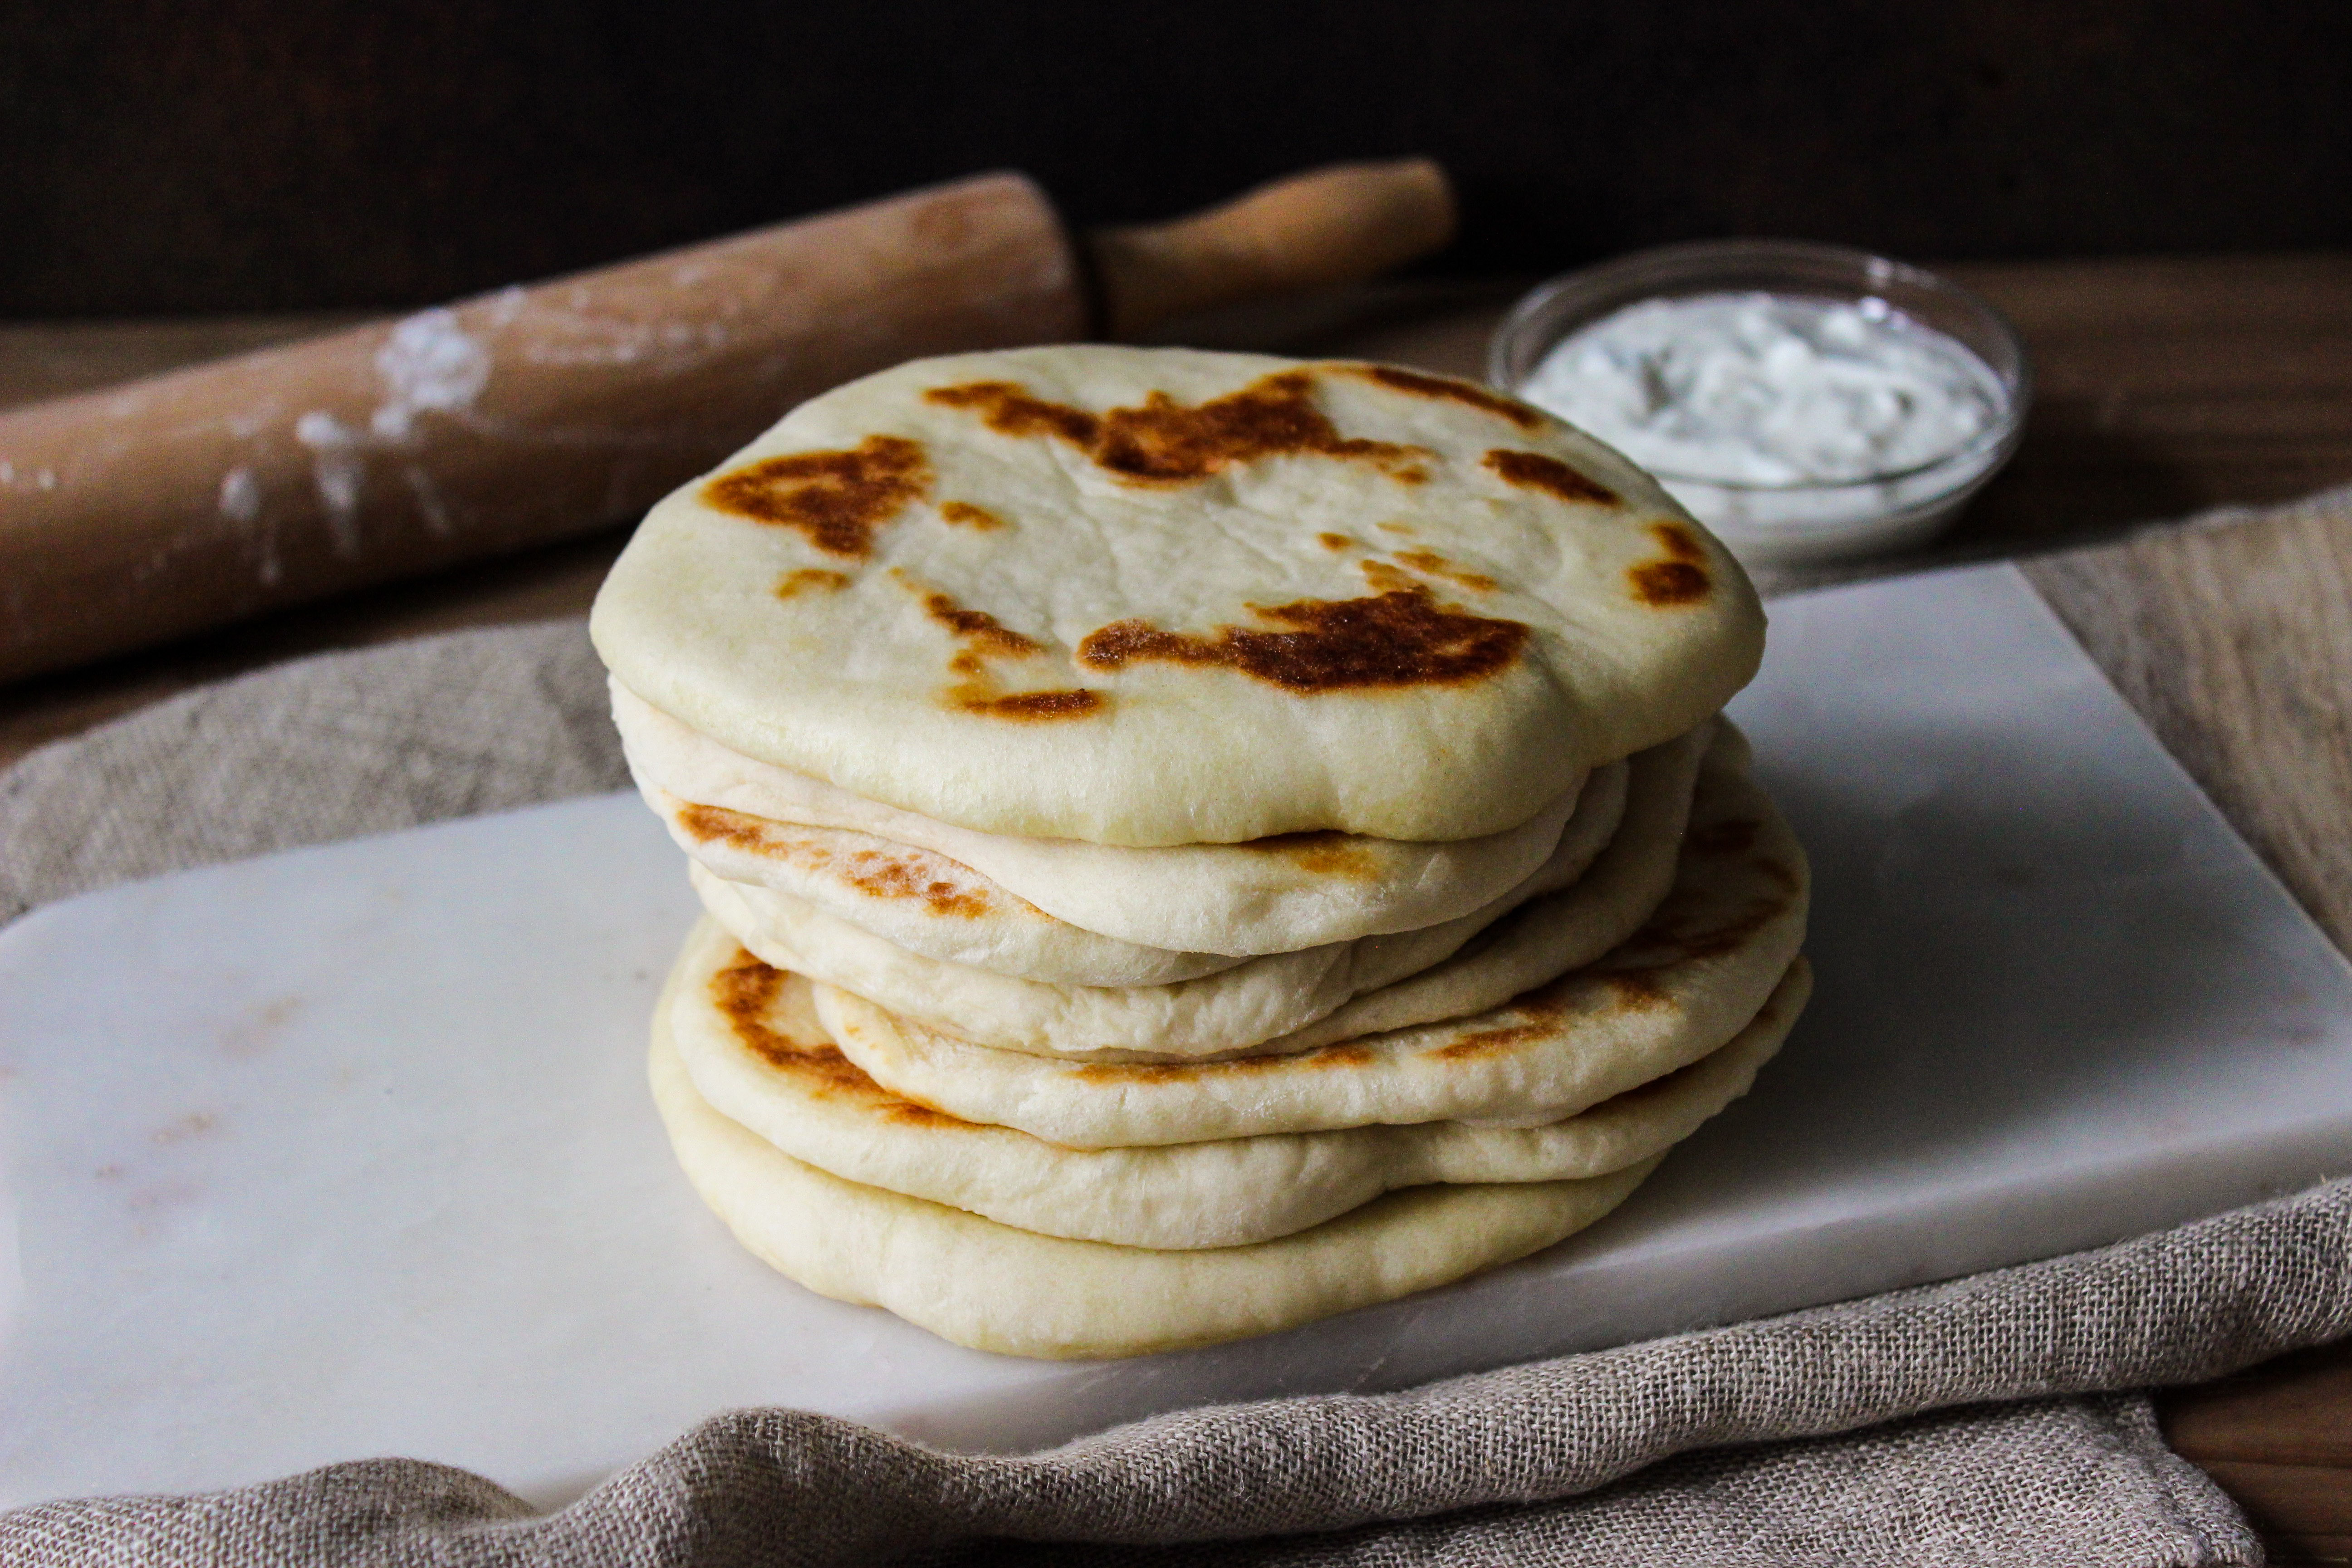
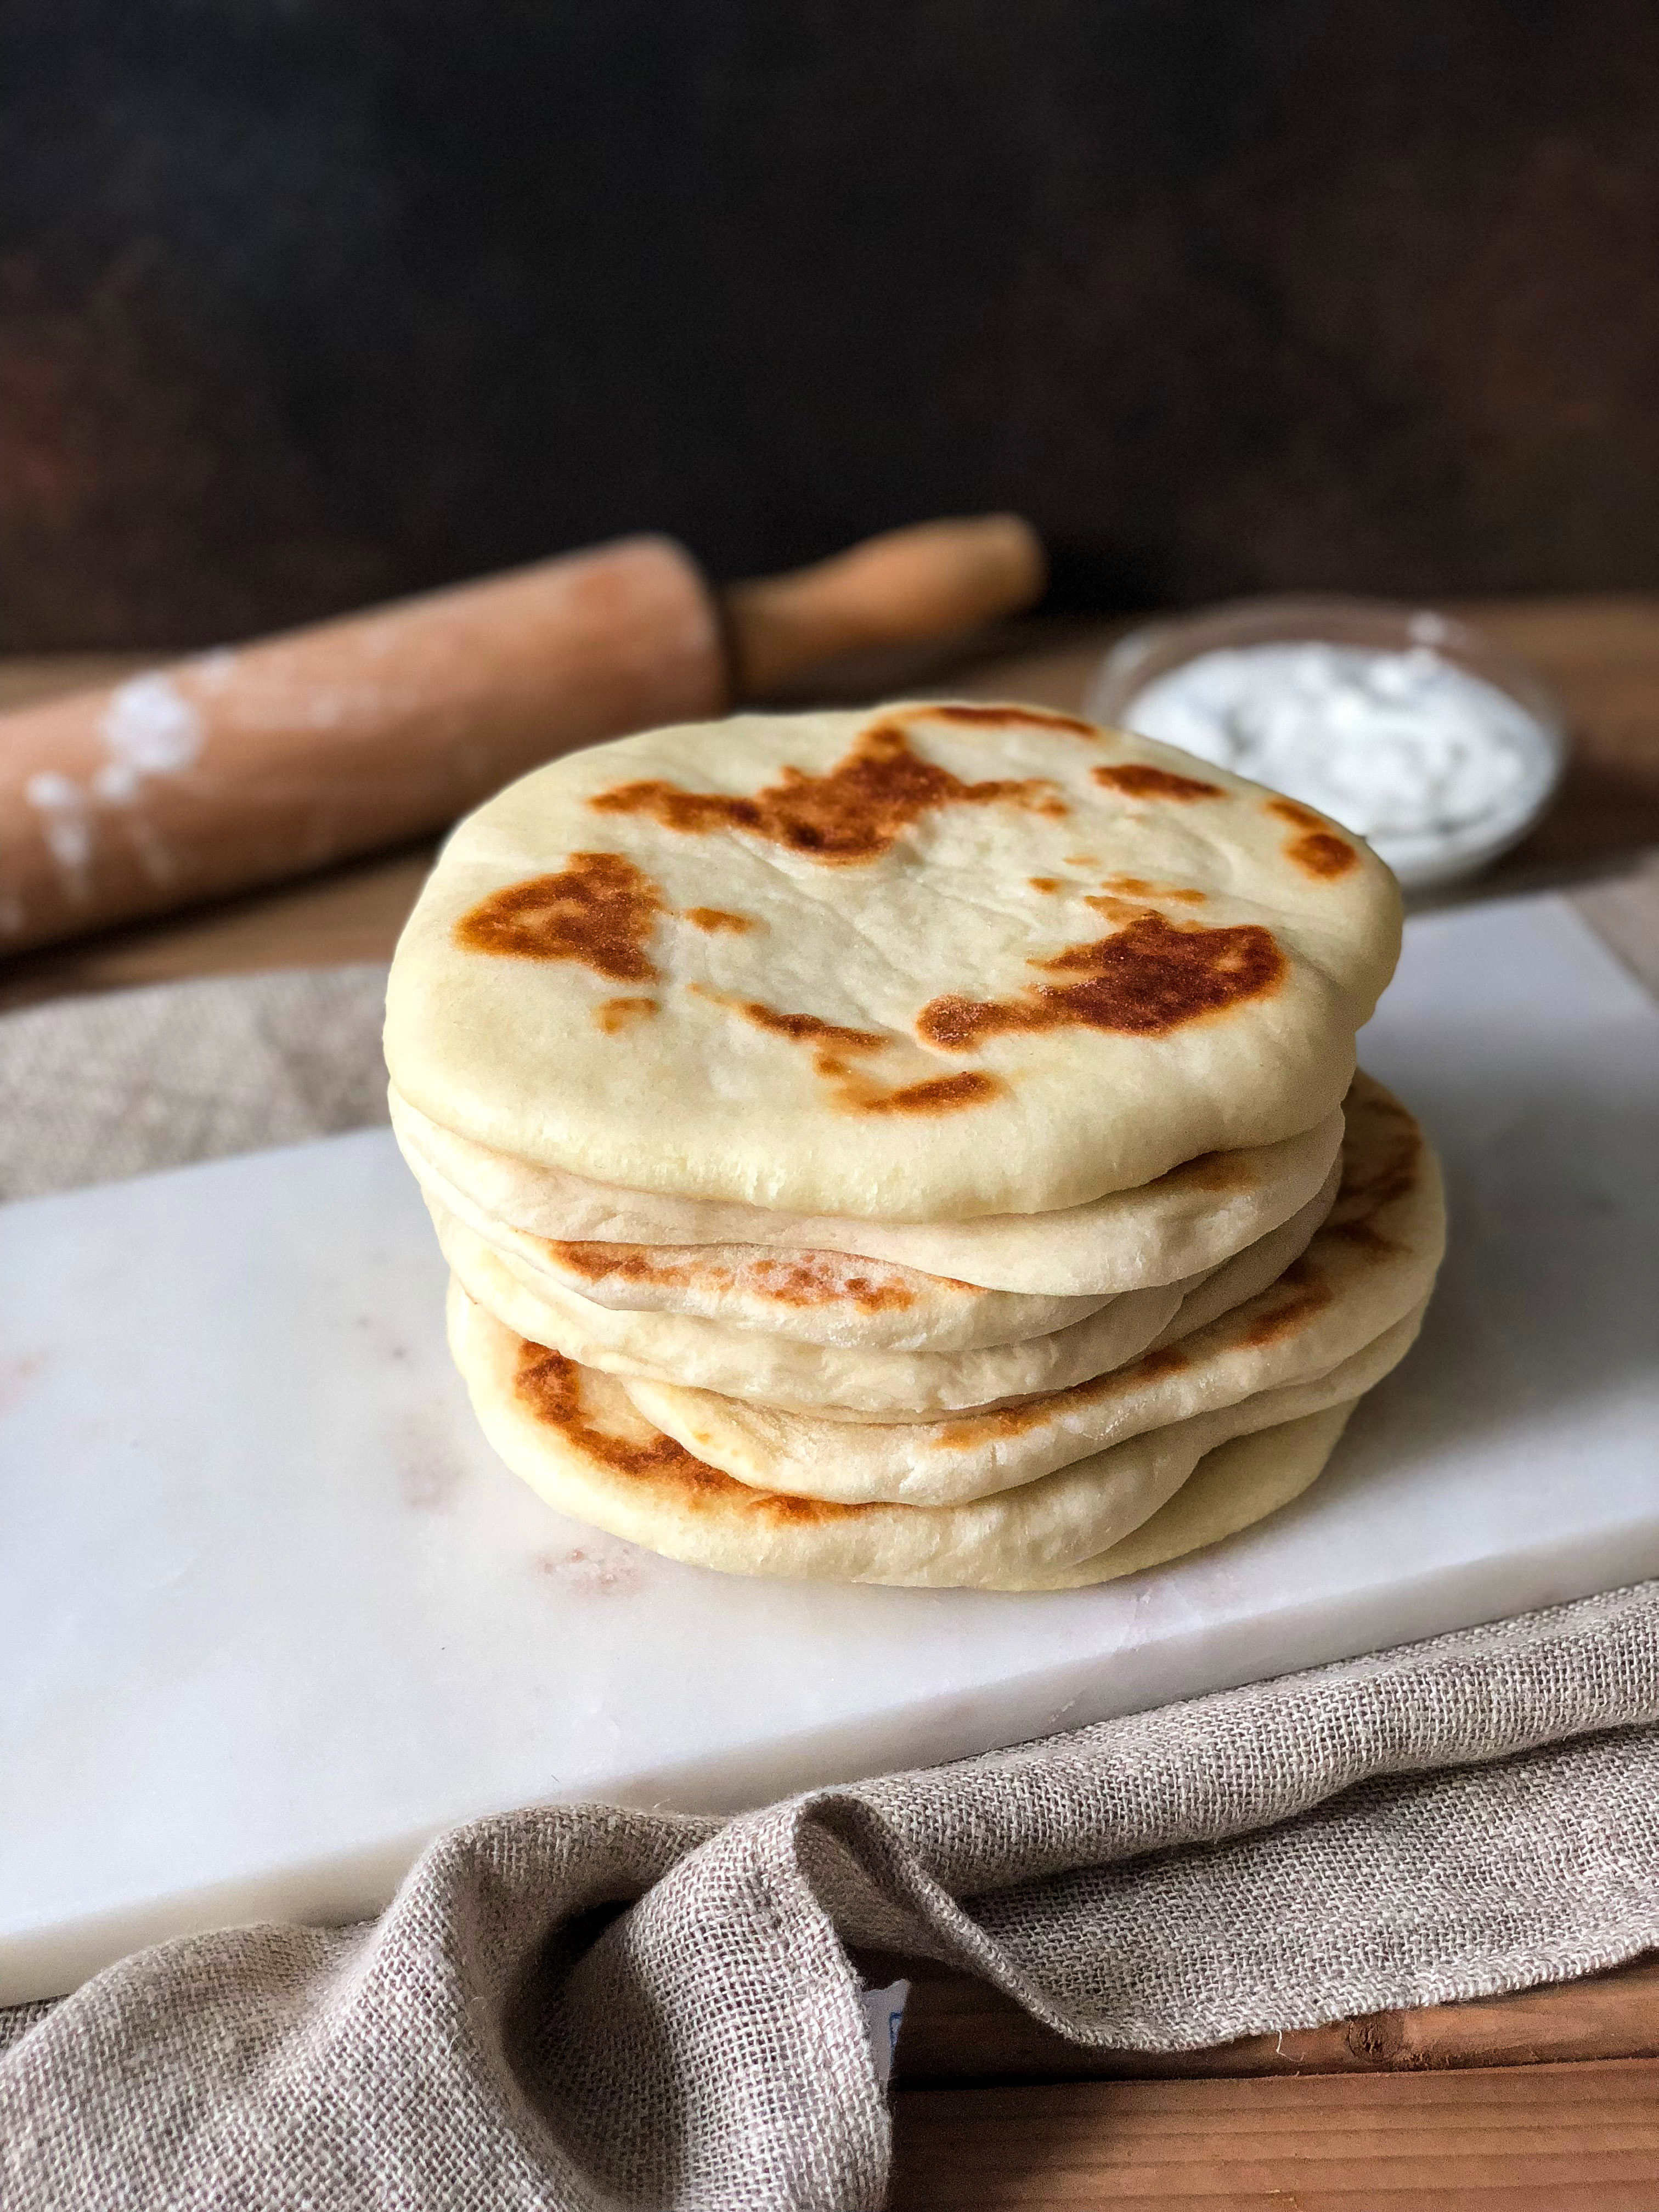
Soft and kind of fluffy pita bread
The French have the baguette, Mexican cuisine has the tortilla, Indian aloo gobi gets sopped up with soft, pillowy naan bread, and if you’ve every treated your palate to Ethiopian food you’ll likely remember using the pancake-like bread called injera to scoop up every bite you took. Every culture, every cuisine, seems to have a variation of some cereal or grain based bread that is quintessentially their own. For Greeks, that is the pita.
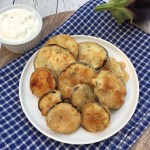
Oh sure, Greek kitchens and bakeries and farmhouses and village stone ovens produce many other types of baked breads, like kouloures and lagana, but in our humble opinion, nothing beats pita bread. Pita is what you use to wrap around a souvlaki, to dip into tzatziki and to scoop up eggplant dip (melitzanosalata). Greek pita is the original pita pocket; split a pita apart and fill the cavity with feta and your whole being will be happy. Pita is a great breakfast-on-the-go when that handy pocket is filled with scrambled eggs, and best late night snack when smeared with some peanut butter, the way one of our xeno husbands likes it.
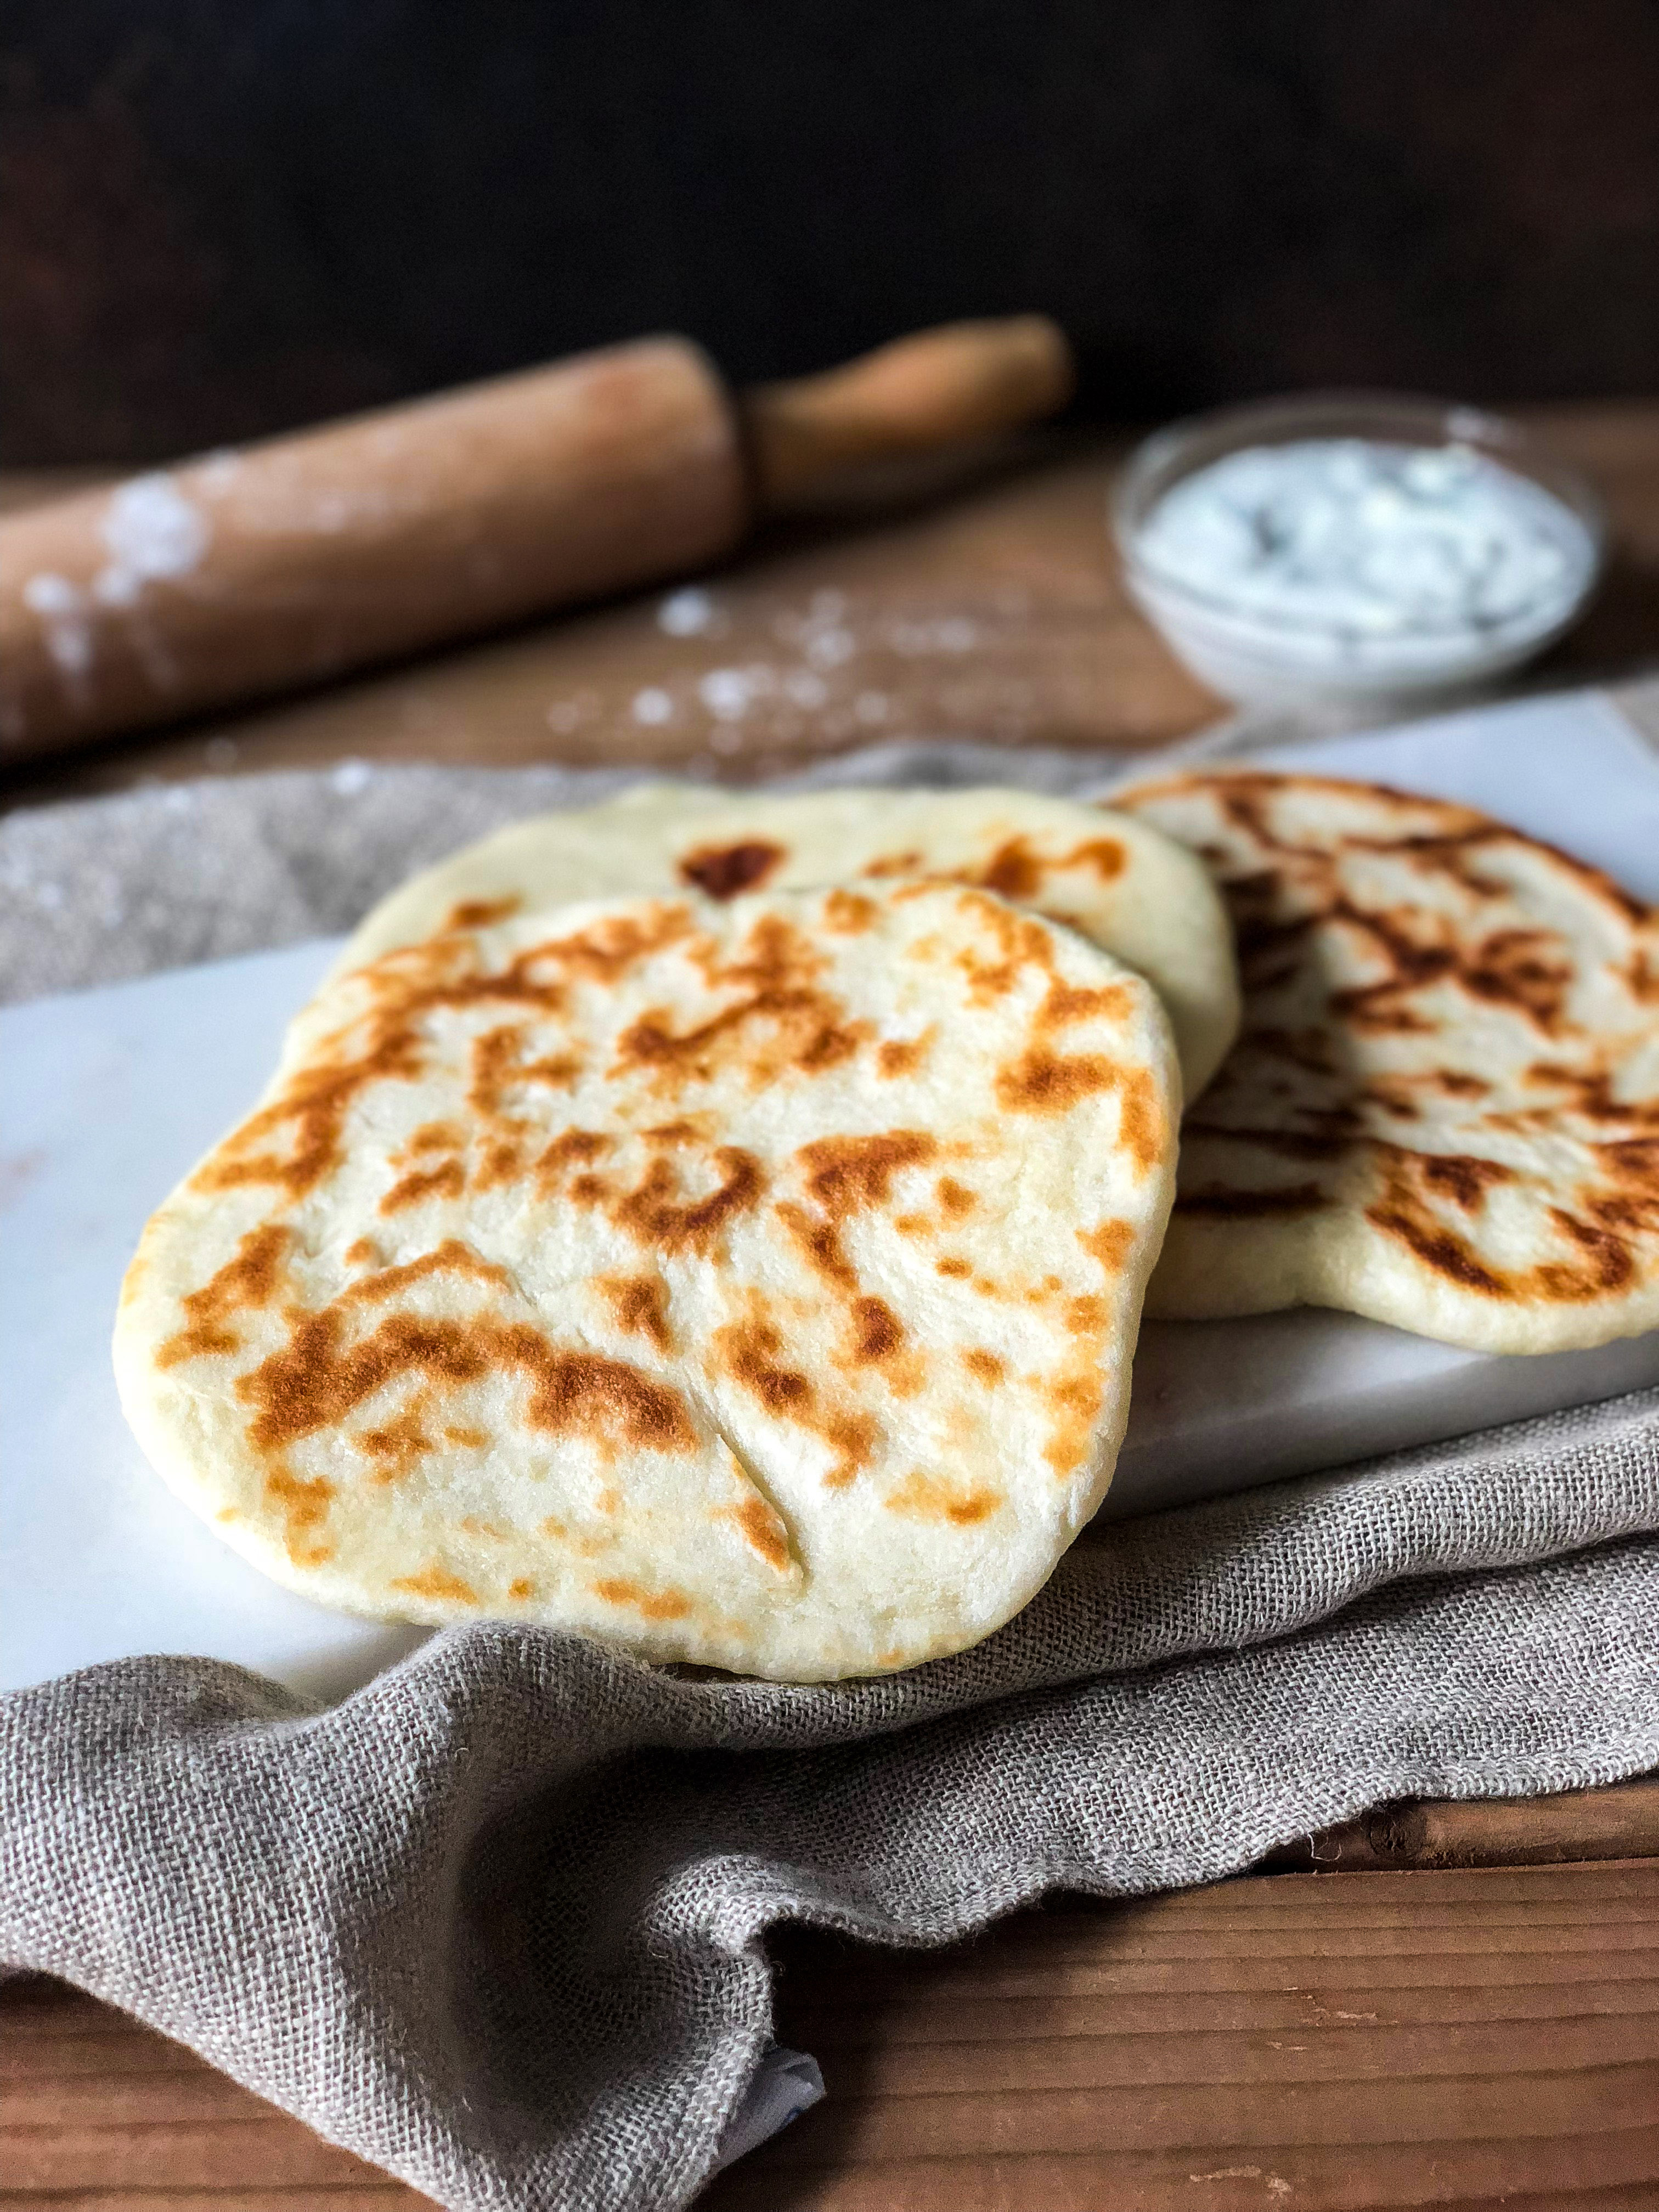
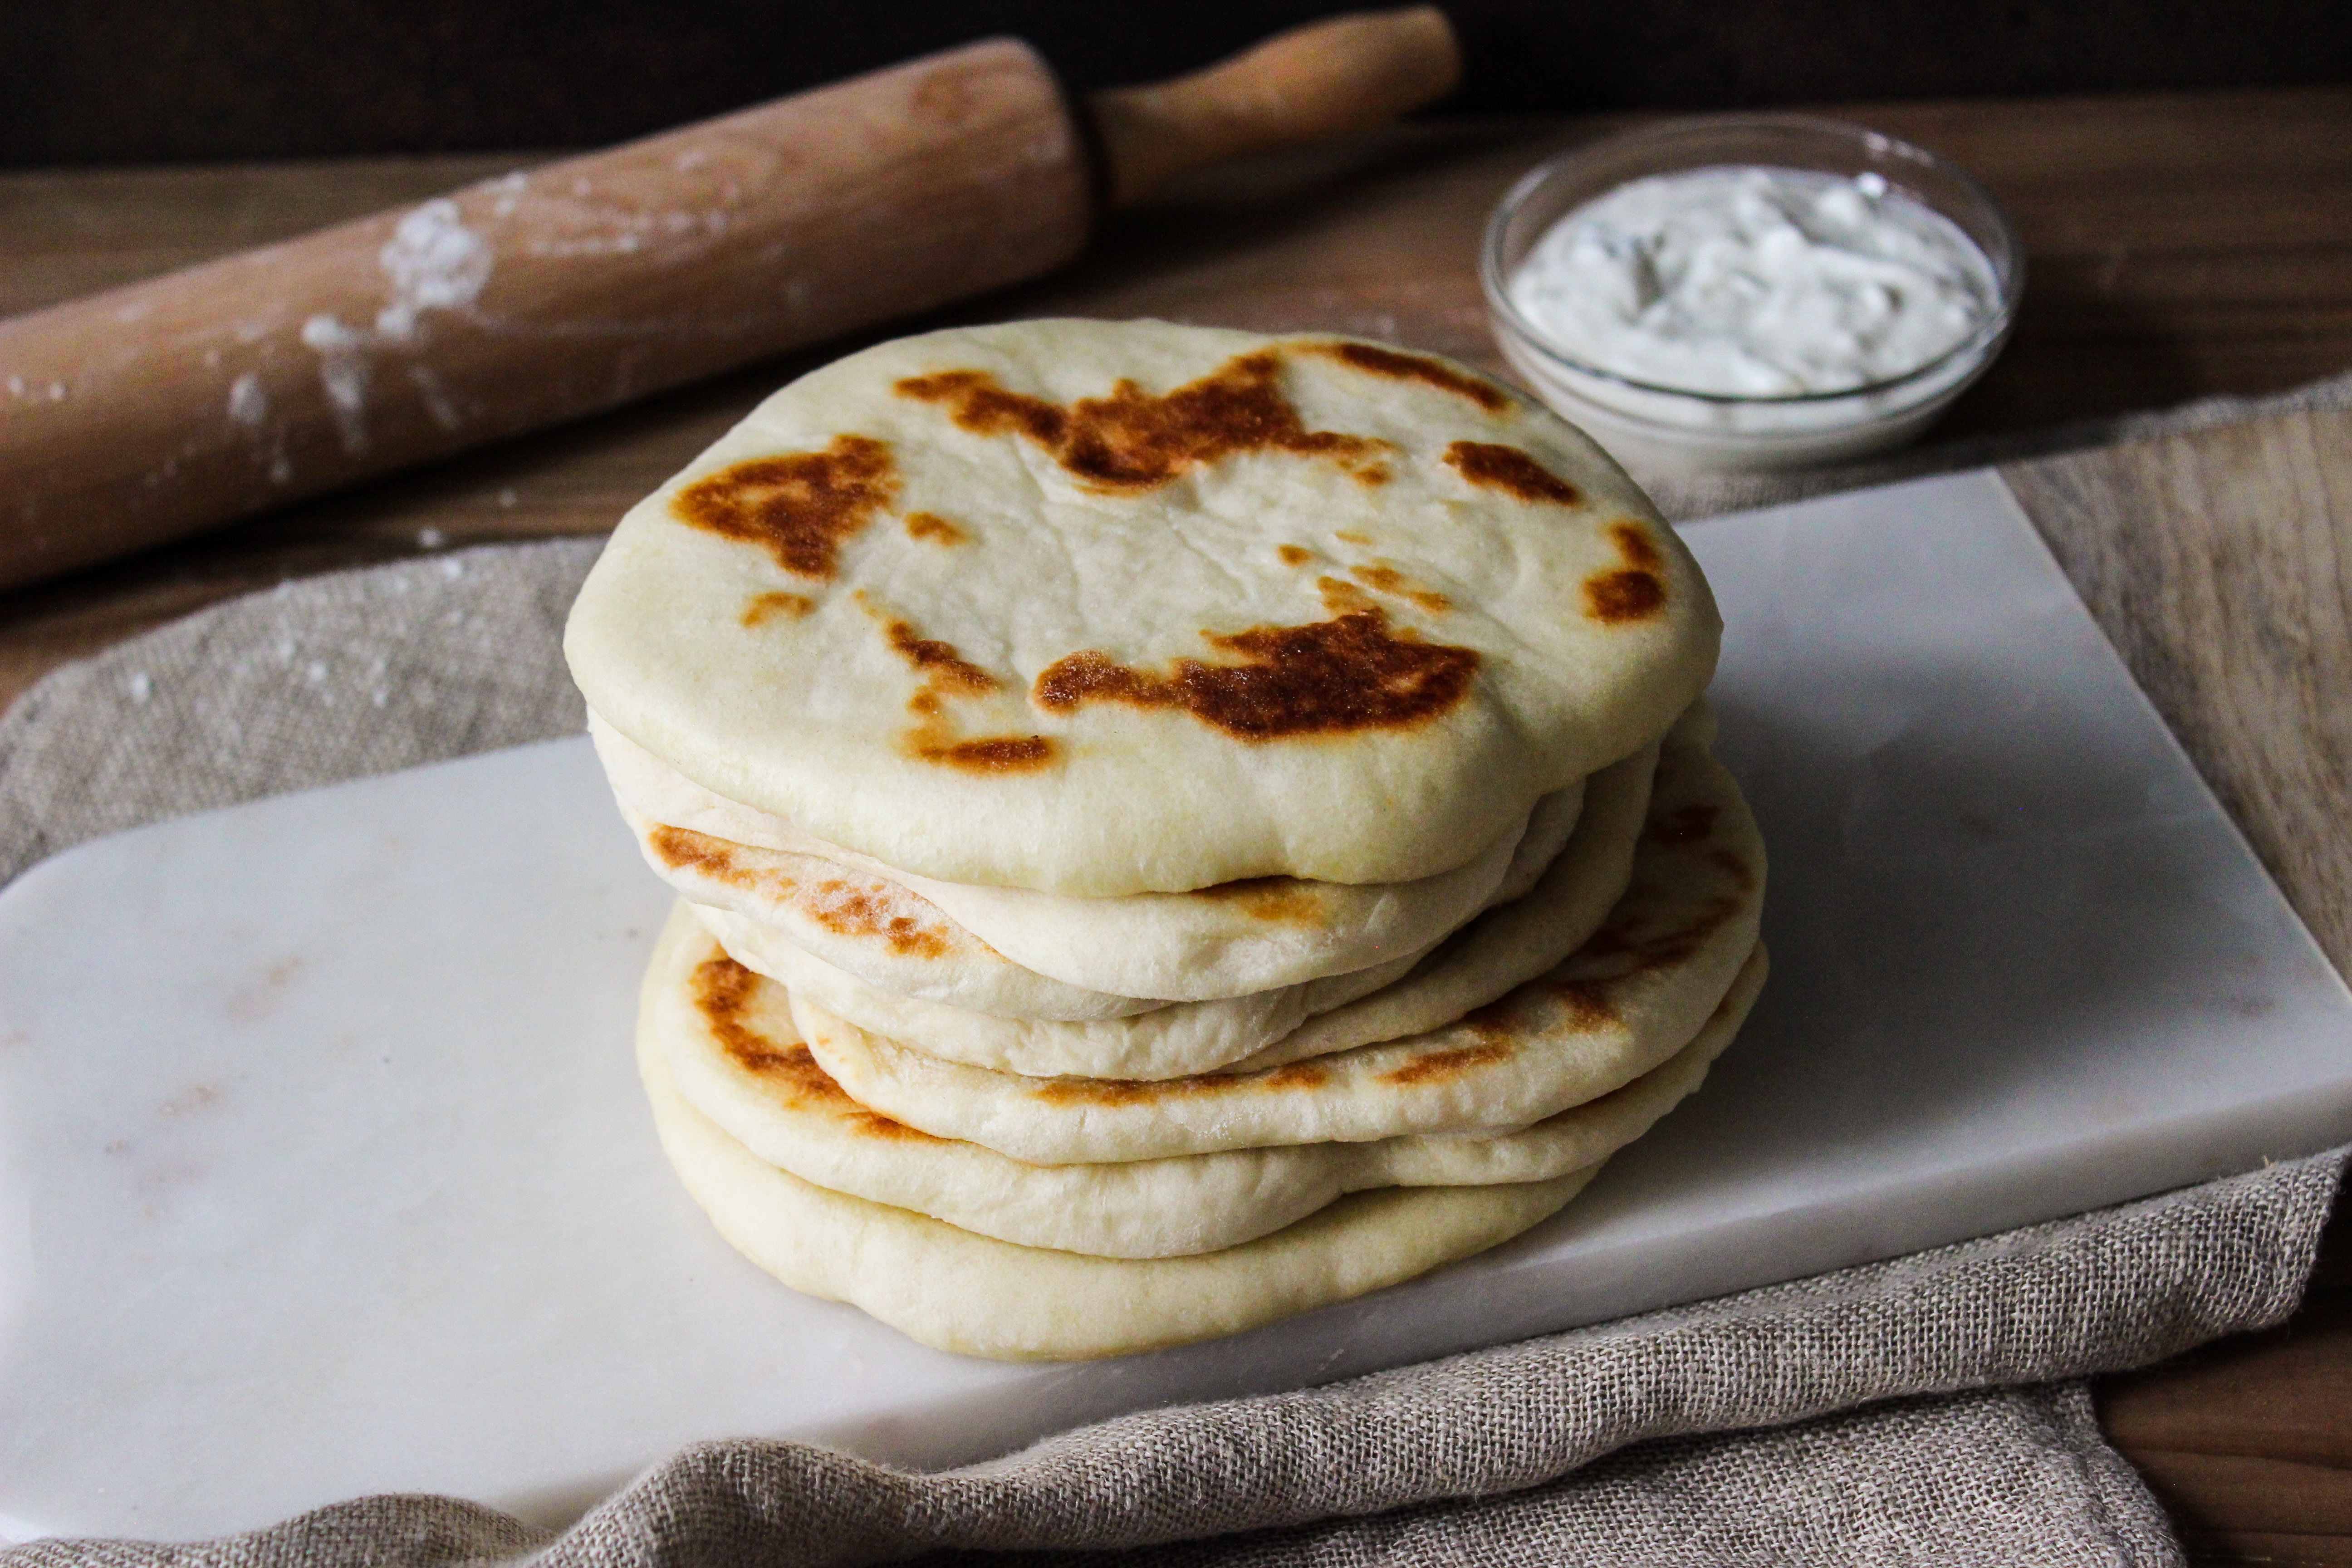
Making your own pita bread is actually very easy; the longest part is in the rising time for the dough. The actual shaping of the pita and the cooking are easy and frankly, quite fascinating. When you see a huge air pocket puff up, it’s magical…this is ideal friends; however, don’t worry if you only get mini air pockets, the pitas will still be fluffy, they will still be delicious, and will be great to dip into your favourite sauce.


Helpful hints
This recipe requires dry yeast. As with all recipes calling for yeast, it is really important that you note the expiry date on the container. If your yeast is past its expiry date, or if there is no bubbling when you mix the yeast with the water, you may as well toss it.
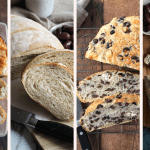
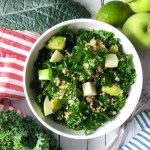
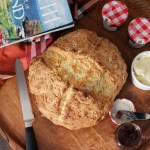
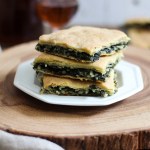
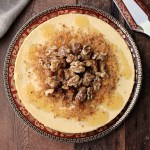
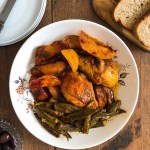
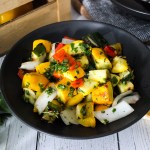
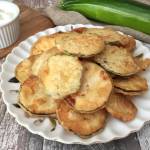
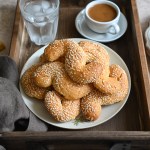
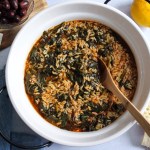
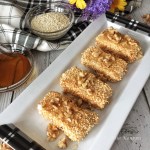
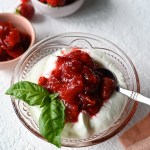
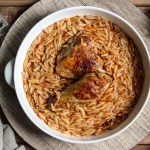
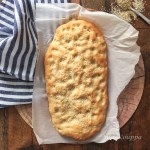
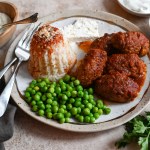
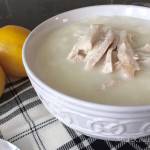
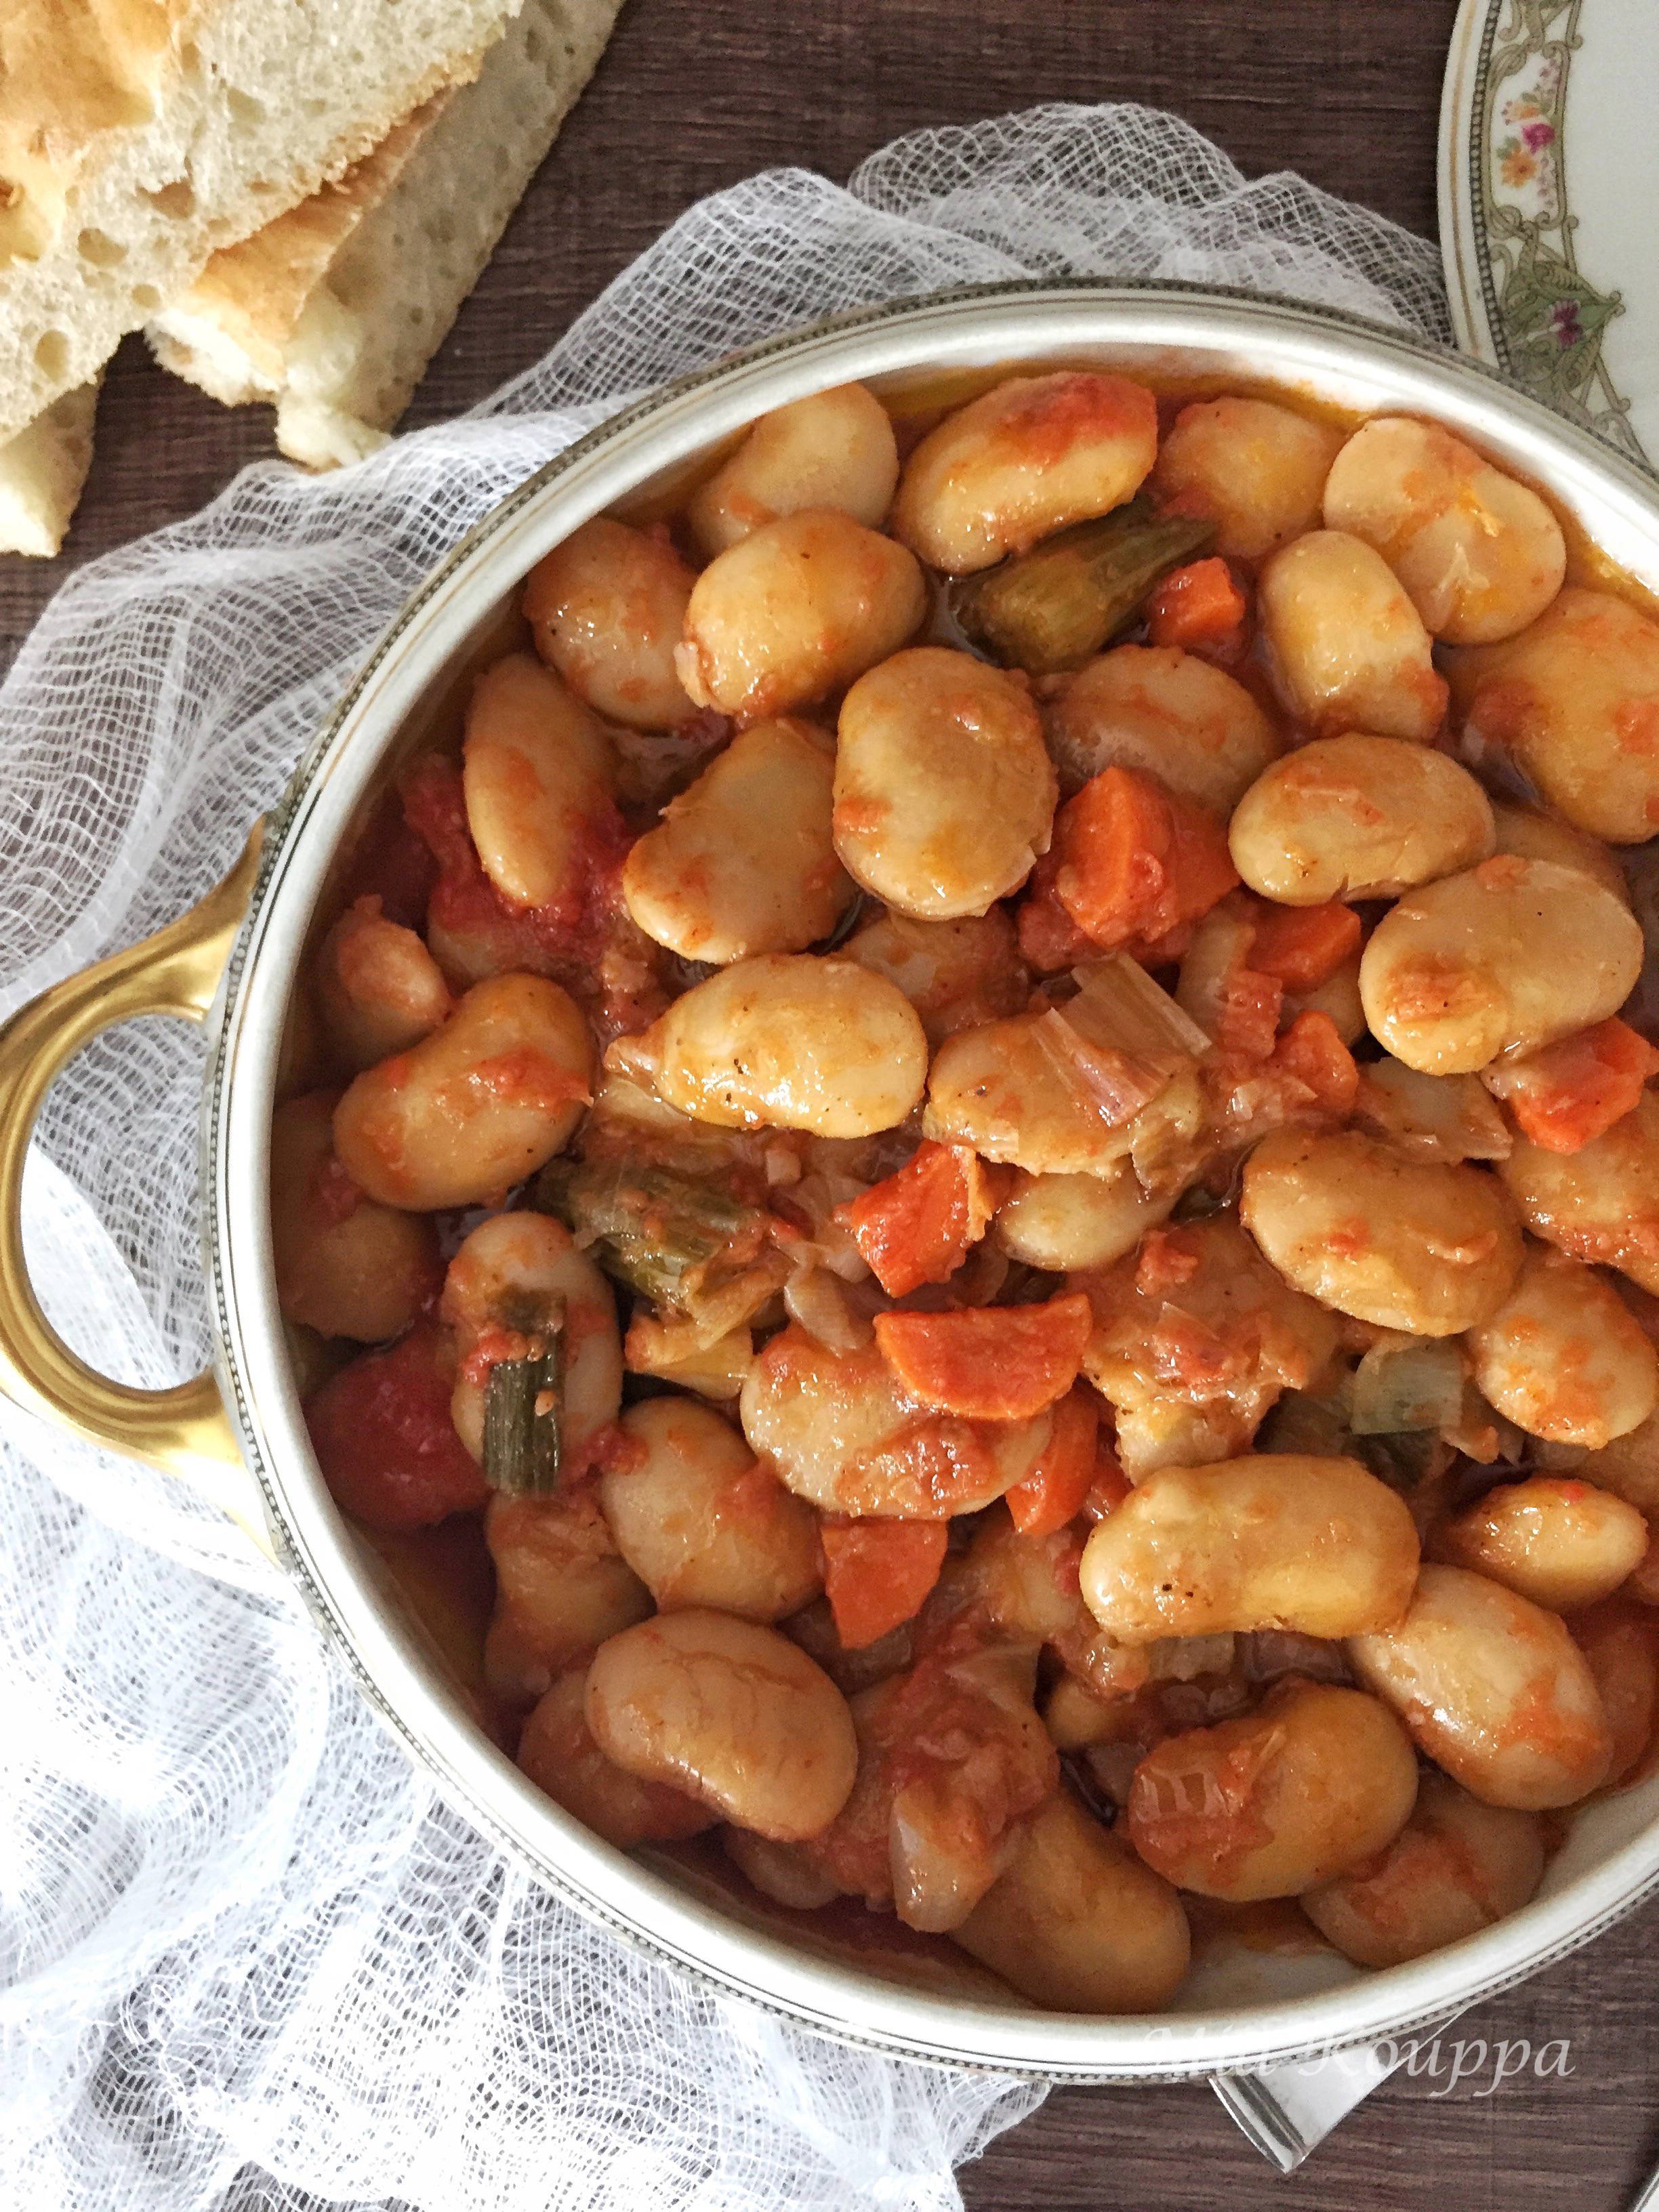
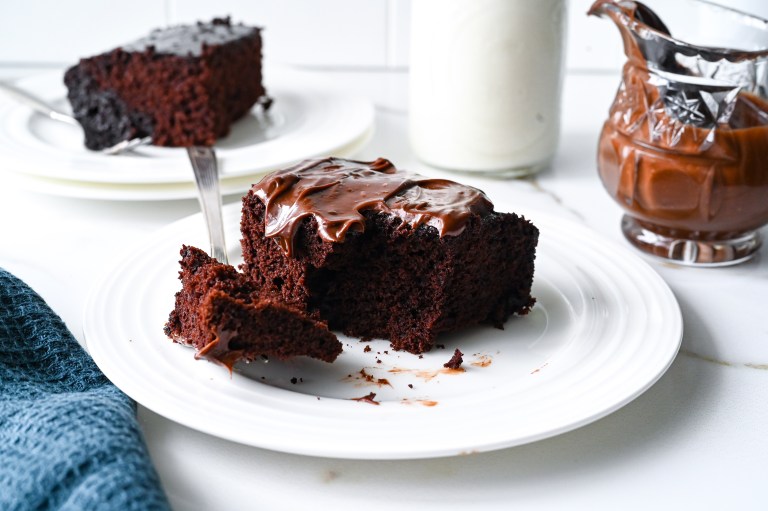
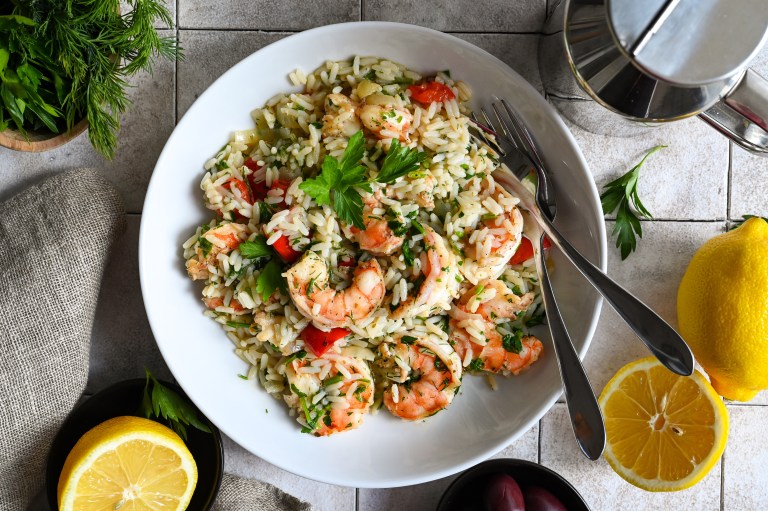
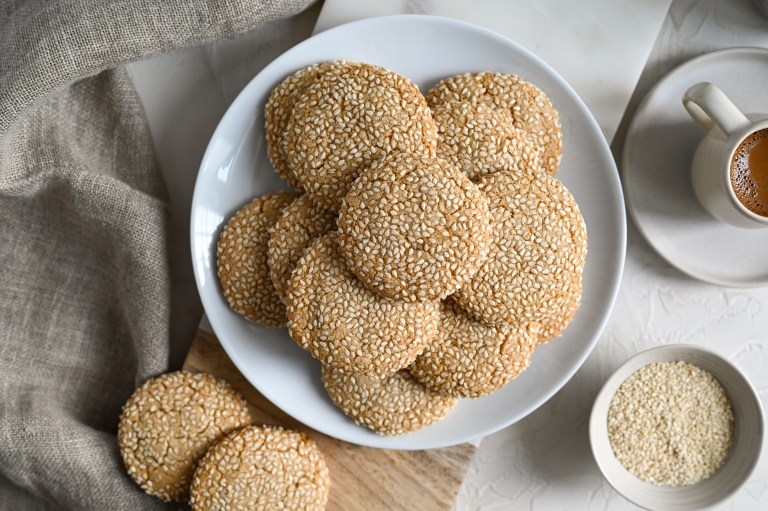
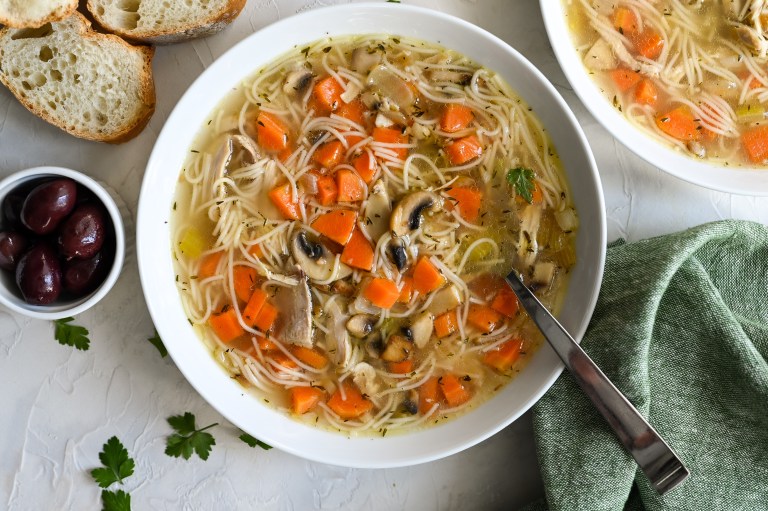
Looking for some more delicious snacks? Try these:
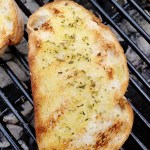
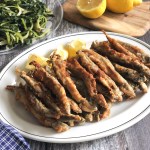
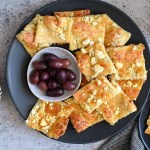
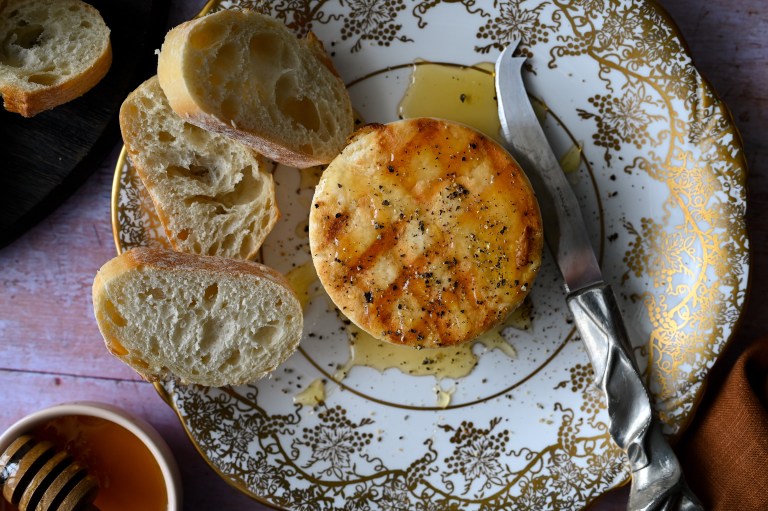
Grilled bread with oregano and olive oil
We love hearing from you! If you have made our recipes, or if you have a question or comment, or simply want to say Hi!, please leave a comment and star rating below! Also be sure to follow along with us, on Facebook, Instagram and Pinterest. We have lots of fun over there.
This post may contain some affiliate links, which means that we make a small commission off items you purchase at no additional cost to you.


Pita bread
Equipment
- Stand mixer
- Rolling pin
- medium non-stick pan
Ingredients
- 2 teaspoons (8 grams) active dry yeast
- 1 cup (250 mL) lukewarm water
- 2 ¼ cups (337 grams) all-purpose flour
- 1 teaspoon sugar
- 1 ½ teaspoons salt
- 1 tbsp (15 mL) olive oil
Instructions
- Combine the yeast and water, stir gently and let sit approximately 5 minutes, to dissolve. You should see some bubbling on the surface of the water.
- In a stand mixer, add the flour, sugar, salt, the oil and the yeast mixture.
- Using the bread hook attachment, mix on low speed, until the dough is soft and smooth, about 5 minutes.
- Alternatively instead of using a mixer, you can mix everything in a bowl, and knead by hand. Keep in mind that the dough will be a little sticky. If it’s too sticky however, and sticks to the side of the mixing bowl, or your hands, add a tablespoon of flour at a time, to a maximum of 1/4 cup.
- Form a ball with the dough and place it in an oil lined bowl. With clean hands, rub a little olive oil over the dough. Cover with tea towels and let rise in a warm, draft free place until it has doubled in size. This should take 2 to 3 hours.
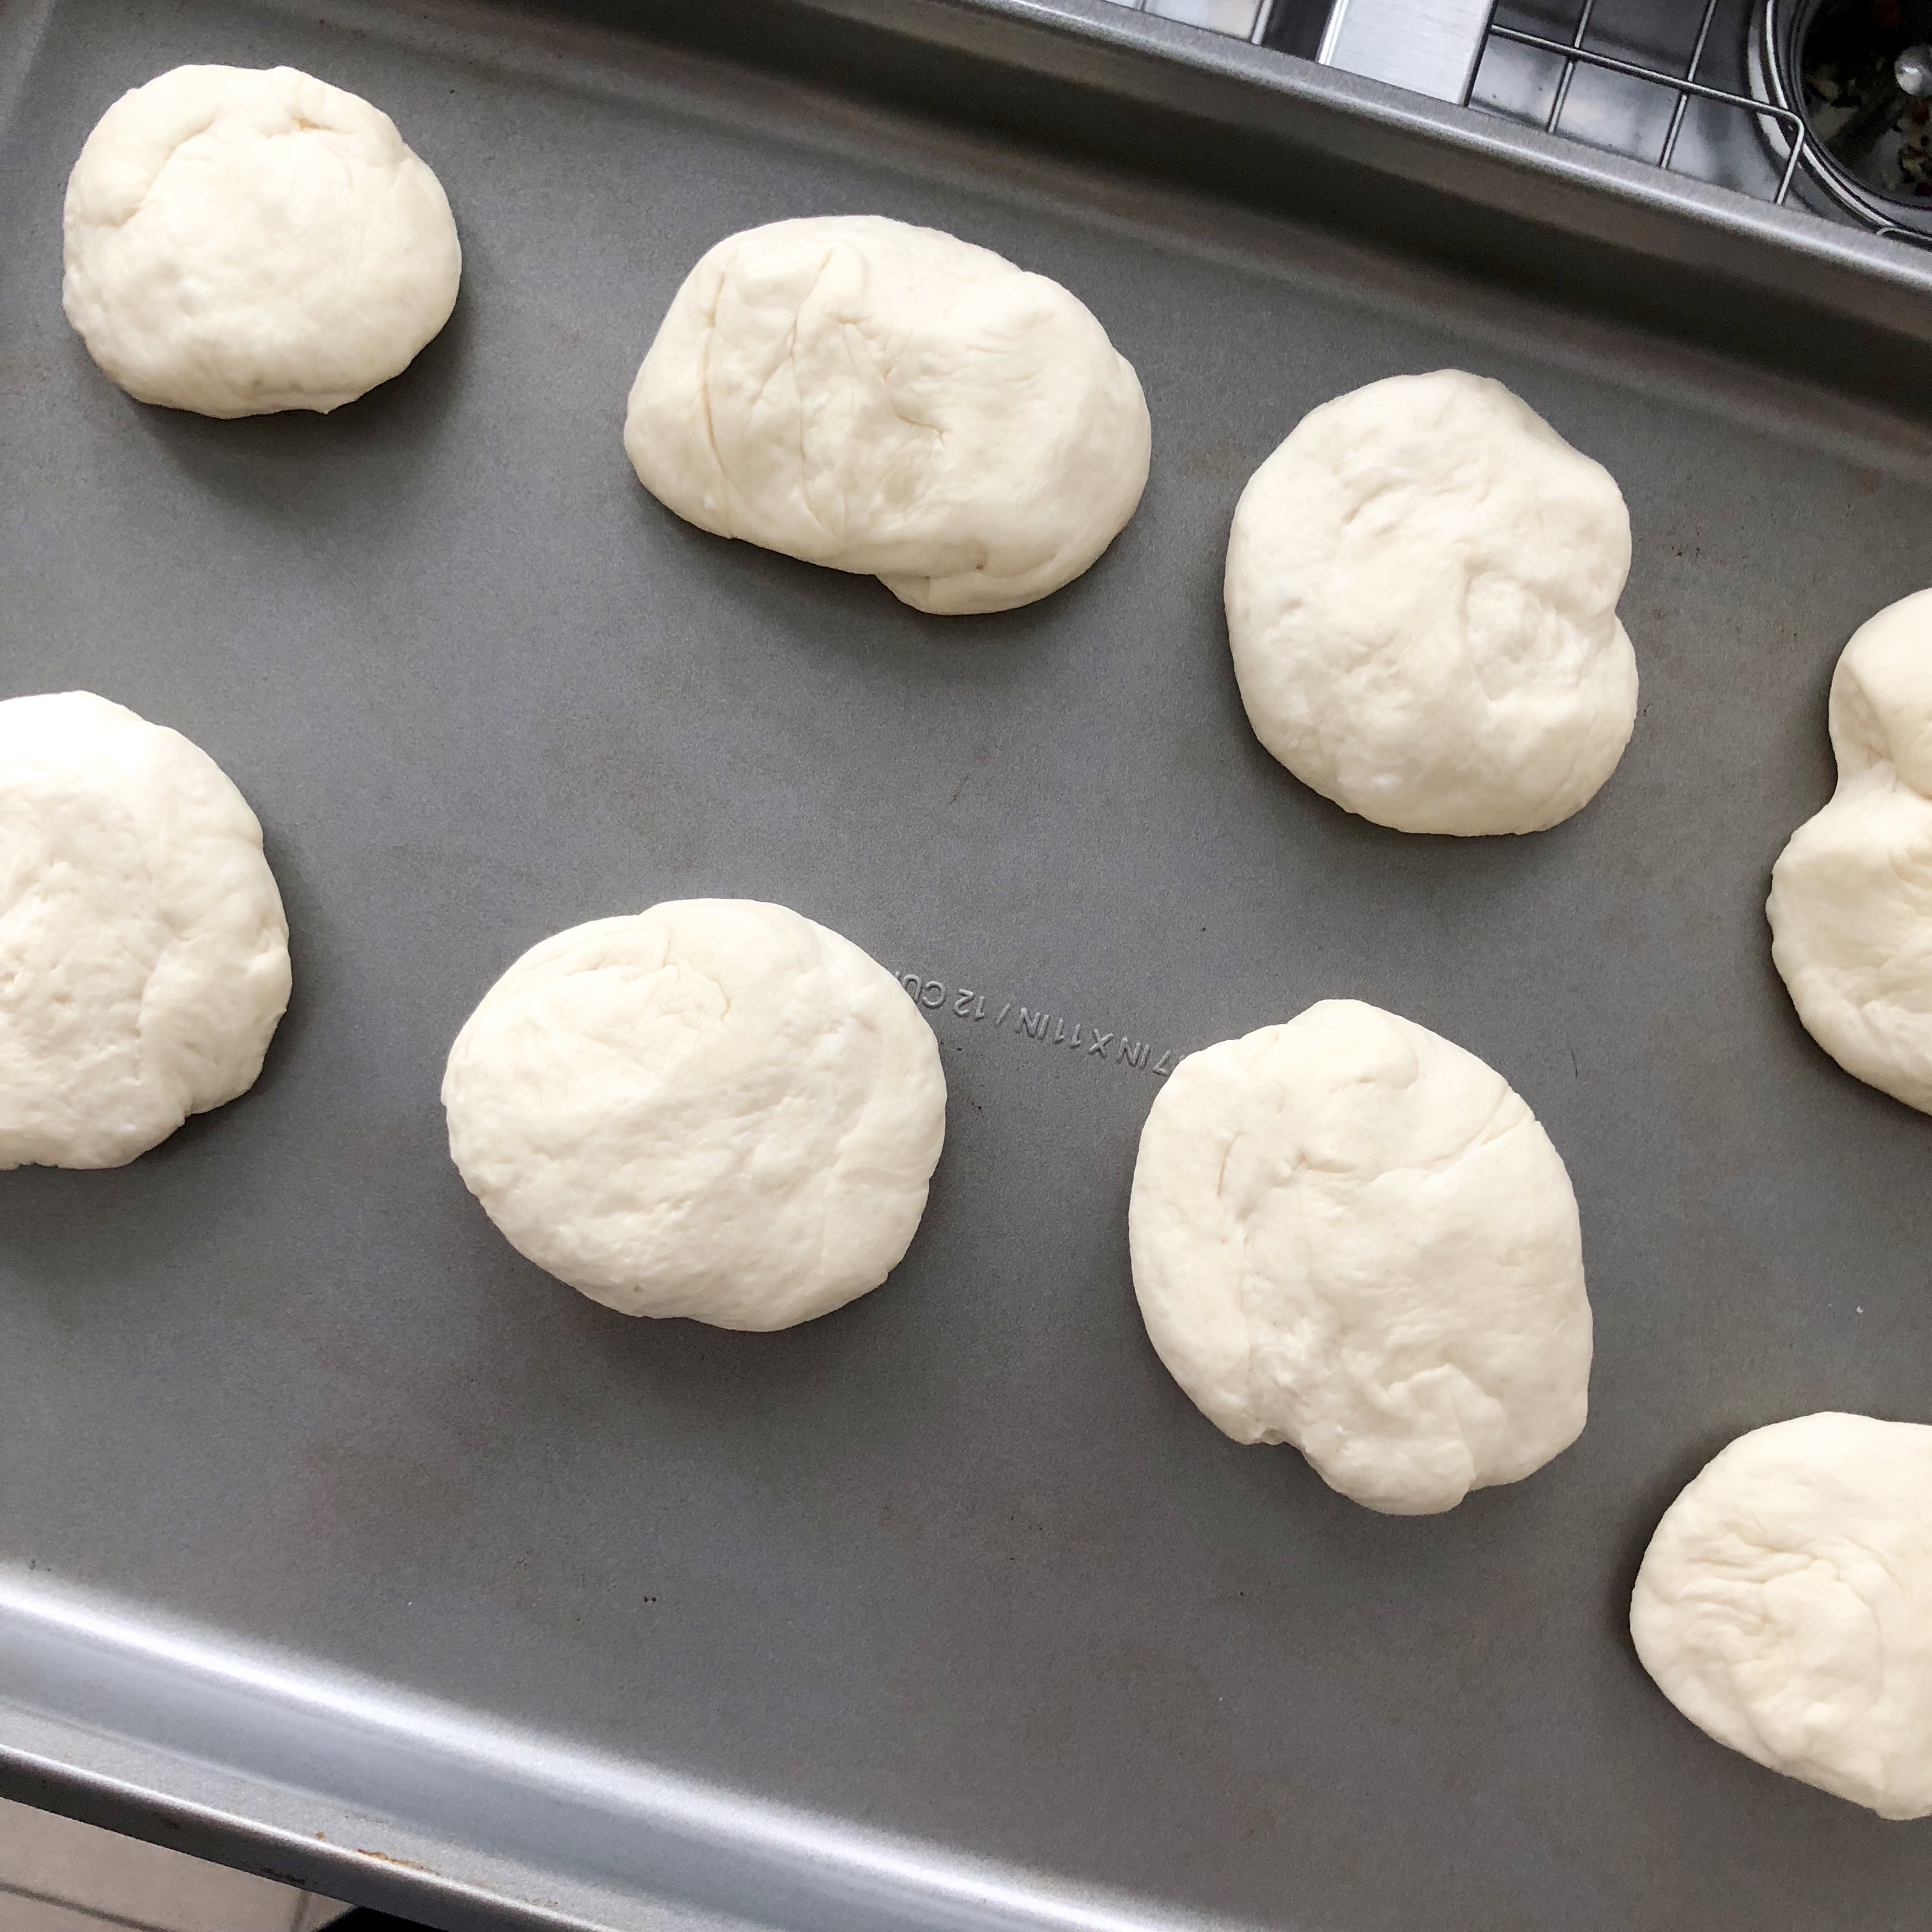
- Once your dough is ready, knead it gently, and turn it out onto a flat surface. Cut the dough into 8 equal pieces. Shape each piece into a ball, flatten them a bit with the palm of your hand, and place on a cookie sheet. Cover with a tea towel and let rise again for 15 minutes.
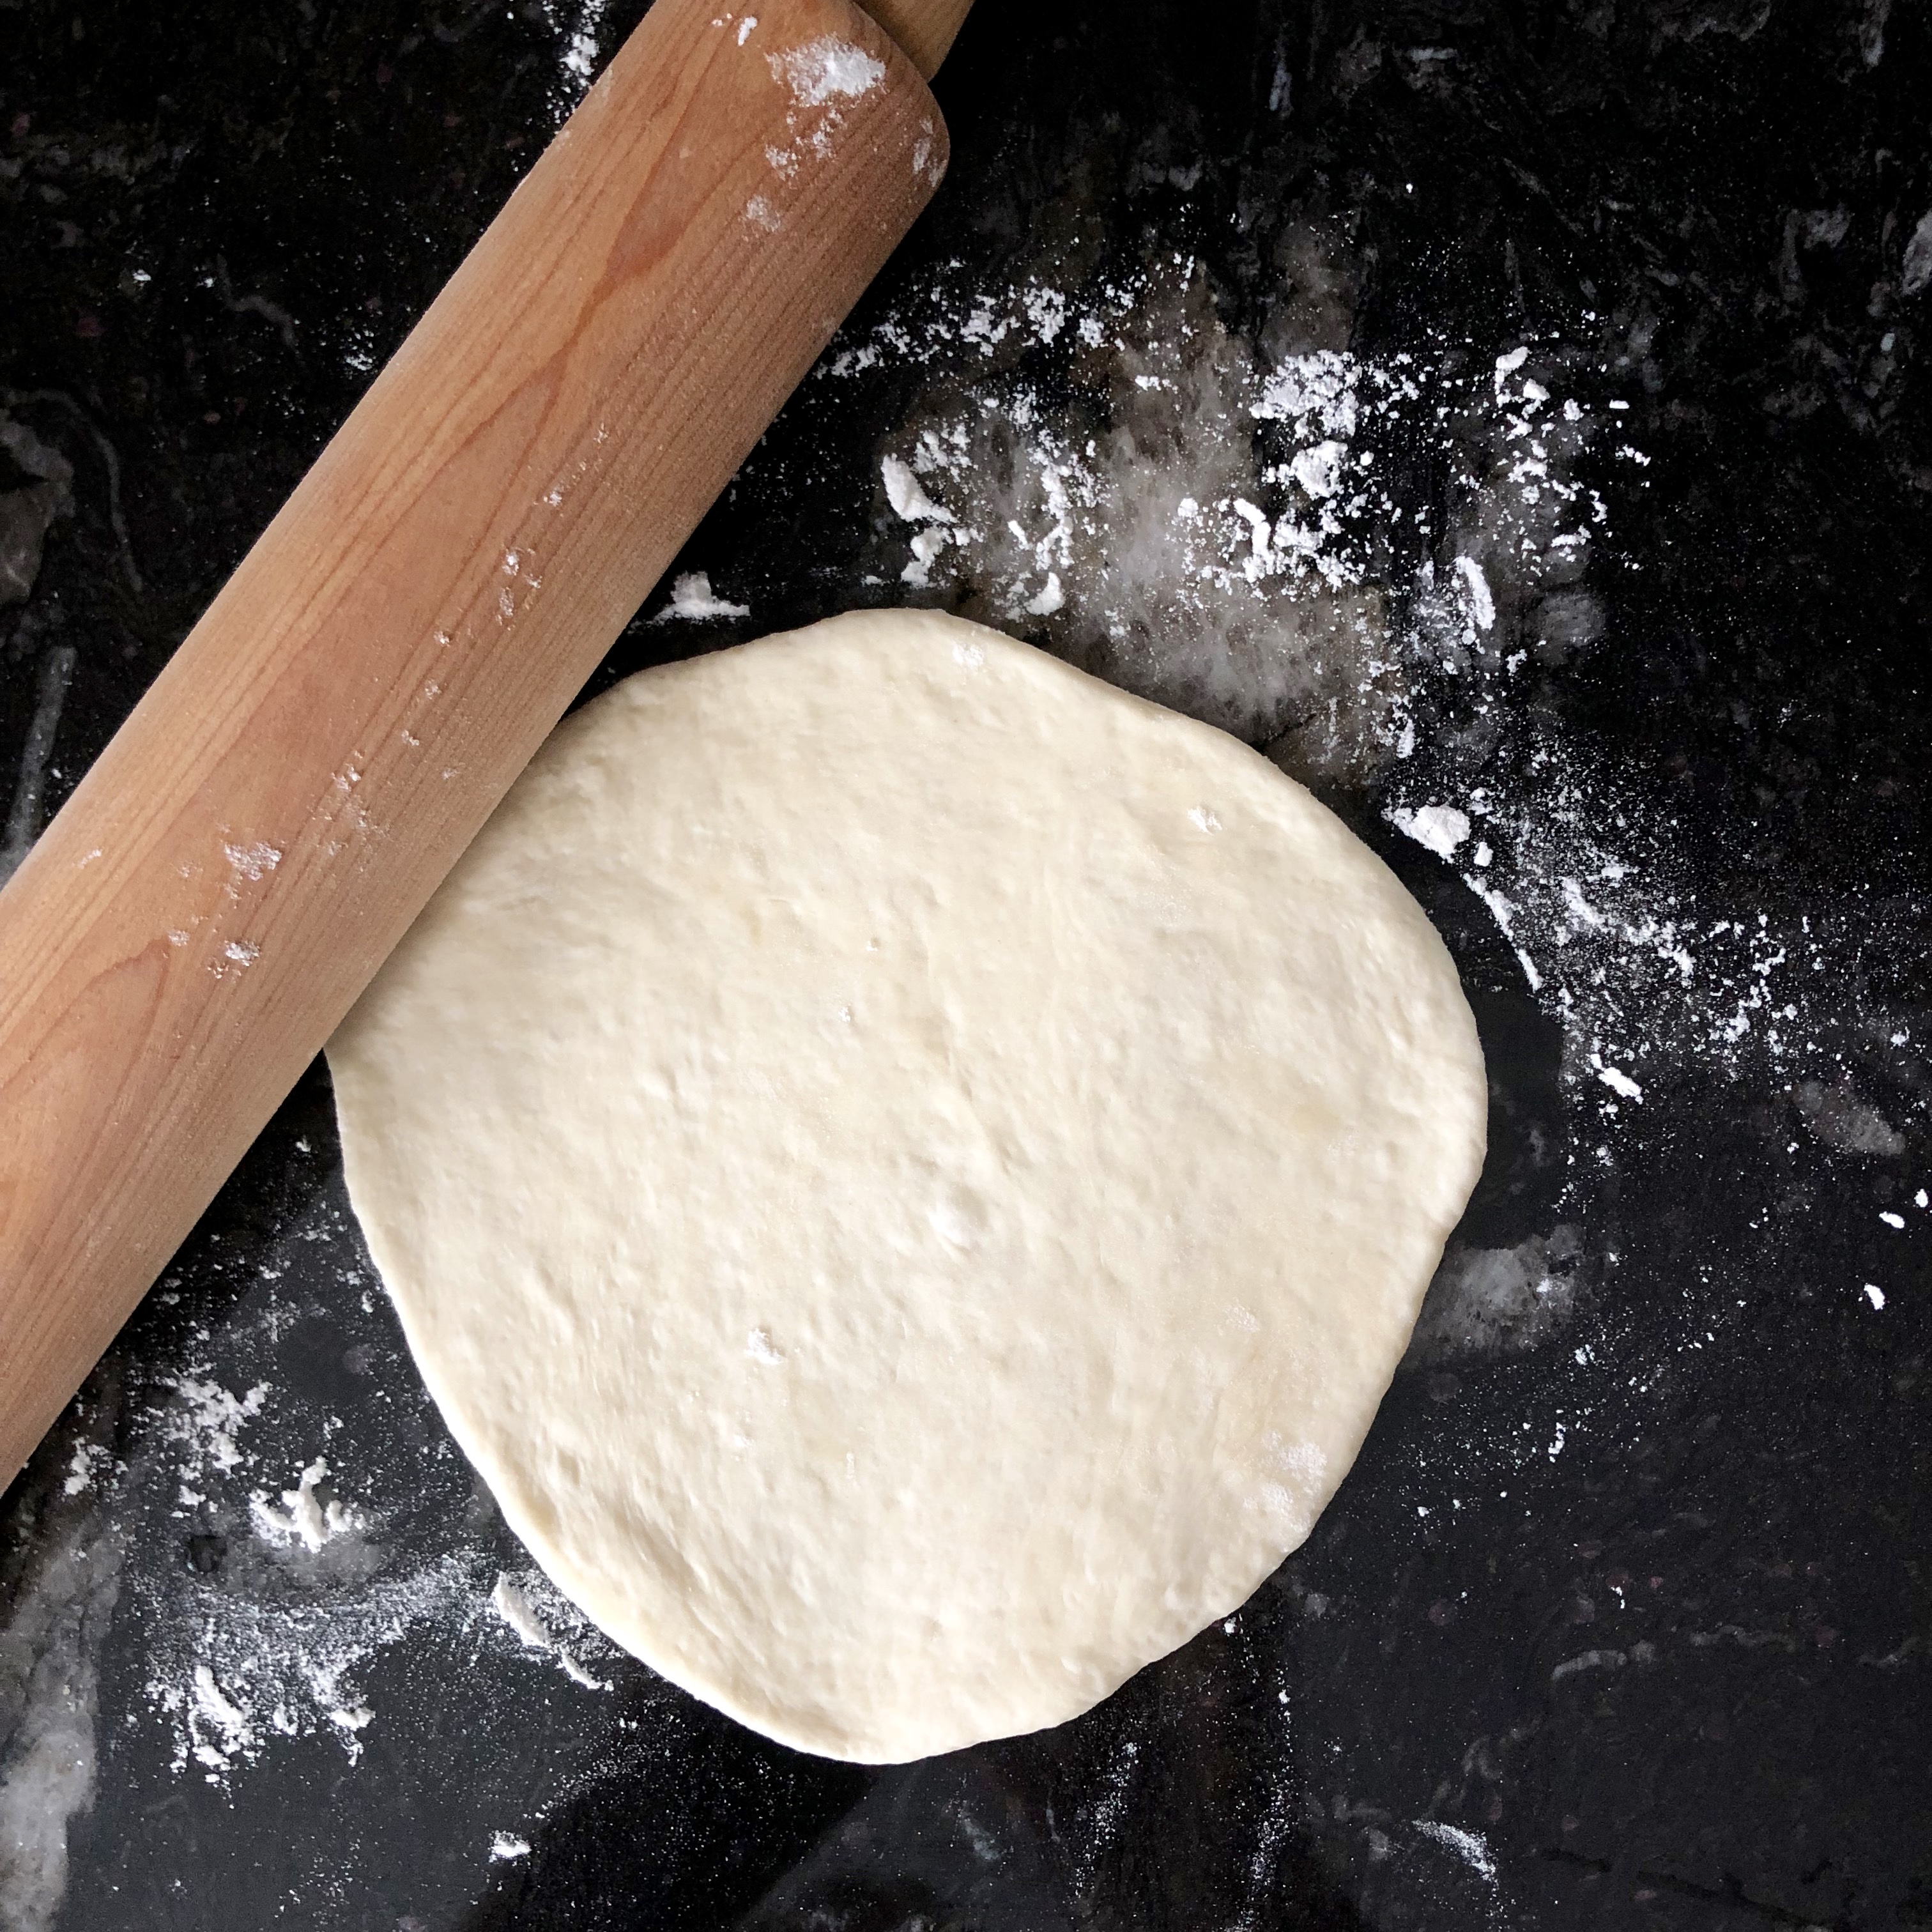
- On a very lightly floured surface, take one dough piece at a time, flatten it with your hand and then roll it into a flat circle with a rolling pin. You should end up with a circle of dough which is about 6 inches wide and 1/4 inch thick.
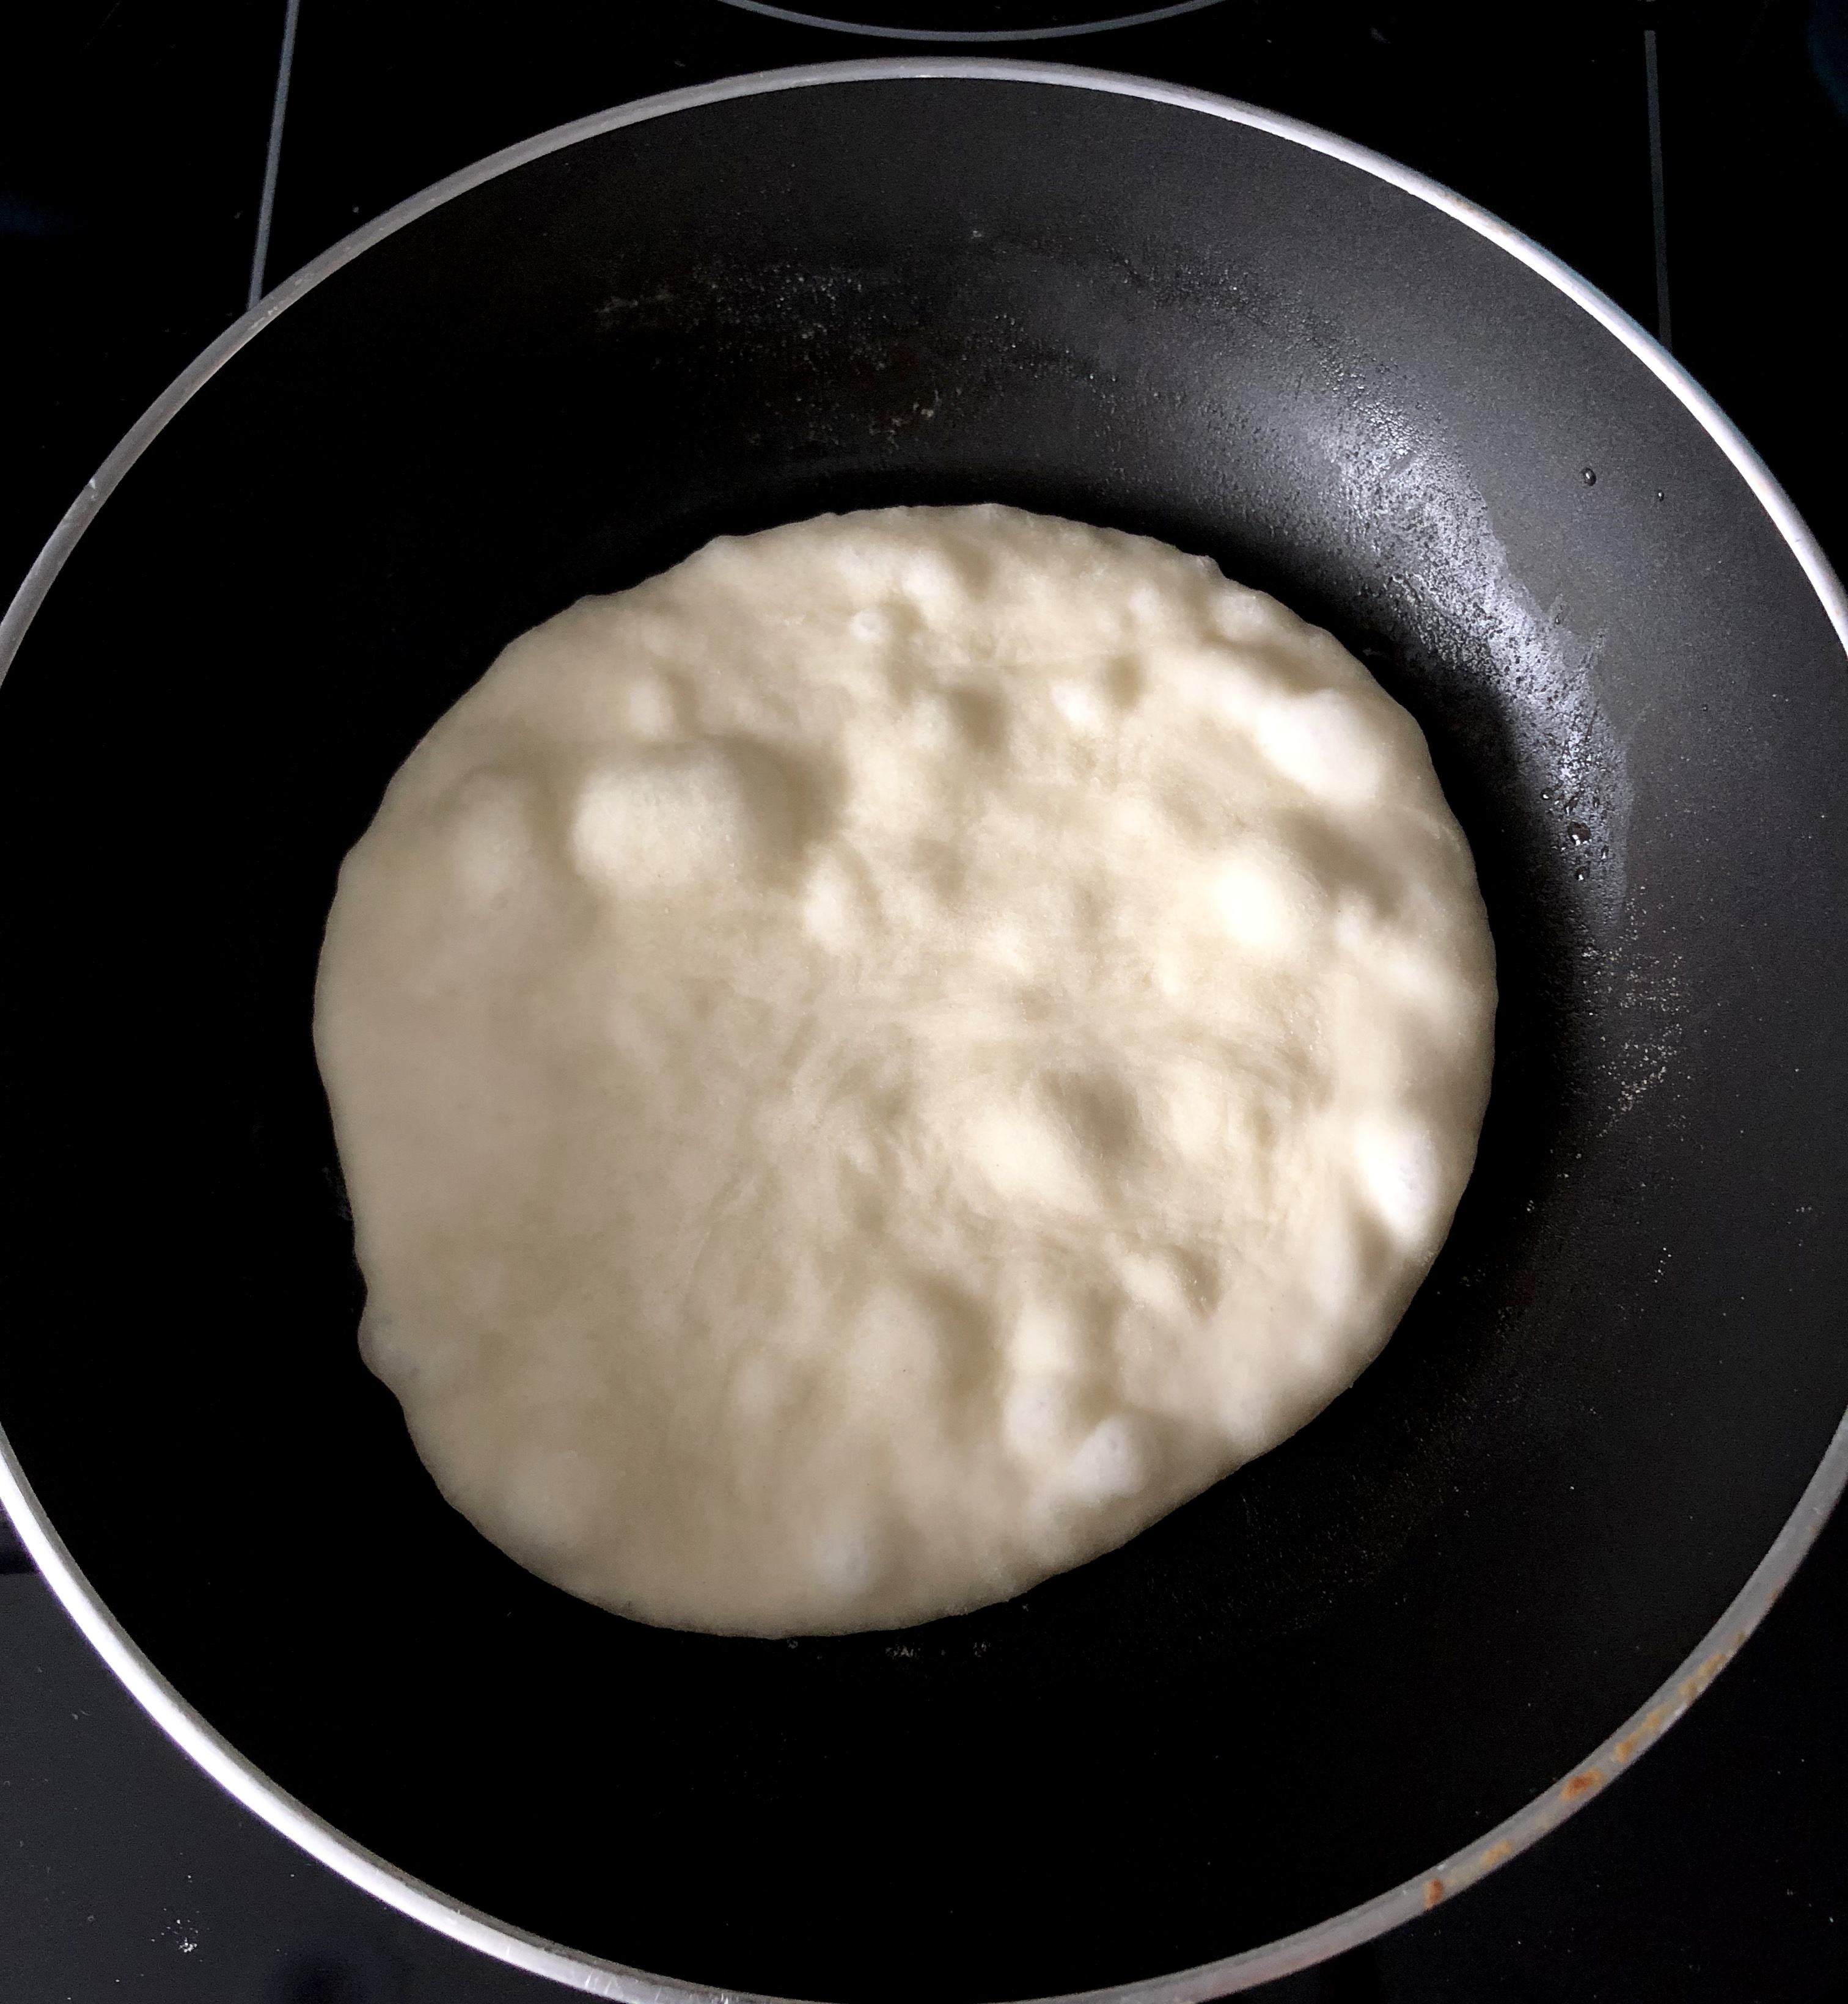
- Add a little olive oil onto a non-stick pan and heat to medium-low. Cooking one pita bread at a time, cook the first side for a minute or two (we like to rotate the pita every 30 seconds), until the bread begins to puff up in places. Flip the bread and cook the second side for another minute or two, rotating the pita every 30 seconds. Brush the pan with olive oil after you have cooked two pita breads. Repeat the process until you have used all your dough.
- While you are finishing up with your pita breads, place the ones you have cooked on a plate and cover them gently with a paper towel.
- If you don’t eat them right away, let your pitas cool and place them in a resealable bag. Because these are best eaten warm, you can reheat the pita in a frying pan or microwave when you are ready to enjoy them.
- Enjoy!


Leave a Reply