


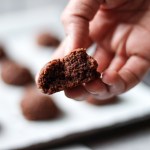


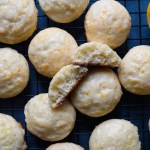


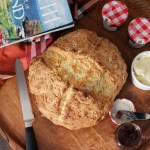


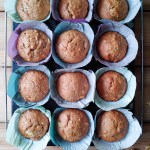


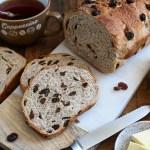


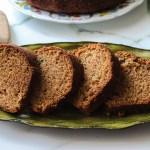


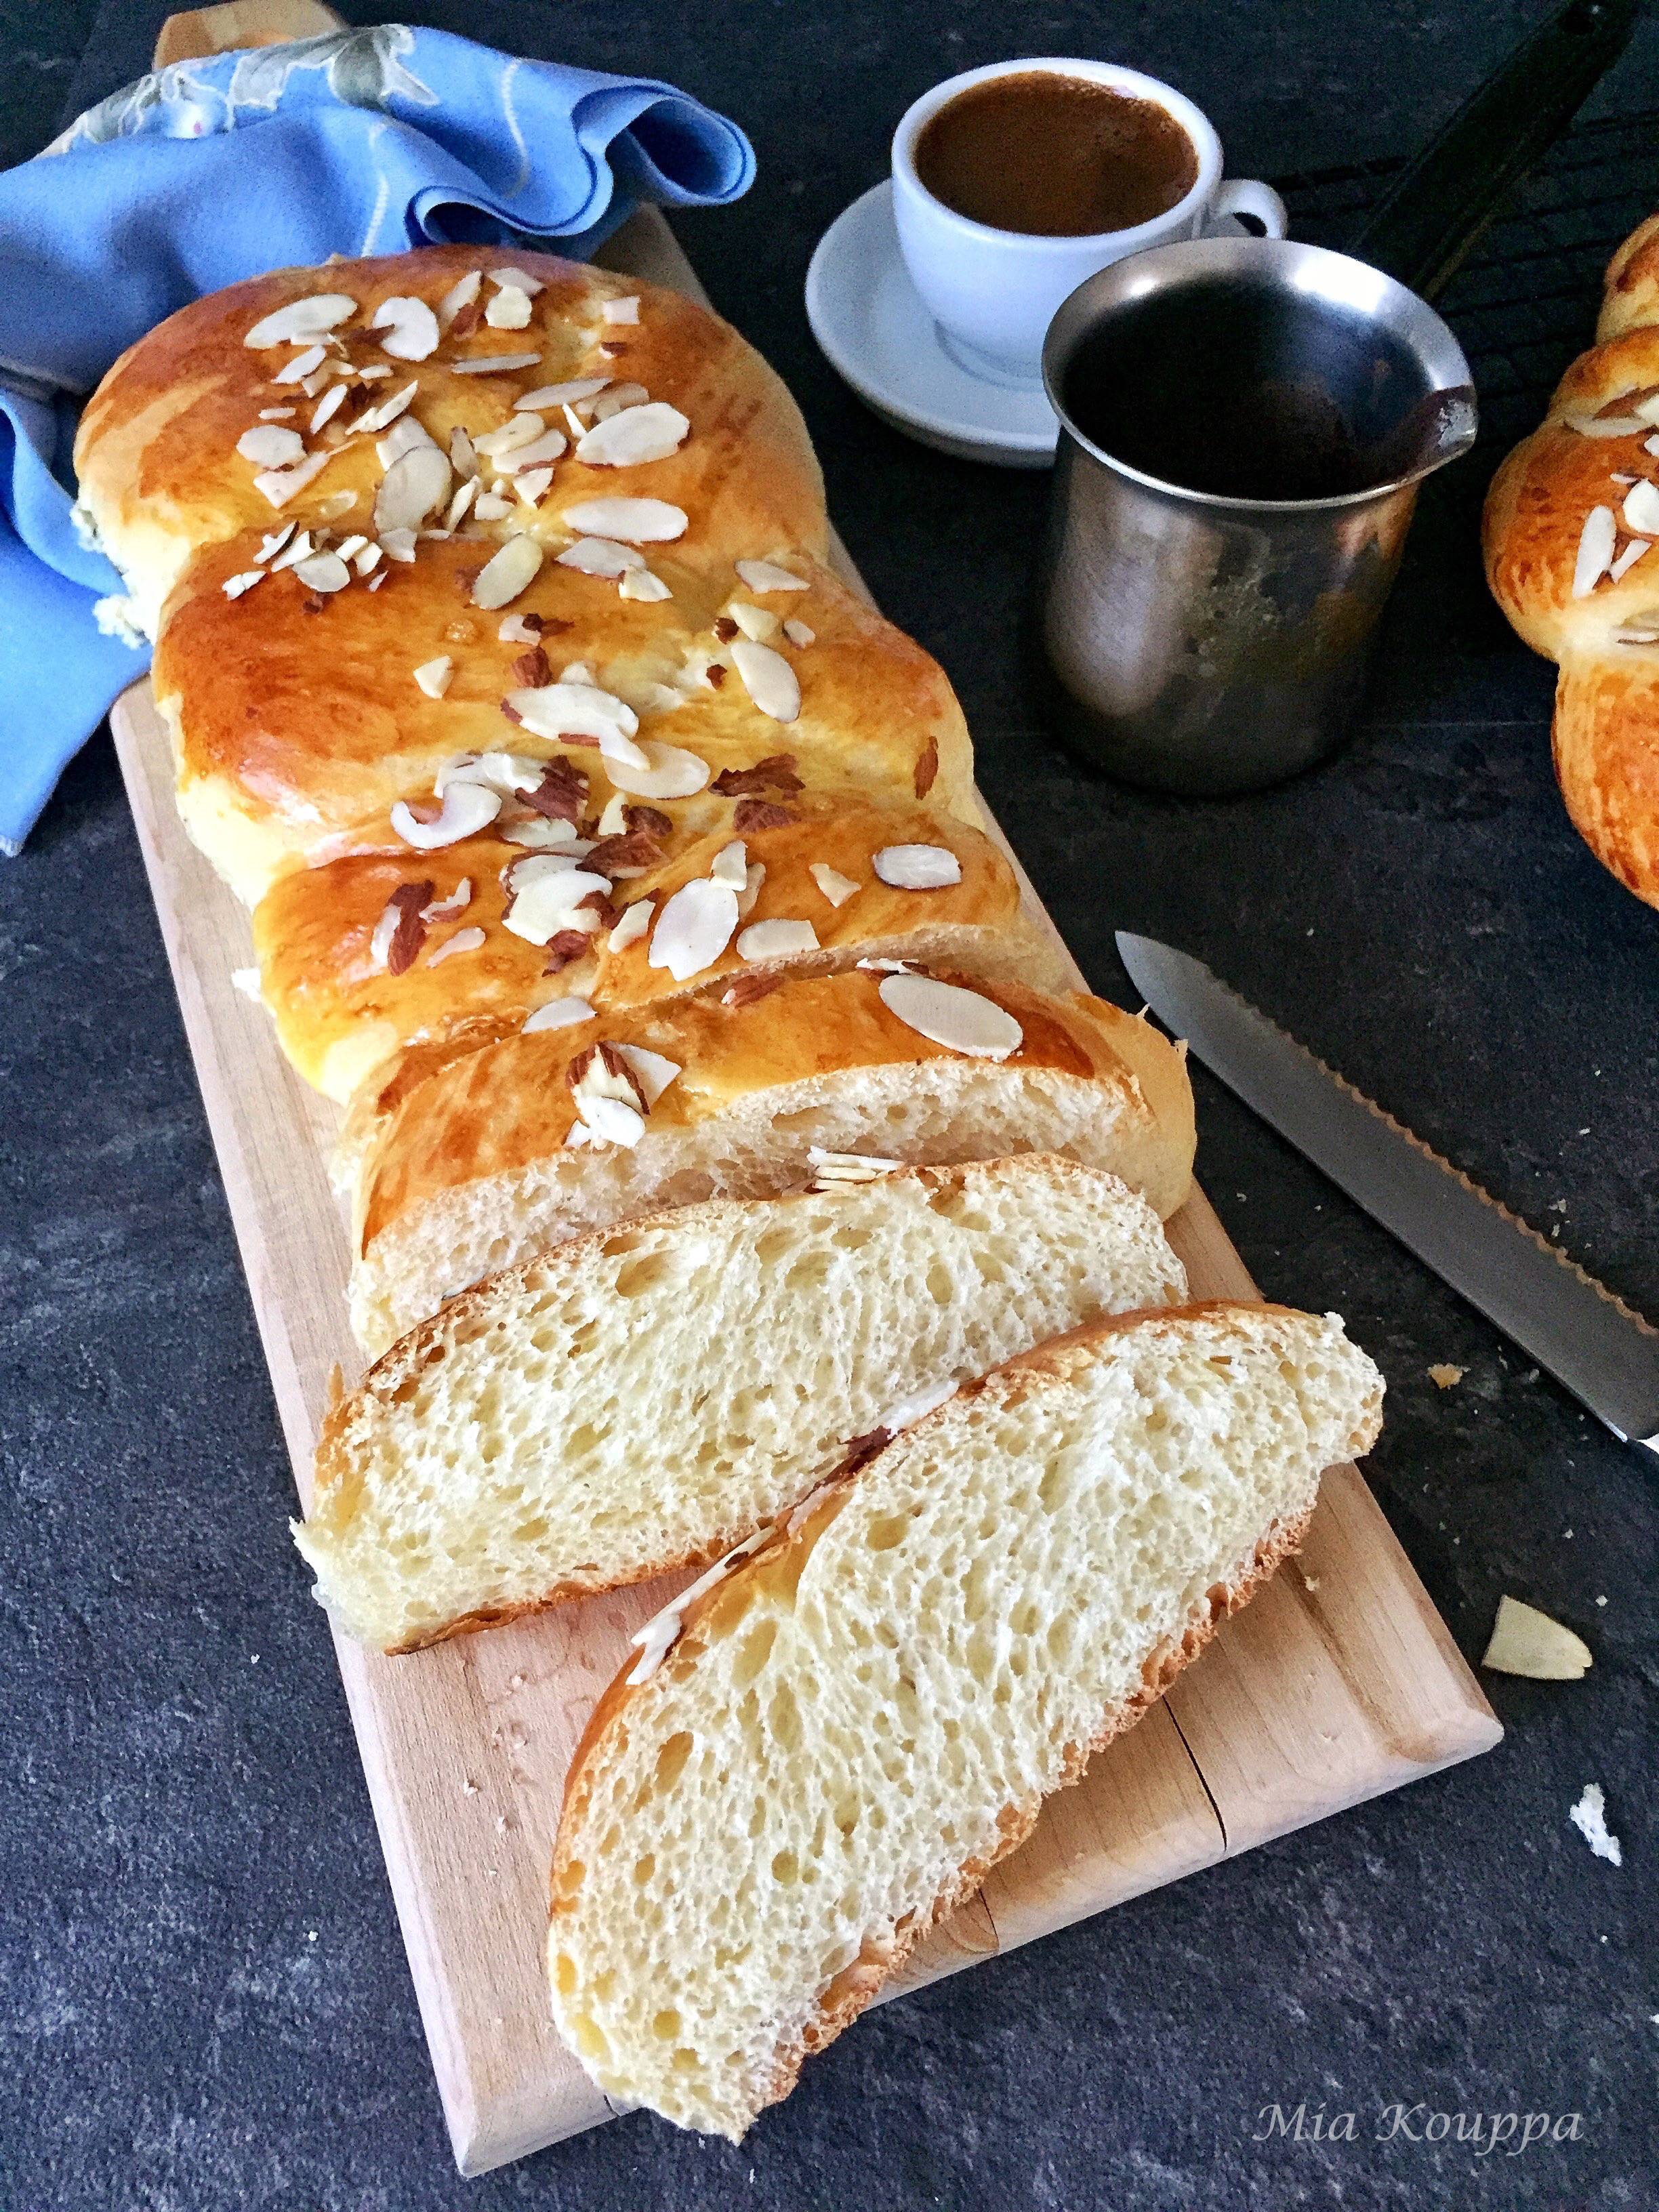
The fluffiest and most delicious traditional tsoureki, or Greek Easter bread, flavoured with masticha and mahlepi.
Sweet is the day that you decide to devote some time to making tsoureki, the traditional Greek Easter bread which is often served to break the Lenten fast. On Easter Sunday it is offered to family and friends as a way to express friendship and love. Godparents often include a loaf of tsoureki in the Easter presents they give their godchildren, tucked into the gift basket next to the shoes, and the lambada (Easter candle).
Similar to Jewish challah bread, tsoureki is sweet, soft and fluffy. What sets it apart from other egg- enriched breads however are the flavourings of mastiha and mahlepi. Although these unique ingredients are key, and present in almost all tsoureki recipes, there are countless variations, with some families adding additional flavours of orange or brandy or other nice things.


For many years our parents made tsourekia the way they make everything…intuitively. And, as usual, they were very successful, each year offering us delicious loaves of sweet bread. We would receive one large tsoureki loaf per family along with mini-loaves for each grand-daughter. We happily accepted their offerings, never attempting to make tsourekia on our own; it just seemed too complicated. Then, as years went on, we each decided that with all of the actual recipes available online, it was time to try baking tsourekia ourselves. We wanted our homes to smell delicious. We wanted to bake something so important to our culture and family traditions, something we could be proud of. But which recipe to trust? Not knowing which recipe to try, we tried many and we had varying degrees of success…and some epic fails. Our biggest disaster was the year one of us (it doesn’t matter who…okay…it was Helen), attempted a recipe and ended up with what we affectionately labeled Tsourocki. Literally…it was as heavy as a rock. A big rock. Almost a boulder. It was ridiculous.
And then one day, perhaps after hearing about the “Saga of the Tsourocki”, we were handed a tsoureki recipe from our cousin Effie (thanks Effie!) who herself got it from a friend (thanks Effie’s friend!). This tsoureki recipe has now been adopted by all of us, even our parents! If you give it a try you will see that it is quite simple, almost failproof, and absolutely delicious. We’re pretty sure that if you try it, you might want to adopt it too.

Helpful hints
How long does it take to make tsoureki?
Like most yeast breads, tsourekia require two risings. Although the active time you need to invest is significant, you also have to factor in the waiting around time you need for the yeast to do its thing. Making tsourekia is really an activity that you need to schedule and plan out, so that you can enjoy the process without feeling overwhelmed.
Why do we include a dyed red egg in tsourekia?
Traditionally, Easter eggs are dyed on Holy Thursday. If you will be making your tsourekia after you have dyed your eggs, you can insert one of the red eggs into the top of the braid immediately after shaping the loaf. The dough will then rise around the egg holding it in place, even after baking. The red egg is meant to signify the blood of Christ, as well as rebirth and renewal.
What kind of yeast do you use in tsourekia?
This recipe calls for a total of 24 grams of dry yeast. We have made the tsourekia with both active dry yeast or the fast rising yeast; both varieties seem to work just as well. We use packets of yeast that come in 8 gram packs, so we use 3 of the packs for this complete recipe. If you don’t have yeast available this way, you will have to weigh it out. Regardless of the brand of yeast you use, be sure to check the expiry date. Unlike many products which may be okay to use past the date on their container, yeast is not one of them. It is so disappointing to set to baking something only to realize that your yeast is no longer active.
How to activate yeast for baking
In order to activate the yeast you must mix it into lukewarm water, somewhere between 100 – 110 degrees Fahrenheit. If you don’t have a way to measure the temperature, just be sure that the water is warm (not hot!) to the touch. We usually place tap water in a bowl and leave it on the counter for an hour or so and that seems to work.
How to make your milk lukewarm
The recipe also calls for lukewarm milk. We use the same approach in that we measure out the milk and leave it on the counter for a couple of hours. We usually use homogenized milk for the tsourekia, but 2% milk would work as well (we’ve never tried it with skim milk).
What makes tsoureki so special?
Two of the key ingredients in tsourekia are mahlepi and mastiha. Both of these are critical to making tsoureki; without them you basically have sweet bread. Delicious still, but not tsoureki.
What is mahlepi?
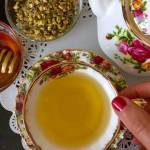
Mahlepi (also called mahleb…although we’ve never heard it called mahleb) is the aromatic spice found in the seeds of the St. Lucie cherry. The cherry stone is broken open to reveal a small seed inside. This seed is then ground up and used in baked goods, like tsoureki. We would really like to know who discovered this little seed, and we hope that his or her name was Mahlepi…they deserve to be recognized for this bizarre and wonderful discovery. If you can, purchase the mahlepi seeds whole and grind them up yourself in a spice grinder or using a mortar and pestle. This will ensure a fresher taste.
What is mastiha?
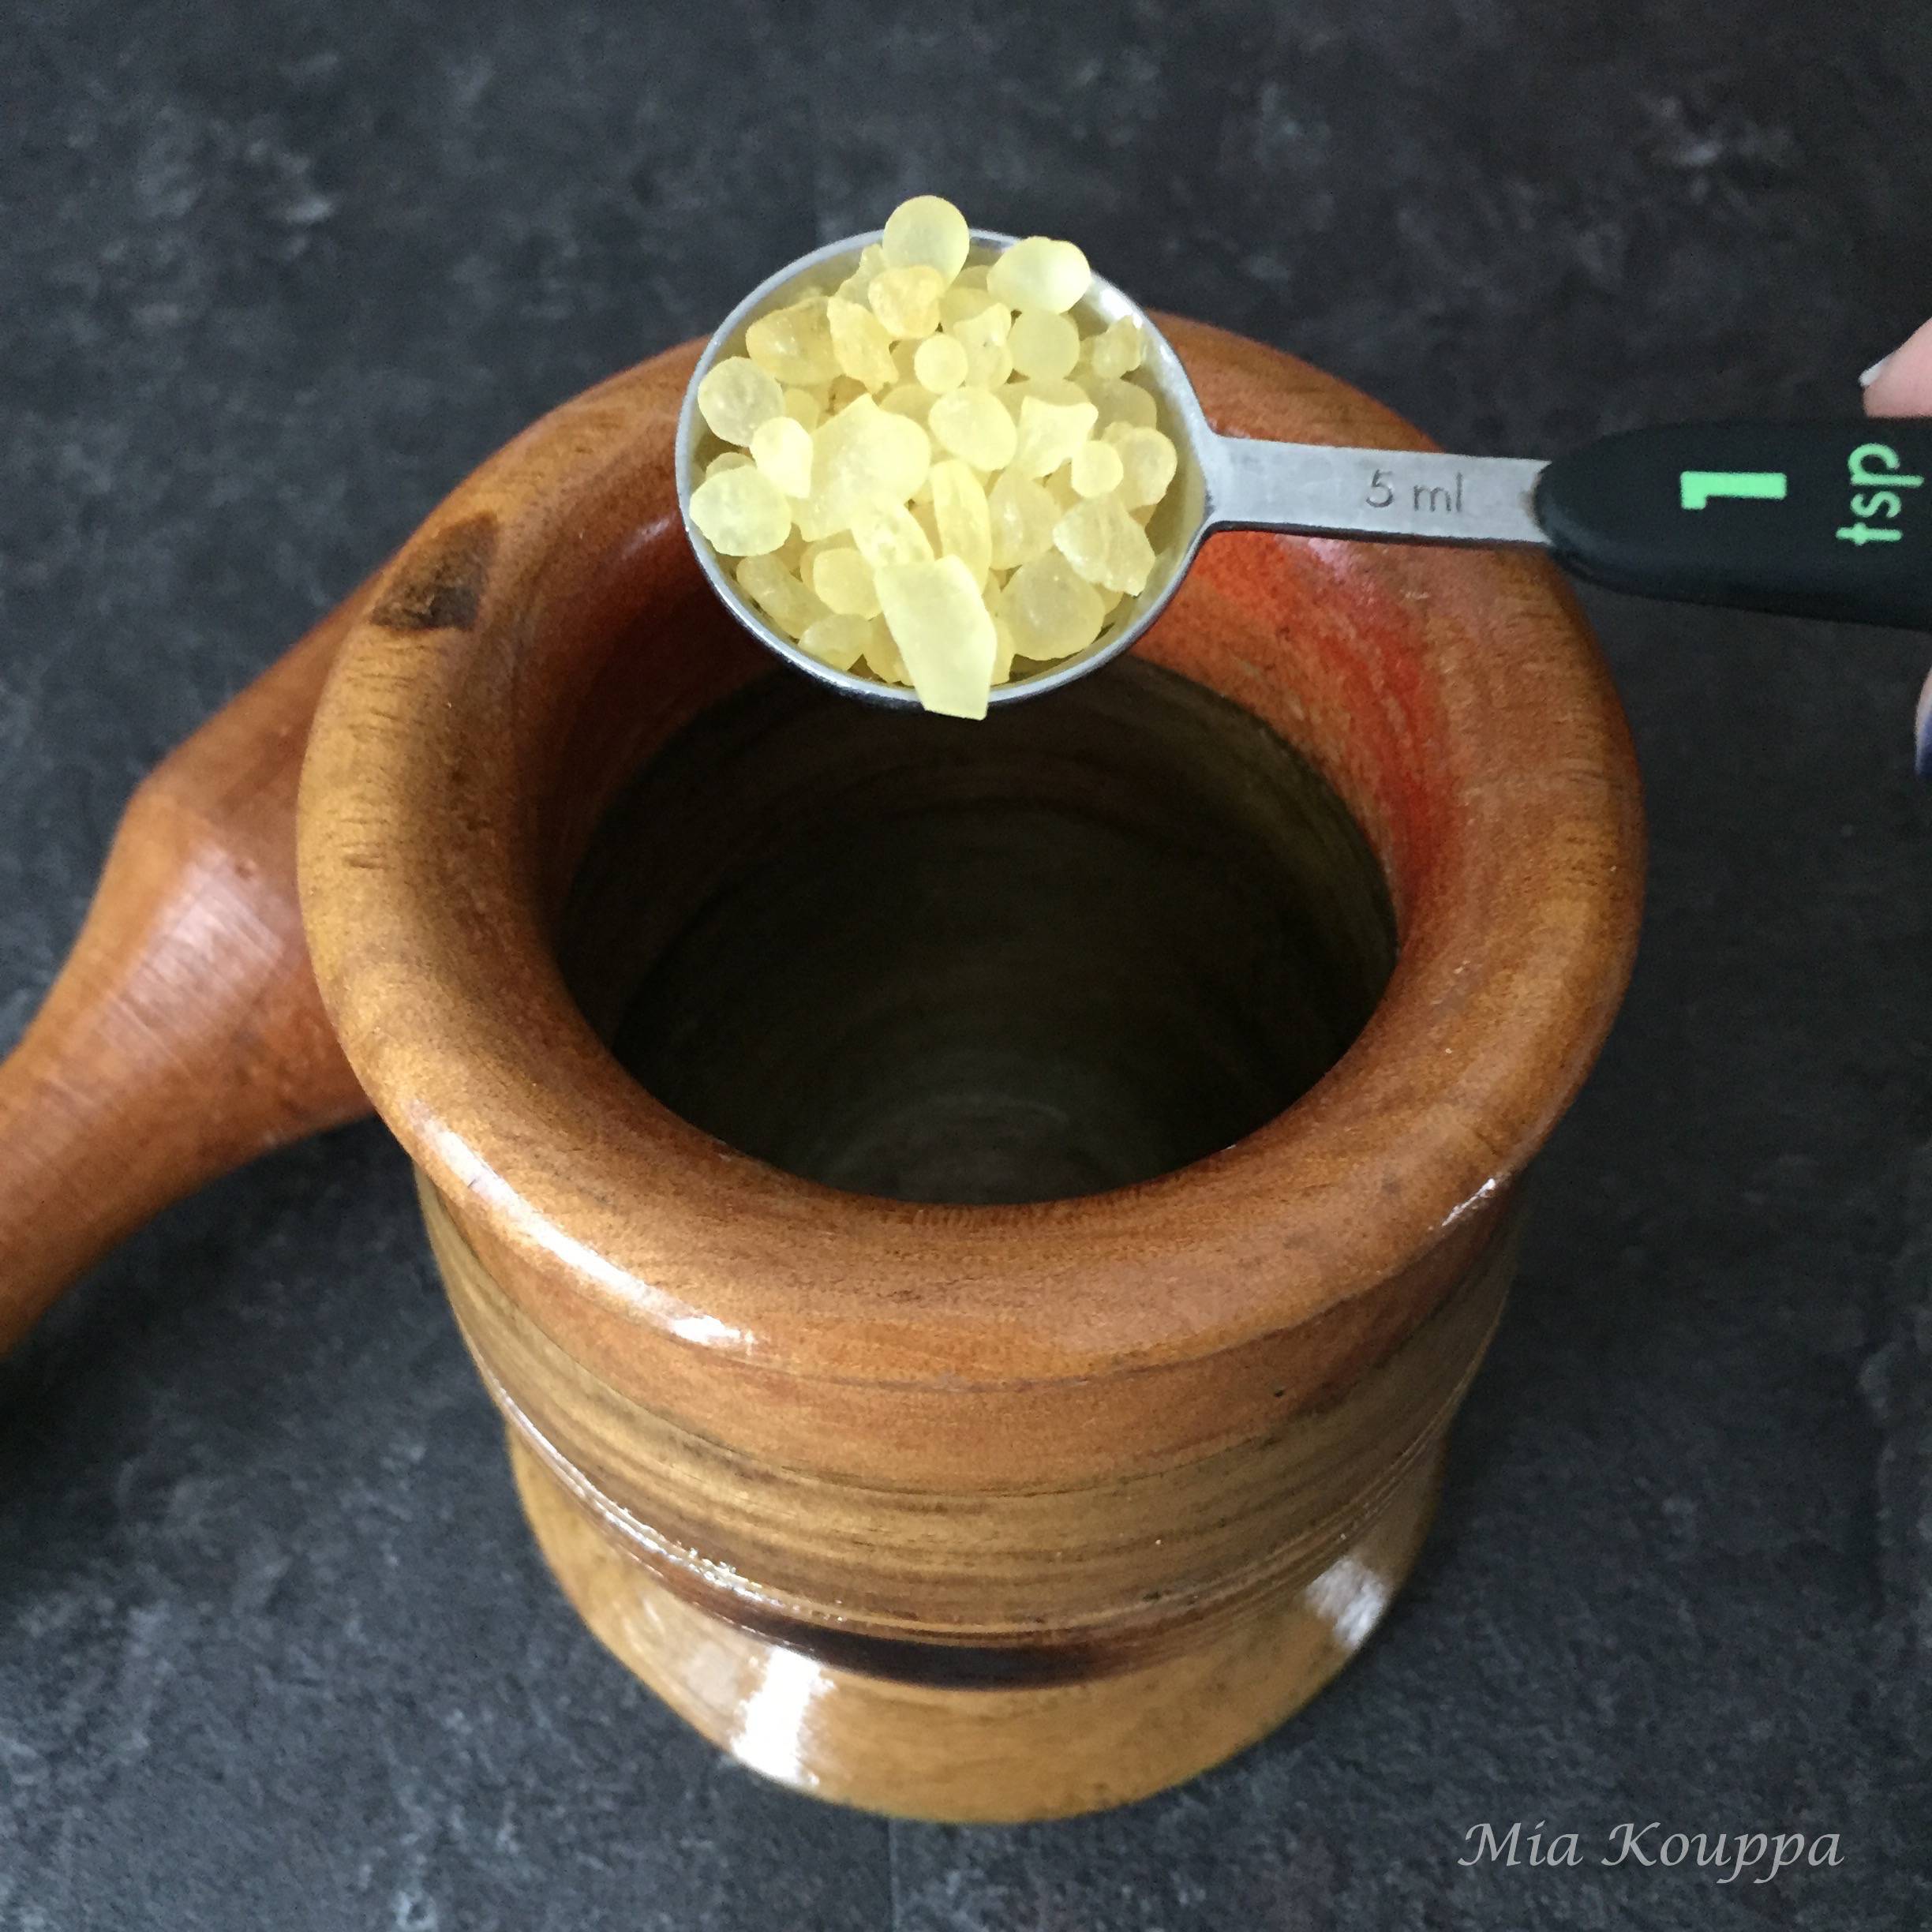
Mastiha (or mastic), the other key ingredient in tsoureki, is also available in whole pieces which you can then grind up using the same spice grinder or mortar and pestle. The pieces themselves are slightly translucent, resembling bits of broken glass but when crushed, the powder is a snowy white. Pretty cool. Mastiha is the resin of the Mastic tree which is found only on the island of Chios in Greece; it has a Protected Designation of Origin in the European Union. It forms the base to chewing gum and in fact, if you pop one of the mastiha pieces into your mouth and chew, you make gum!
Where can you find mastiha and mahlepi?
Both mahlepi and mastiha can be a little difficult to find, and even in Greek markets, they are often only available during the holidays. If you cannot find these two key ingredients in shops near you, you can certainly order them online. We’ve added links in our Recipe. Please note that the amounts indicated in the recipe below are for the crushed, or ground, mastiha and mahlepi.
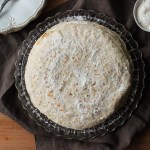
How do you shape or braid tsoureki?
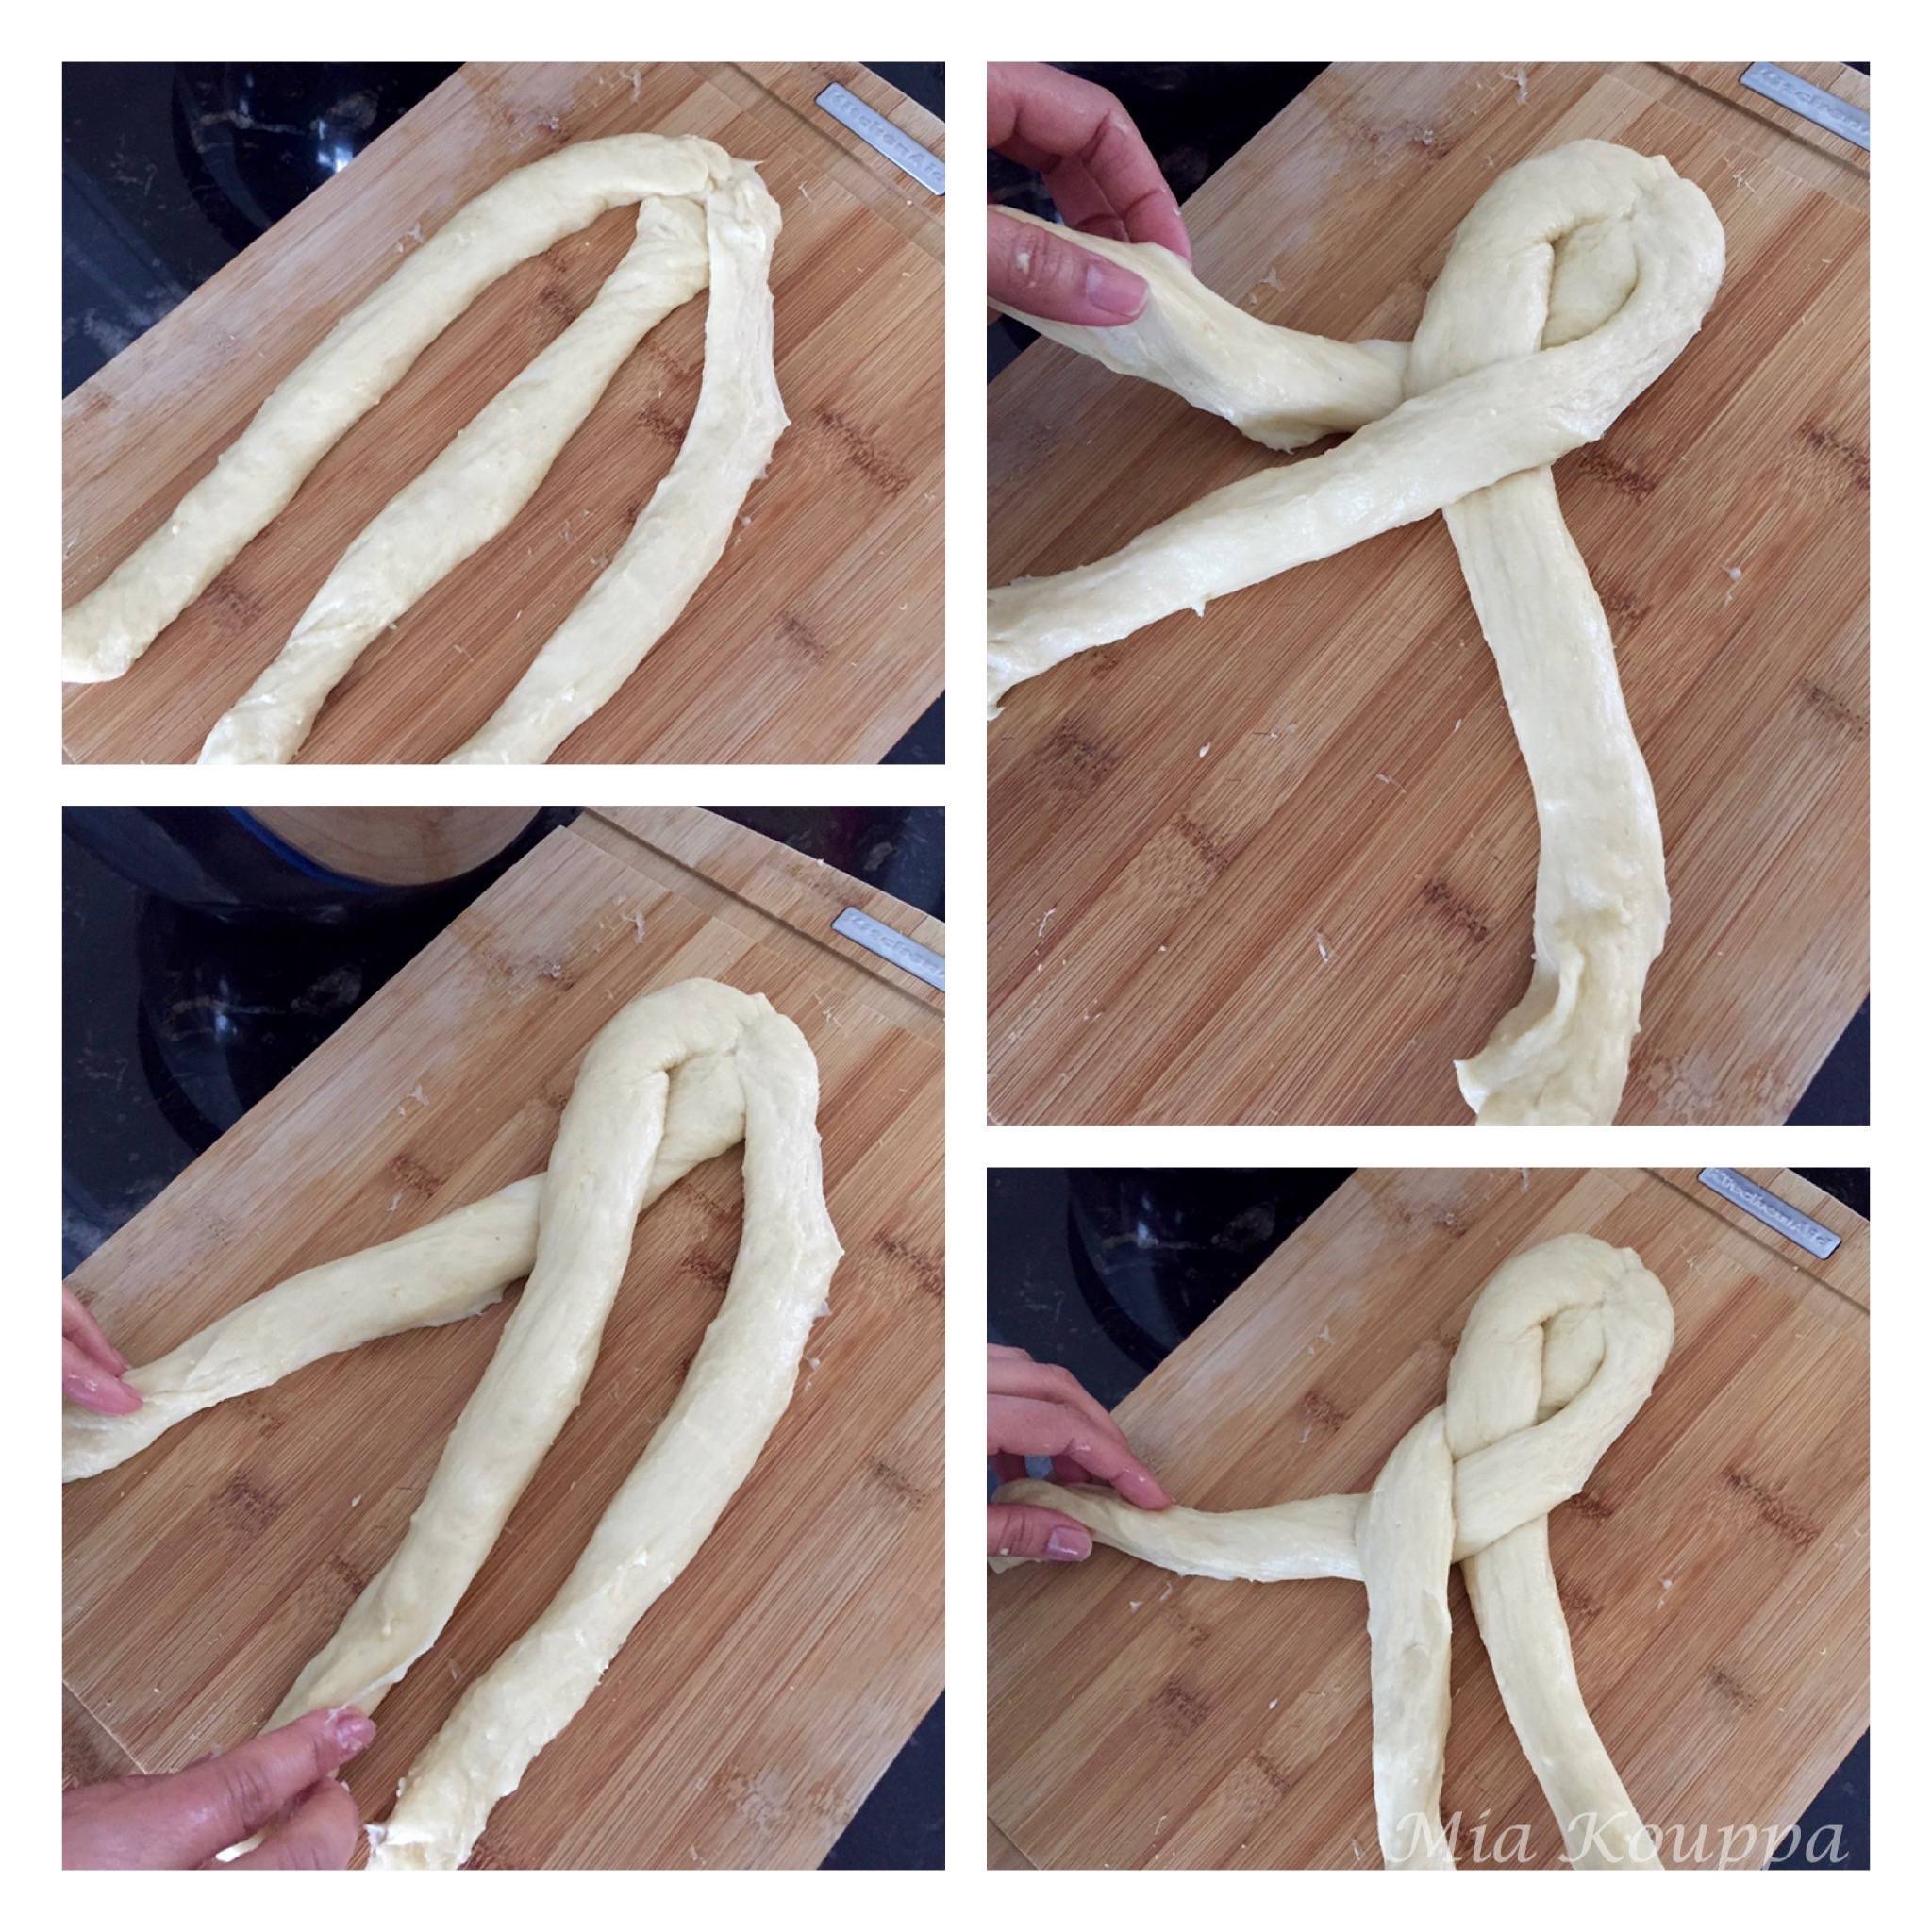
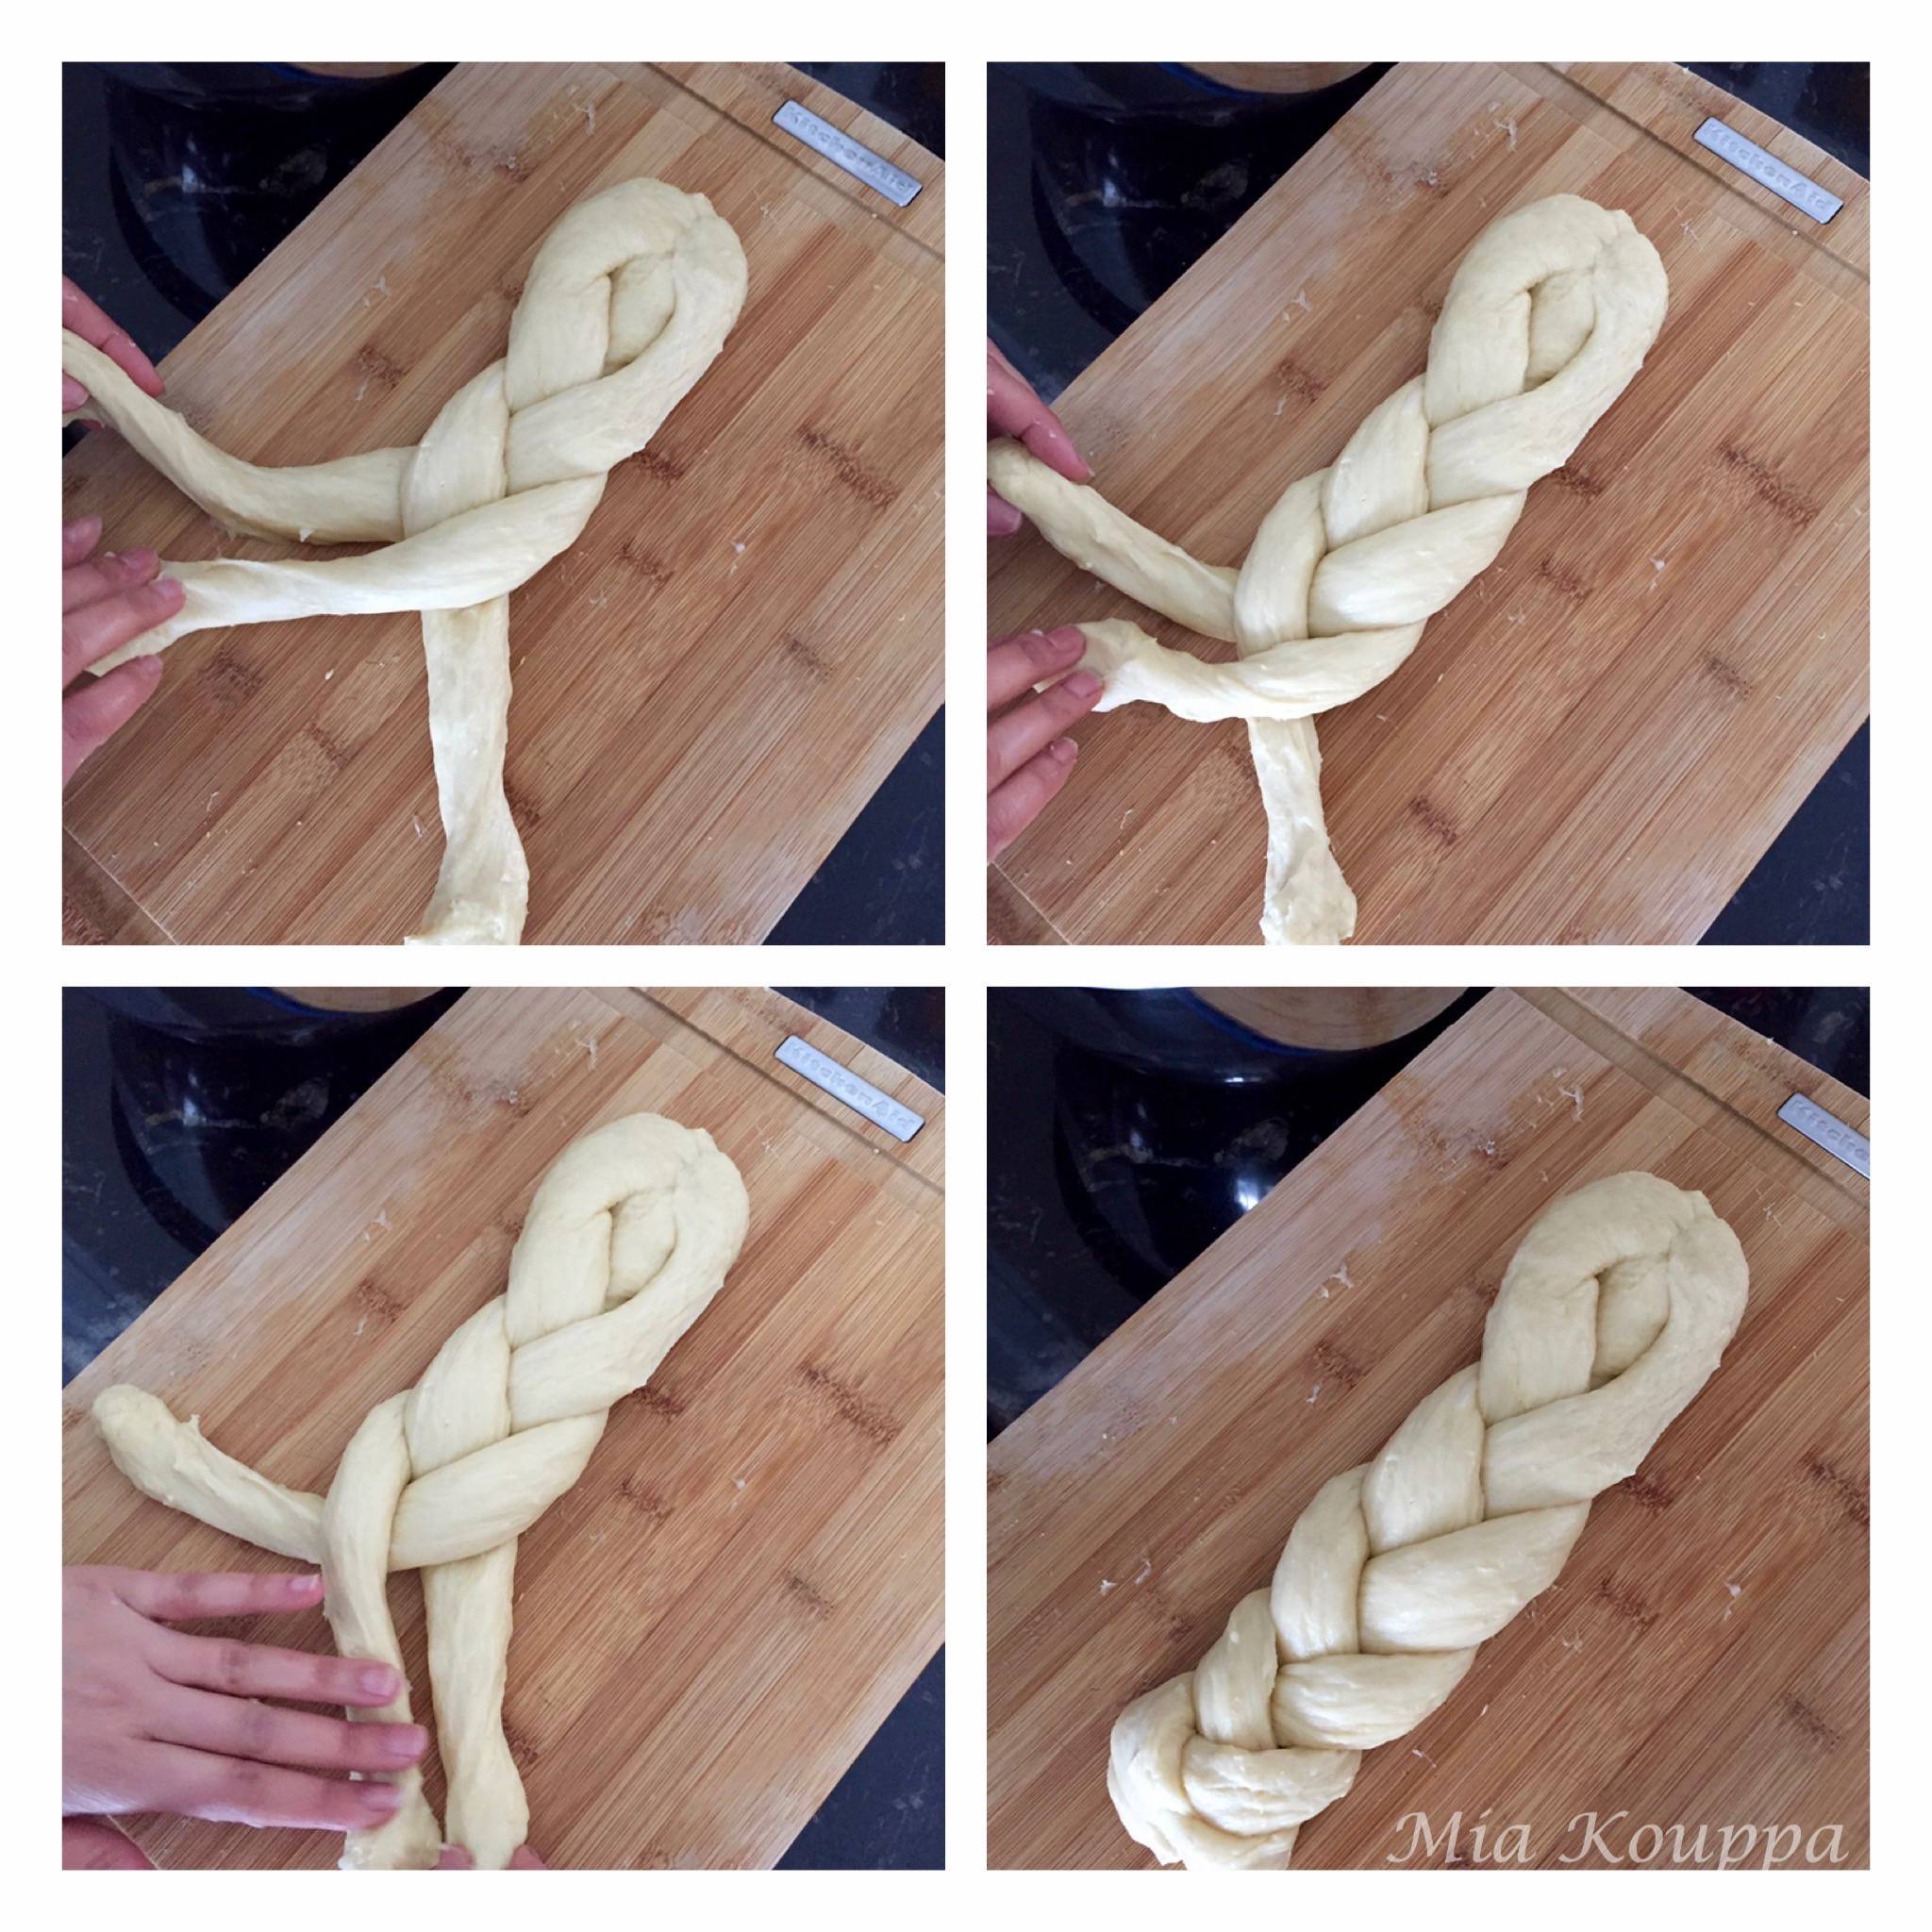
One of the trickiest parts of this recipe is shaping the tsourekia because the dough is quite sticky. Rolling it on a lightly floured surface works, but we have discovered that air rolling (have we just invented A Thing?) is so much more effective. We have also found that letting the dough sit for about 20 minutes, after separating the dough, into your 6 pieces, makes it more manageable. We have included a video so that you can actually see what we mean as describing it in written steps (although we tried) may be confusing. Watch the video and give it a try. Once you get the hang of it you will see that it is really worth any failed practice attempts. Besides, this technique provides much comedy for those dirty-minded individuals who may be watching you.

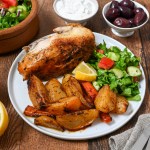
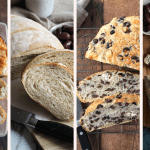
Check these tsoureki inspired recipes:
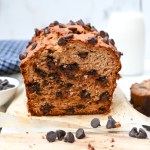
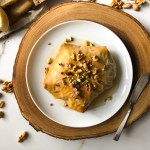
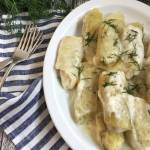
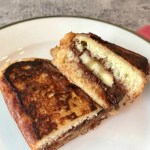
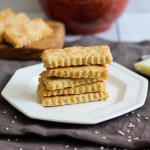
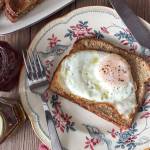
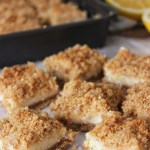
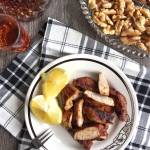
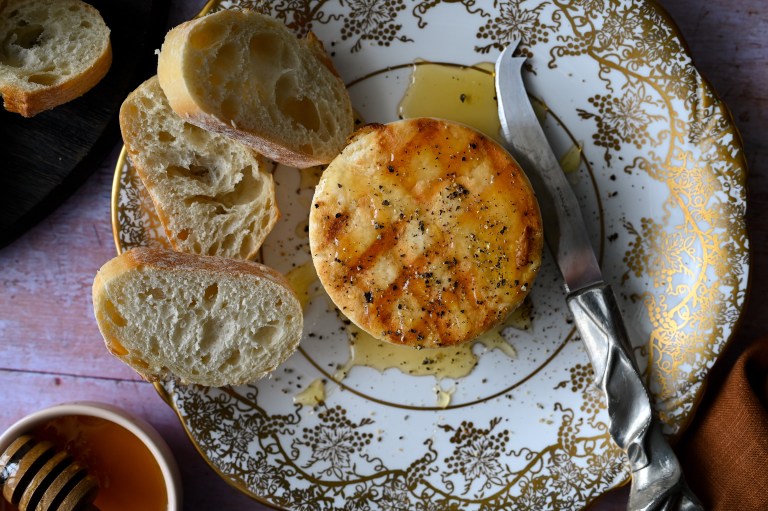
Tsoureki and feta grilled cheese
We love hearing from you! If you have made our recipes, or if you have a question or comment, or simply want to say Hi!, please leave a comment and star rating below! Also be sure to follow along with us, on Facebook, Instagram and Pinterest. We have lots of fun over there.
This post may contain some affiliate links, which means that we make a small commission off items you purchase at no additional cost to you.

Tsoureki
Ingredients
For the yeast mixture:
- 24 grams (6 teaspoons) active dry yeast
- 1 cup (250 mL) warm water
- 1/2 teaspoon sugar
For the dough:
- 2 cups (400 grams) sugar see notes
- 1 cup (225 grams, or ½ pound) unsalted butter room temperature
- 6 large eggs
- 1 cup (250 mL) whole milk, lukewarm
- 1 teaspoon crushed mastiha, or mastic
- 1 ½ teaspoons ground mahlepi
- 8 cups (1,200 grams) high gluten content flour, OR all-purpose flour
For the egg wash:
- 4 egg yolks
- 1 tbsp (15 mL) milk
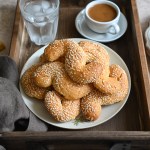
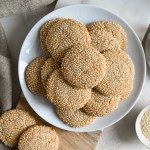
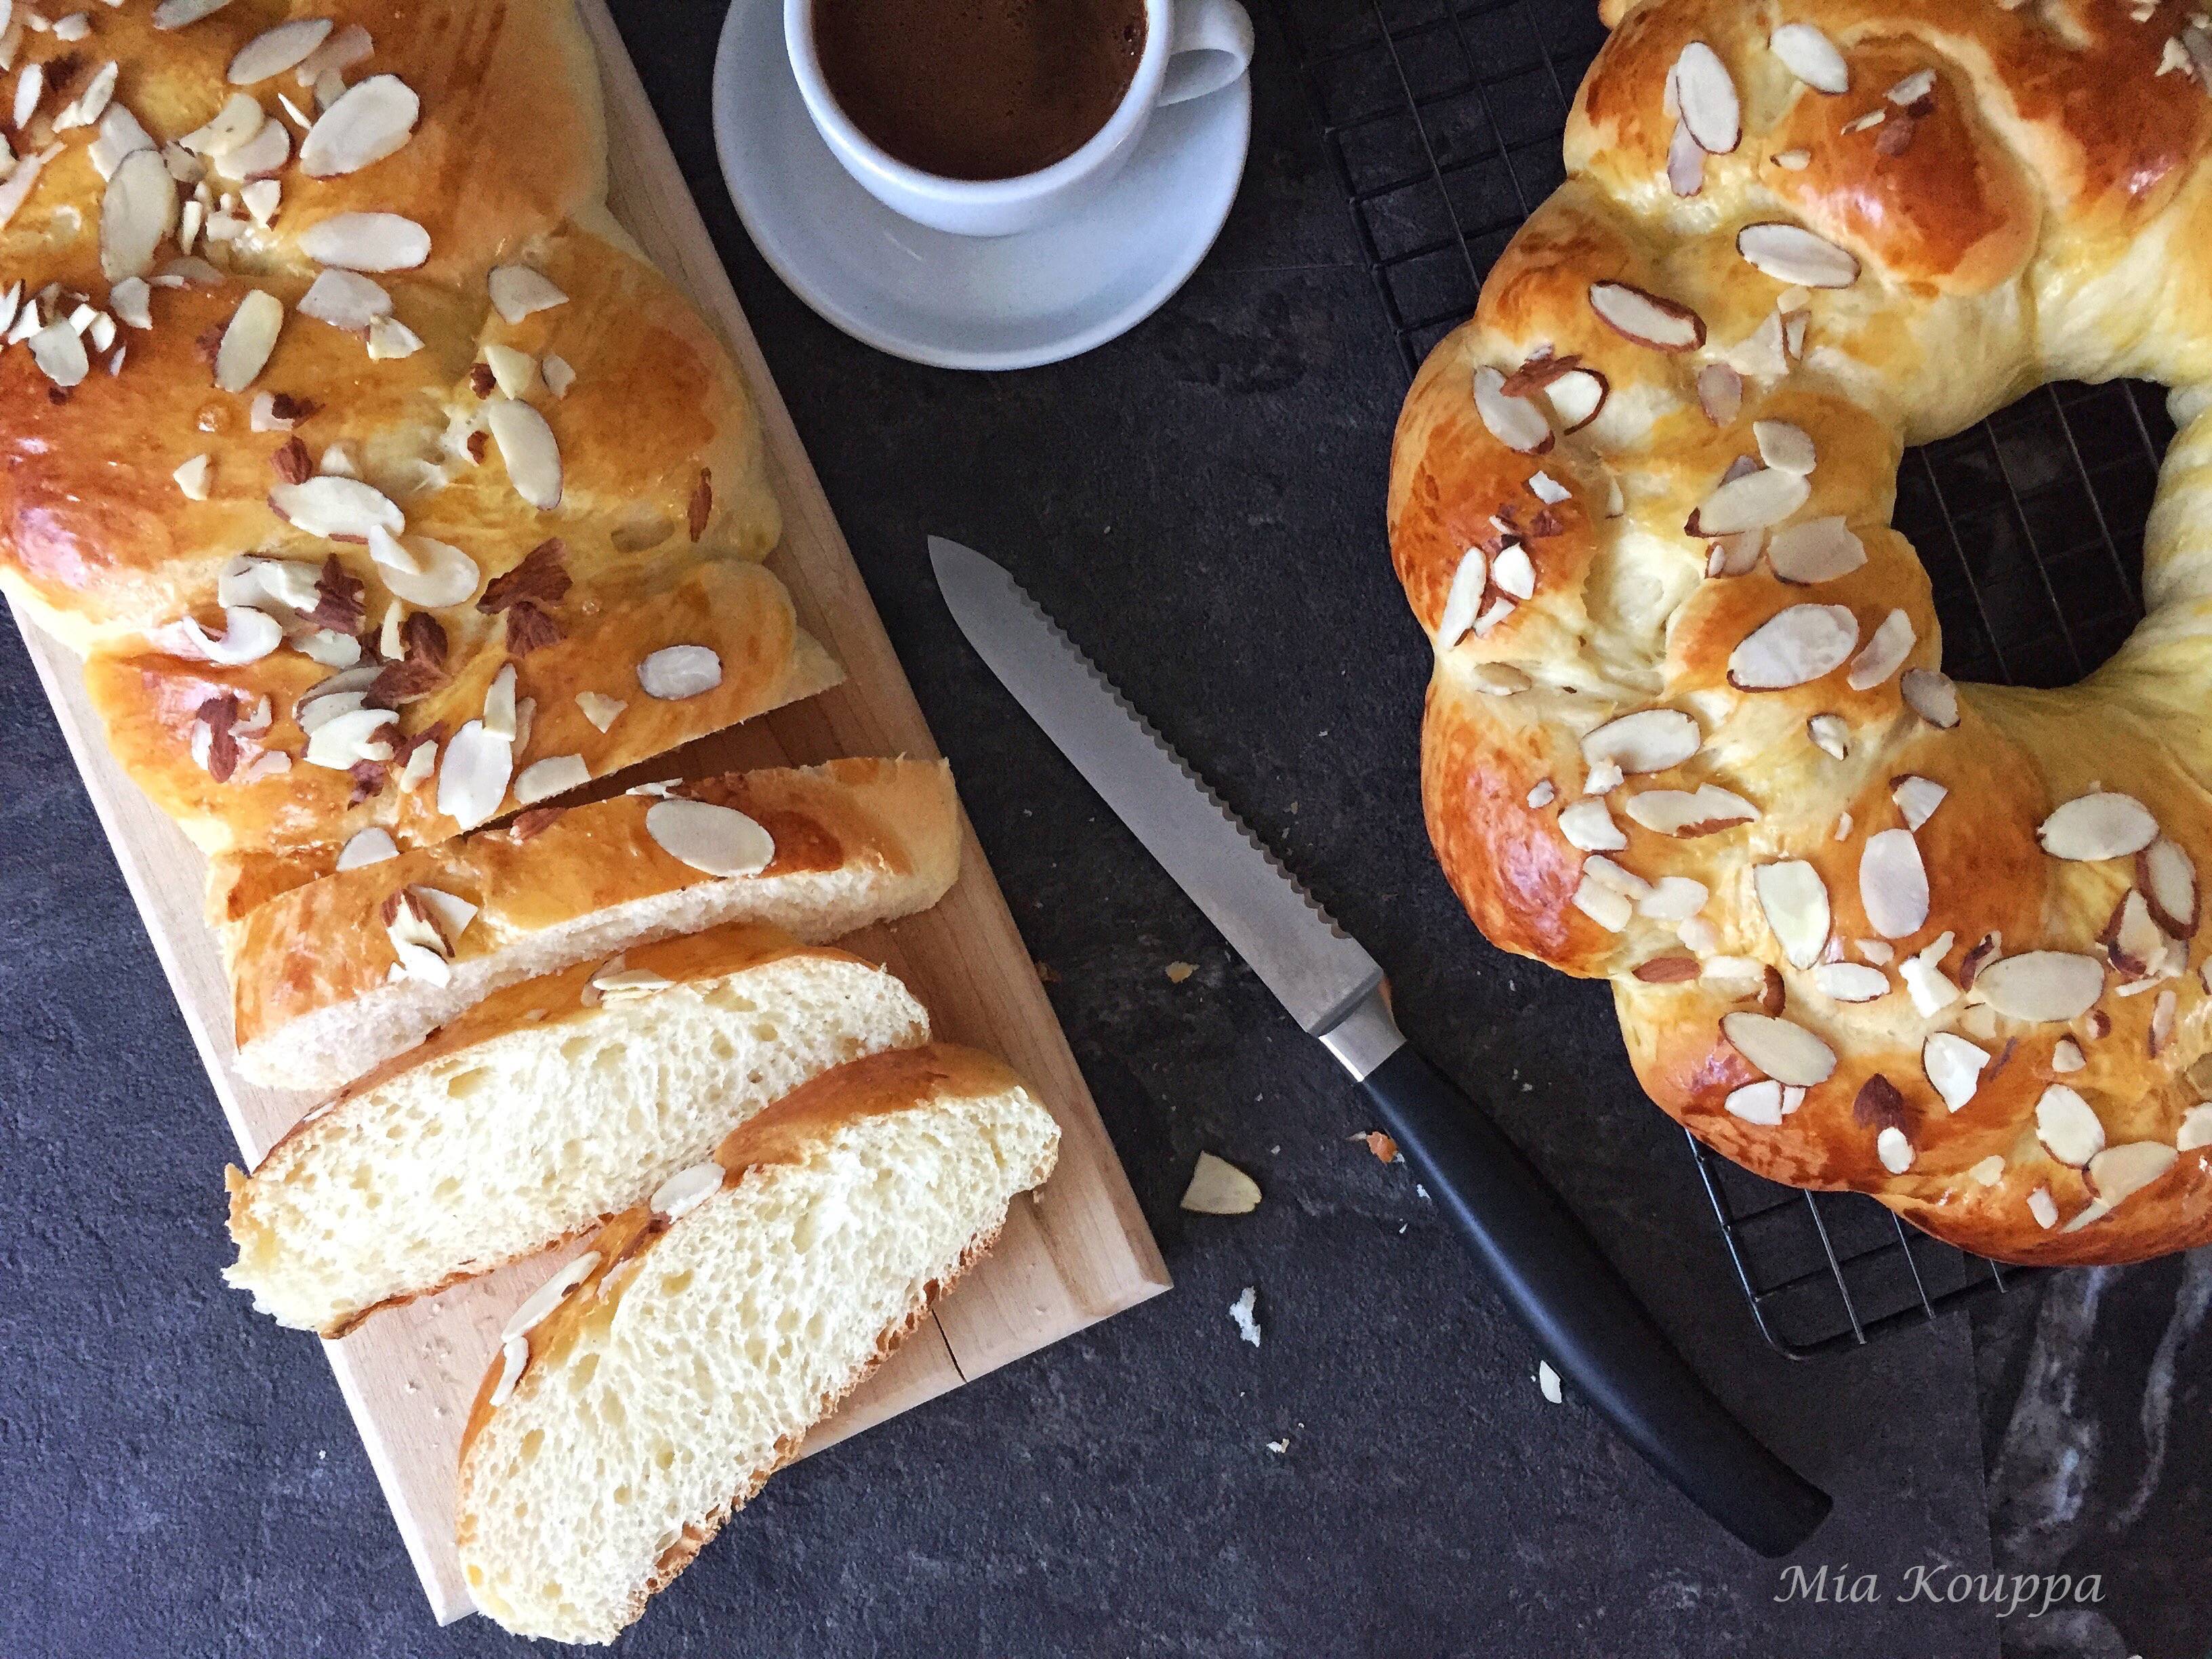
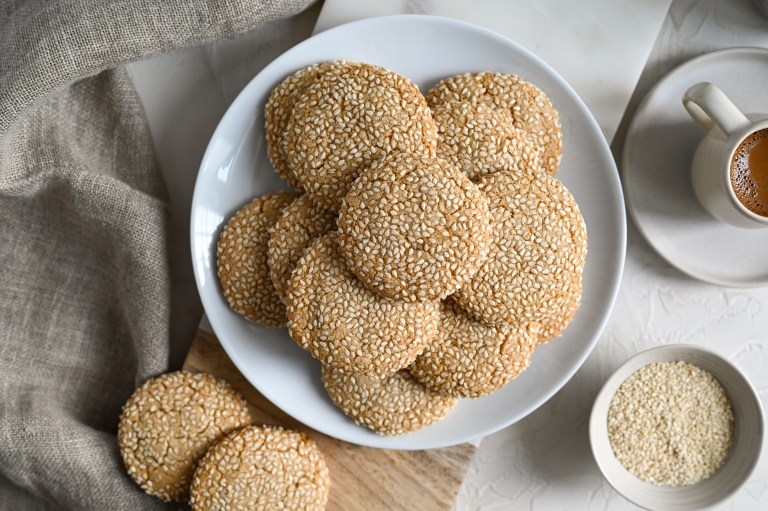
- sesame seeds, or thinly sliced almonds for garnishing the top
Instructions
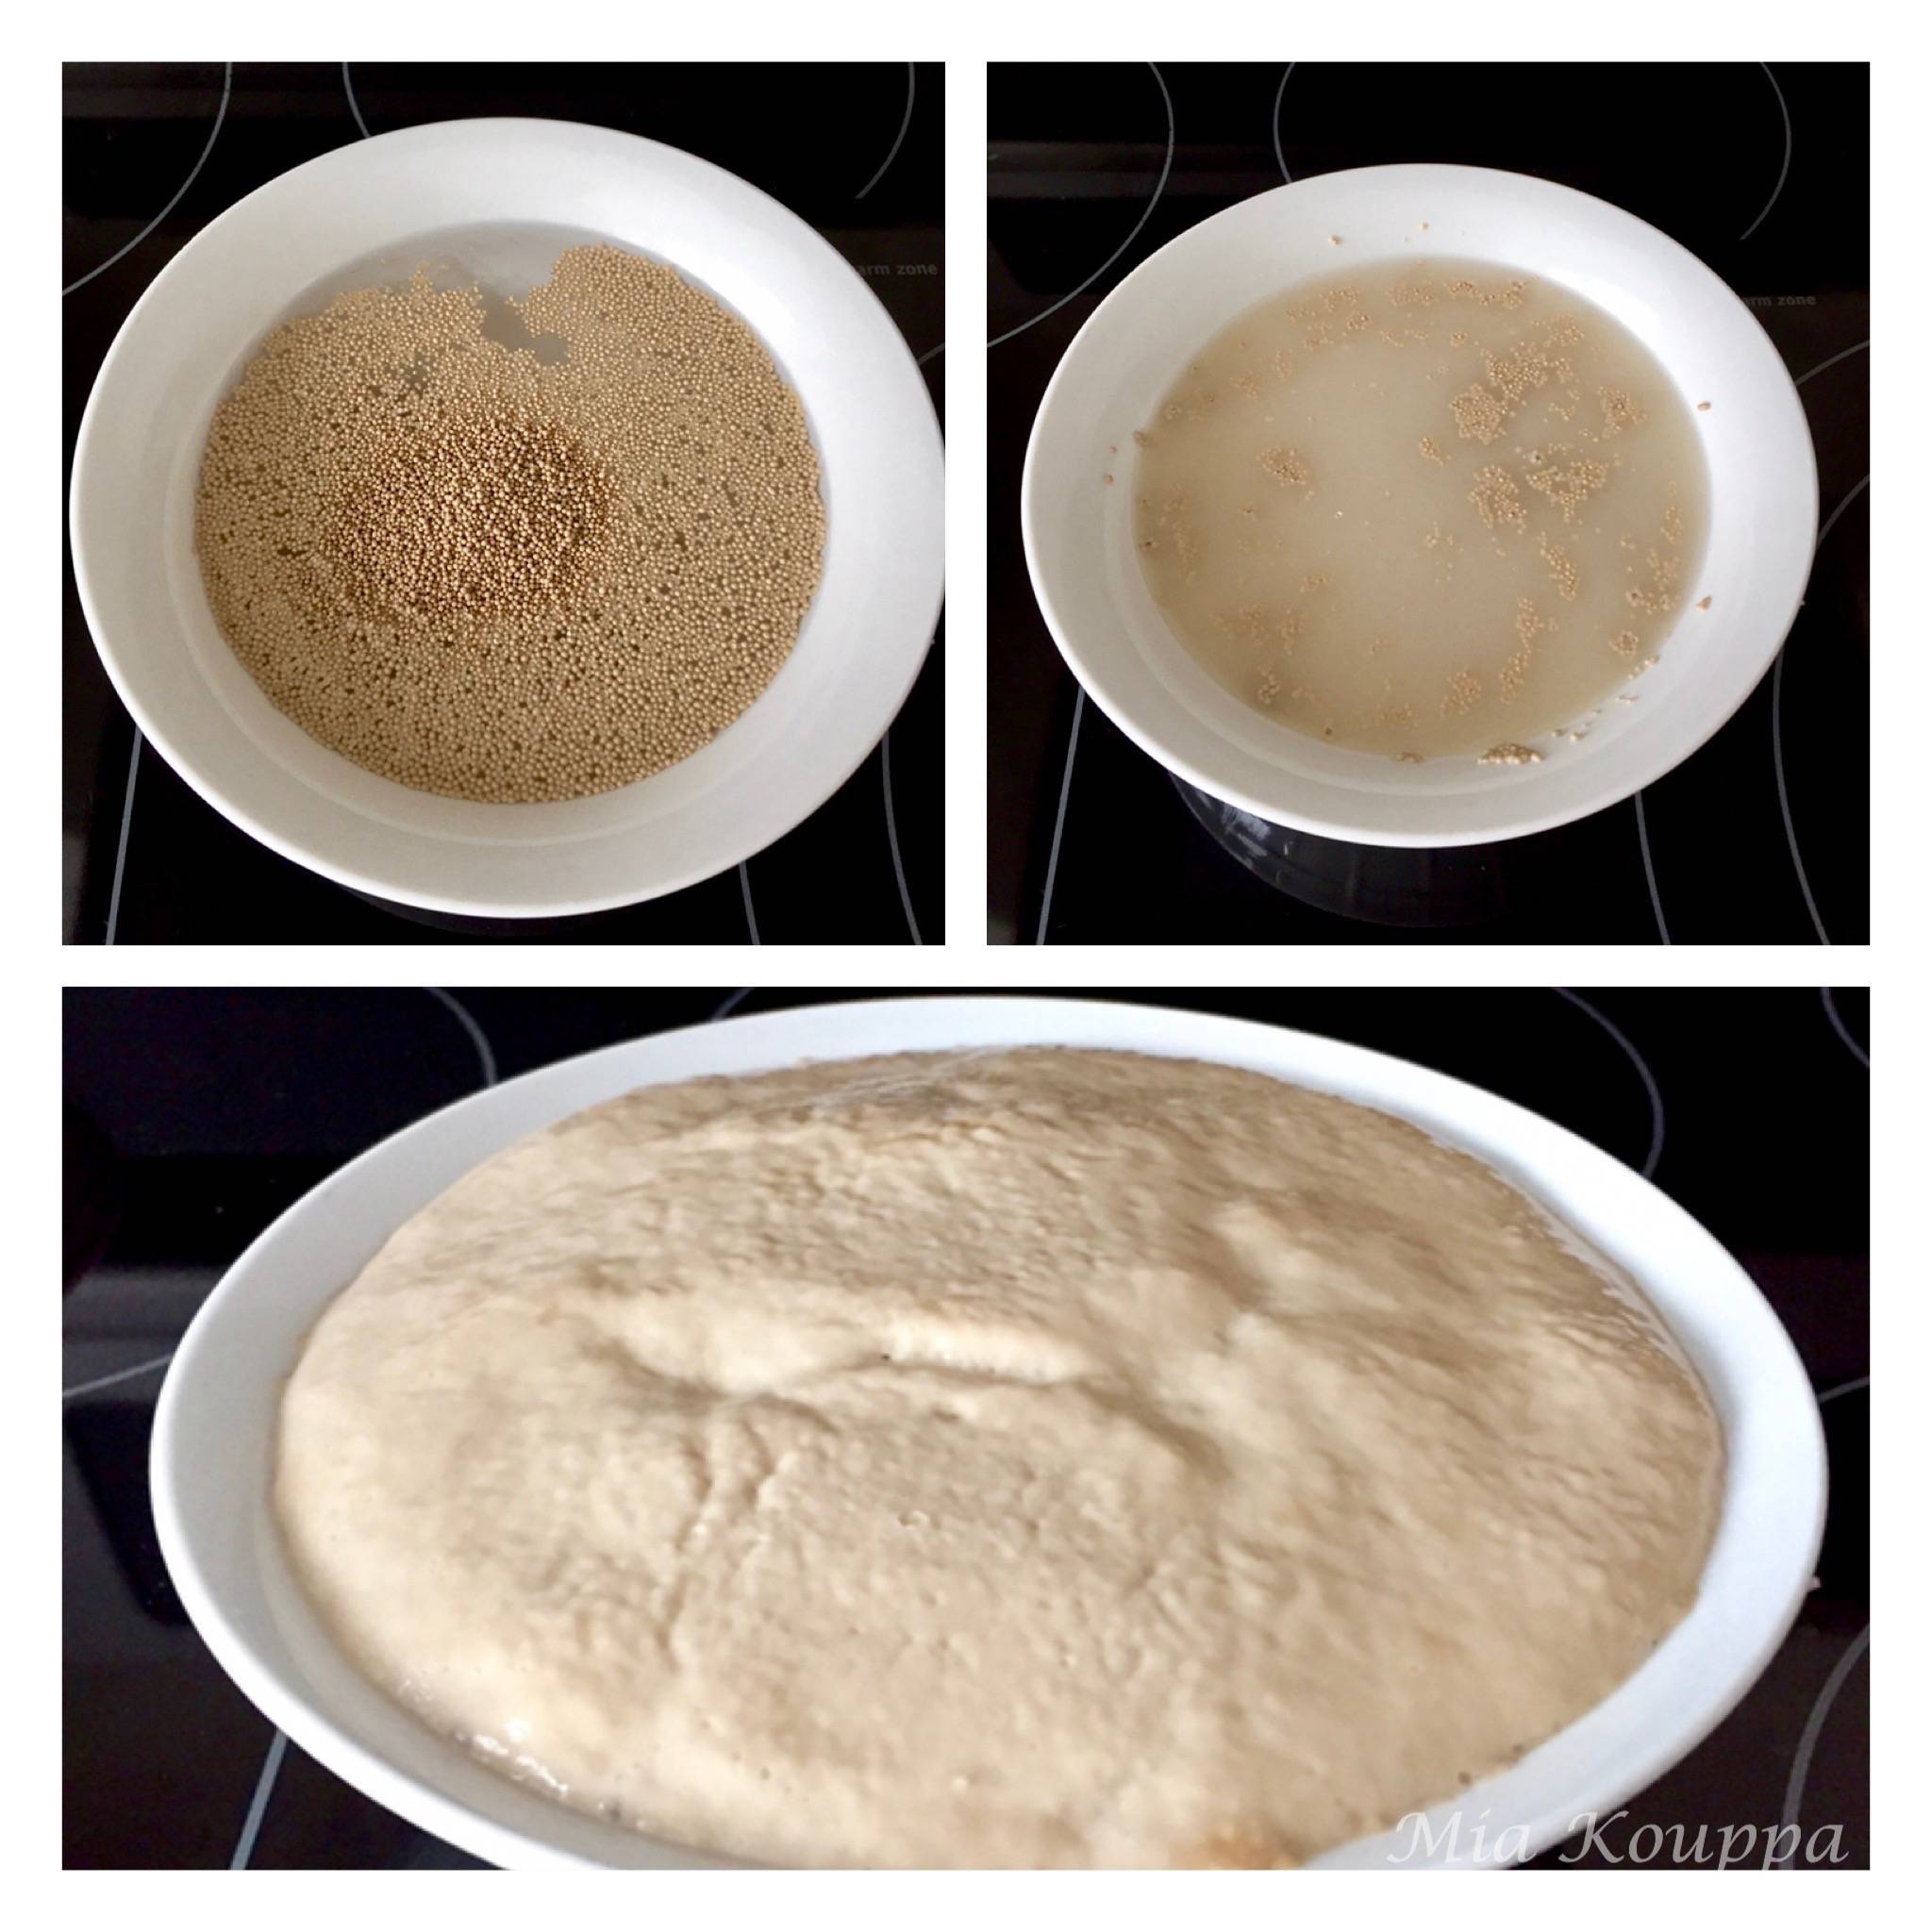
- Combine the water and sugar in a bowl. Sprinkle the yeast mixture on top and mix gently. Set aside for approximately 30 minutes so that the yeast is activated. You should see the mixture bubbling; there should be foam like layer on the surface of the water. This is normal, and this is good. If this does not happen, something went wrong. Check the expiry date of your yeast and the temperature of your water, and start again.
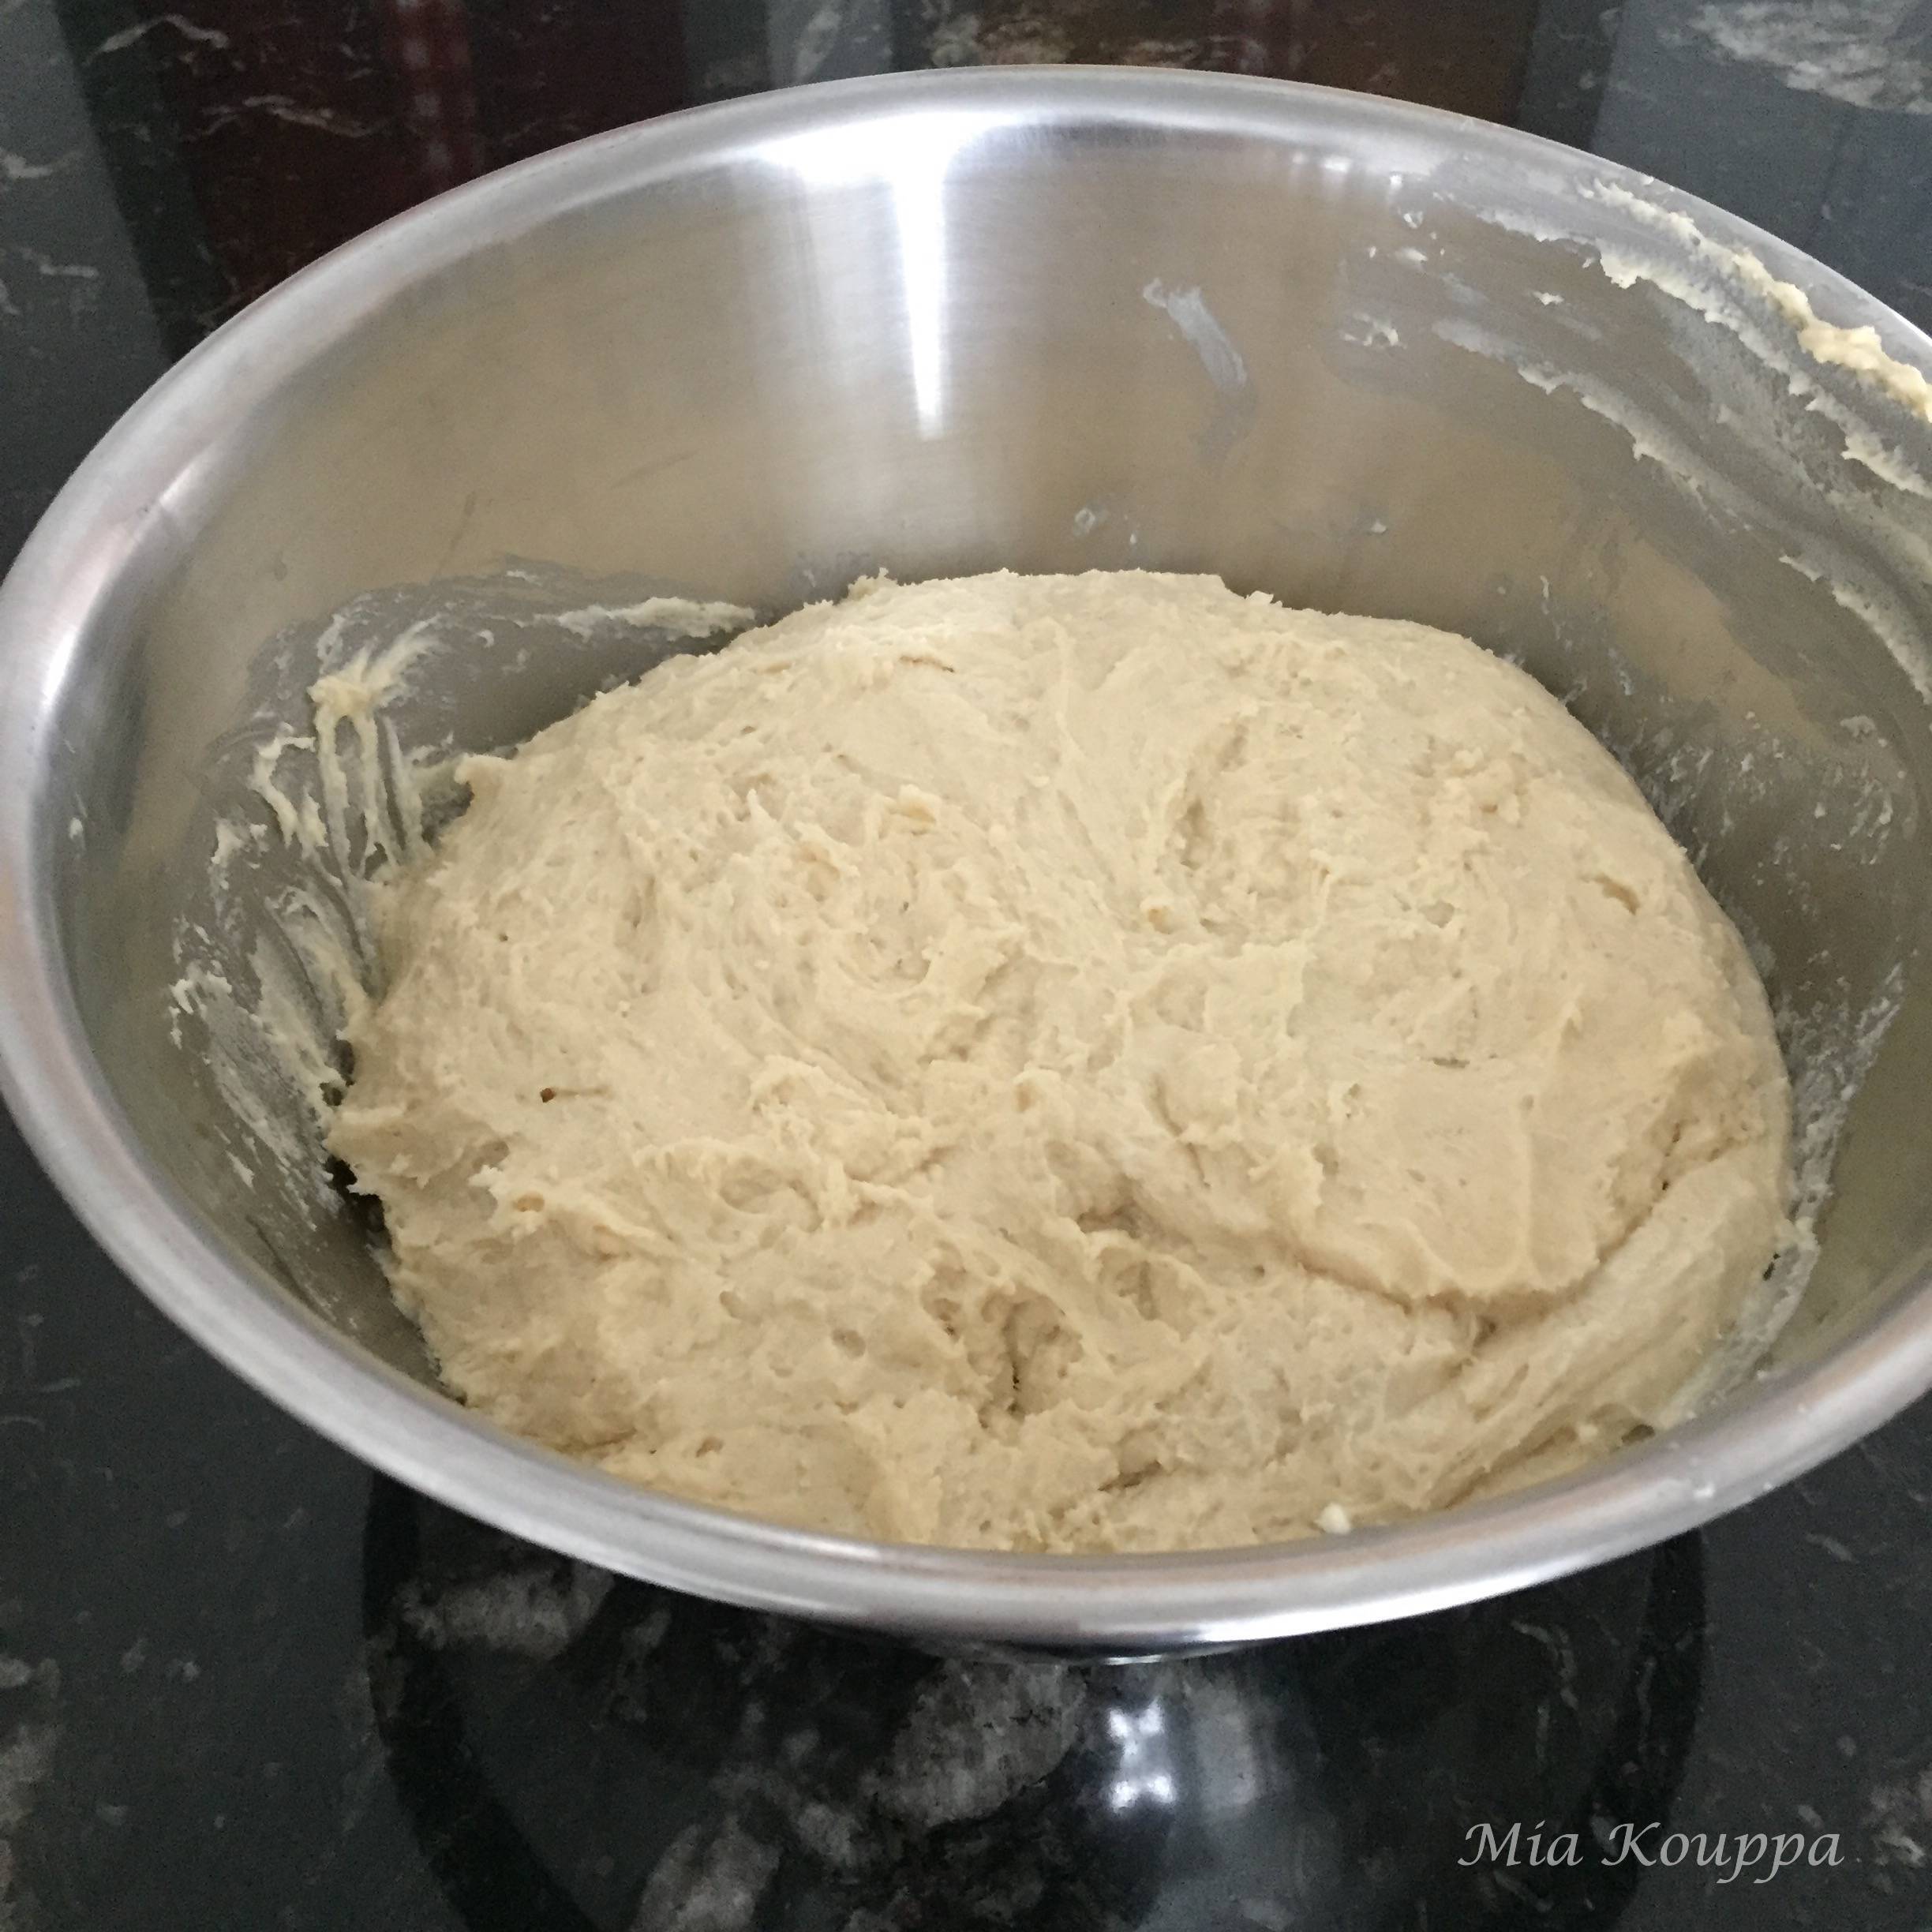
- Meanwhile, in an electric mixture beat the sugar and butter. Add the eggs (they don’t have to be separated) and continue to mix. Once well combined, add the milk, mastiha and mahlepi, and finally the risen yeast mixture. Mix until combined. At this point, your mixture will look a little gross…kind of like curdled milk. This is fine. You’re doing fine! Trust us (and cousin Effie)!
- To this gross mixture add the flour, one cup at a time, and mix until just combined after each addition. If you have a standing mixer with a bread hook attachment, you can use that for this part. Otherwise, mix and knead your dough by hand in a large bowl. You will use about 8 cups of flour. You should end up with a dough which is not too tough, meaning that it should be stretchy and easy to manipulate. It will be sticky.
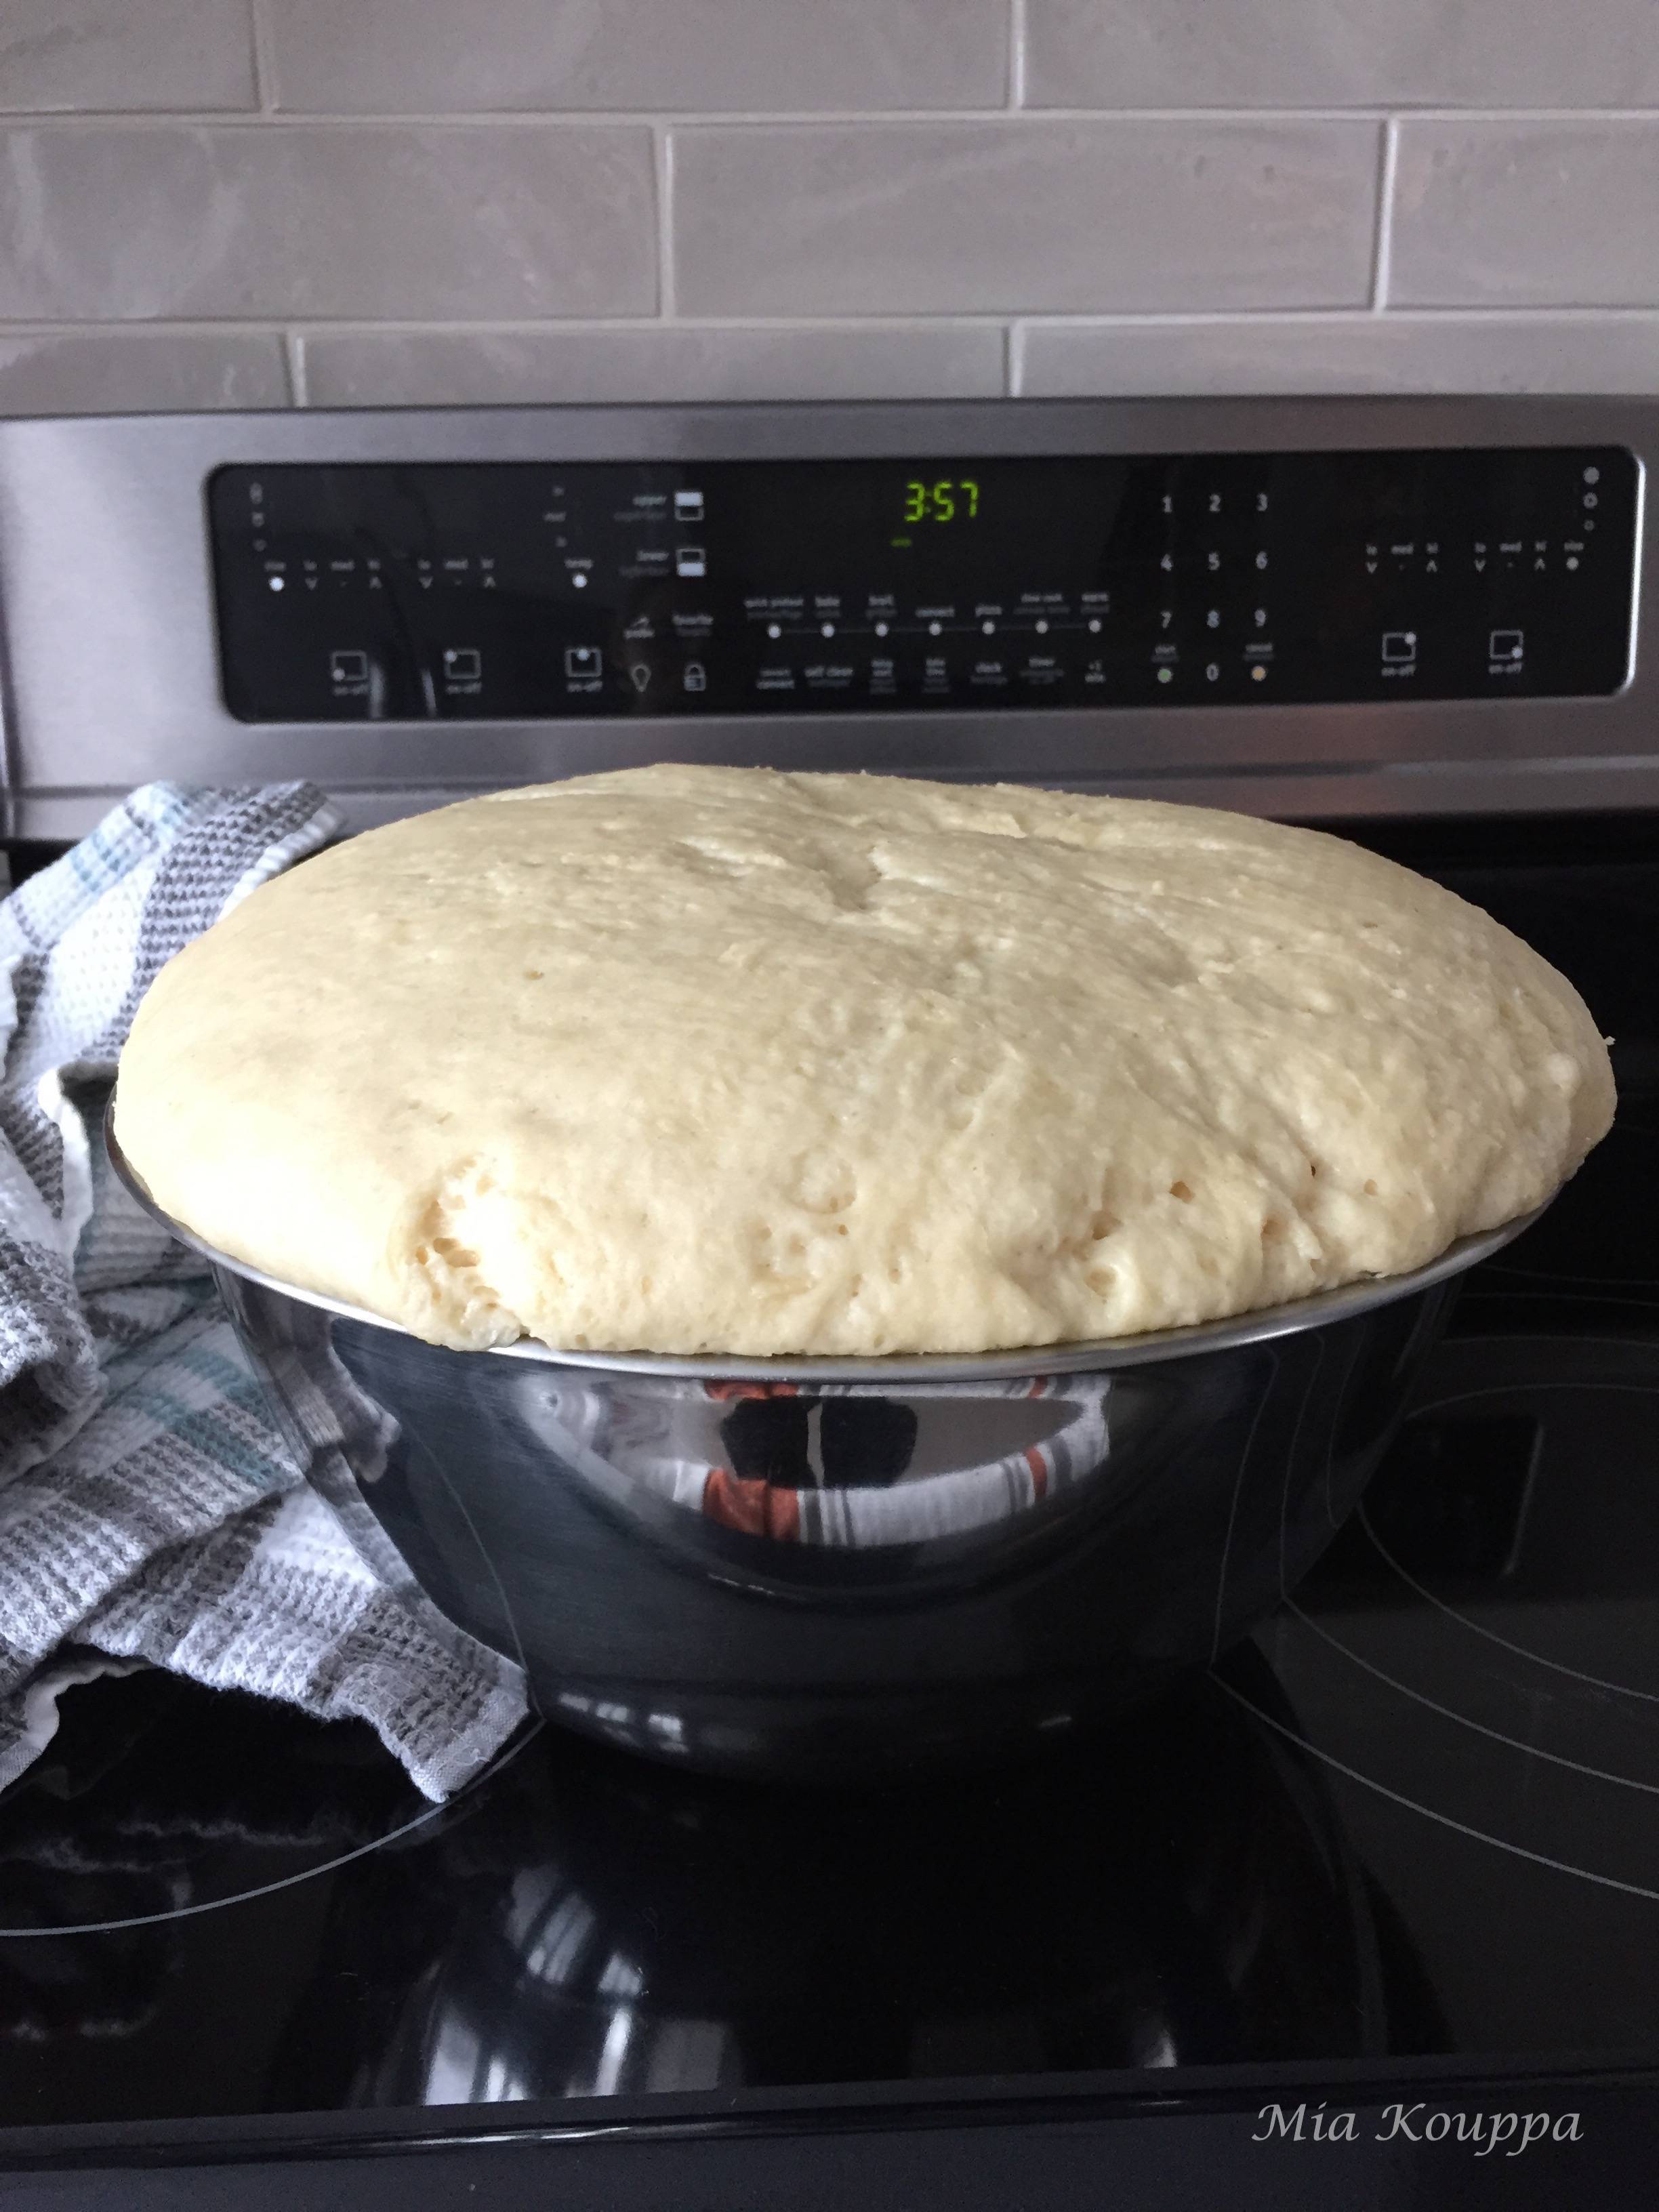
- Once your dough is ready you must let it rise. Keep your dough in a large bowl (remember that it will increase in size so be sure that your bowl is large enough) and cover it with a few kitchen towels to keep it warm. We usually place our dough on the stovetop and turn on the overhead light from the kitchen fan; the light gives off a little bit of heat. Otherwise, you can keep it in the oven (off of course) to eliminate any draft you may have.
- Your dough should double in size. Depending on the temperature of your home, this can take between 3-4 hours. Punch your dough down to release the air. Note that the dough is very sticky! This is normal. You are now ready to shape your tsourekia.
- This recipe will make 6 tsourekia, (total weight is around 2,400 grams) therefore, divide your dough into 6 equal parts (about 400 grams each). Let the dough sit for about 20 minutes; Then, each part will be divided into 3 balls of dough. Each ball should be shaped into a long, tubular, piece of dough. You can either do this by rolling the dough on a lightly floured surface, or, in the air by working the dough between your hands. Your dough might be sticky, we suggest you oil your hands, and this will make things much easier. Once you get the hang of it, this is a much easier and faster method. To start, take some dough and shape it into a ball with your hands. Then, moving your hands quickly back and forth in front of you, start to make a log with the dough. Turn the dough around and repeat. It may be easier to understand if you watch this video. Continue this movement until the dough is about 1 inch thick. Repeat with the other 2 pieces of dough.
- Once you have 3 pieces of dough shaped into logs, pinch one of their ends together so that they are all connected. Then, start braiding by passing the right piece over the middle one. Then, pass the left piece over the now NEW middle one. Repeat, passing the right strand over the now new middle one. Keep repeating this process until you have reached the end of your dough. Pinch those ends together and cut off any excess dough. You can watch this video to see how it’s done.
- Once your tsoureki is formed place it on a parchment paper lined baking sheet. Repeat until you have used all the dough. Cover the braids with clean kitchen towels and allow to rise in a warm, draft free place, for approximately 2-3 hours. Please note, that the 2nd rising, will cause them to lose their shape a bit; no matter..they will be light and fluffy on the inside.
- Preheat your oven to 350 degrees Fahrenheit.
- Once the tsourekia have risen, prepare your egg wash; mix together 4 egg yolks with 1 tablespoon milk and brush carefully on top of the tsourekia. Sprinkle with sesame seeds or sliced almonds (or both). Place your tsourekia in the middle of the oven for 20 to 25 minutes, until golden in colour, but keep checking them, you don’t want them to burn.
- Enjoy!


Leave a Reply