


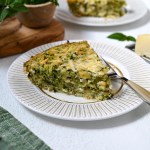


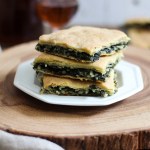


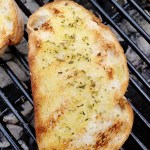


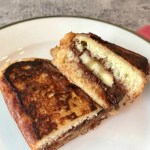


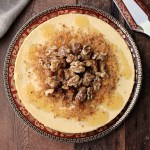


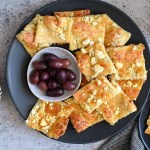


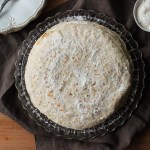


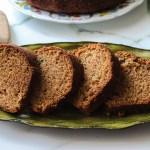


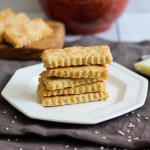


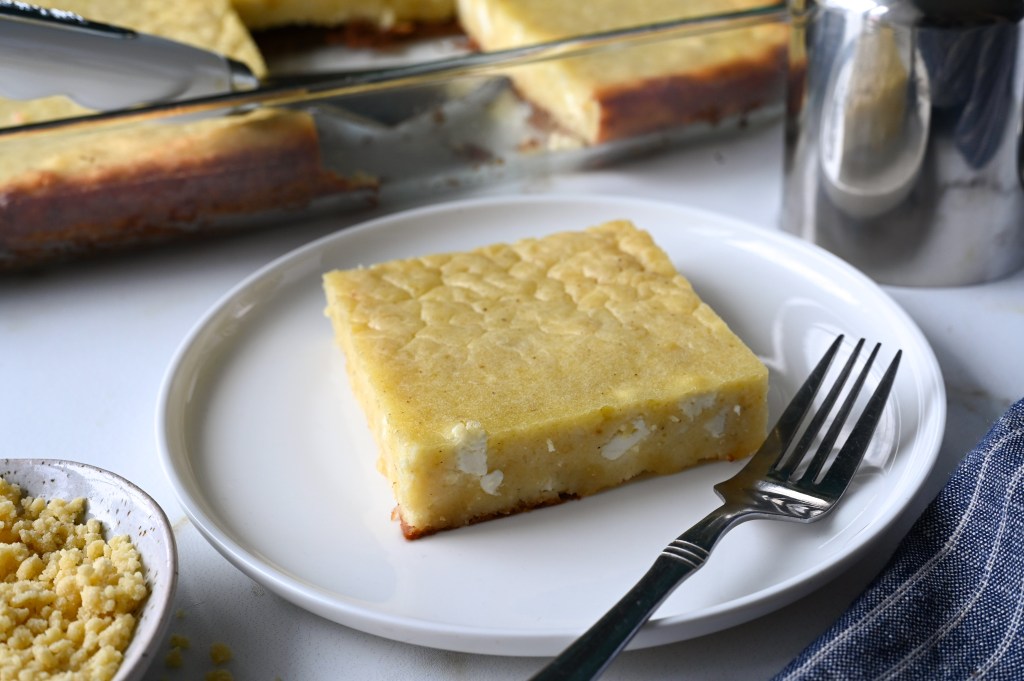
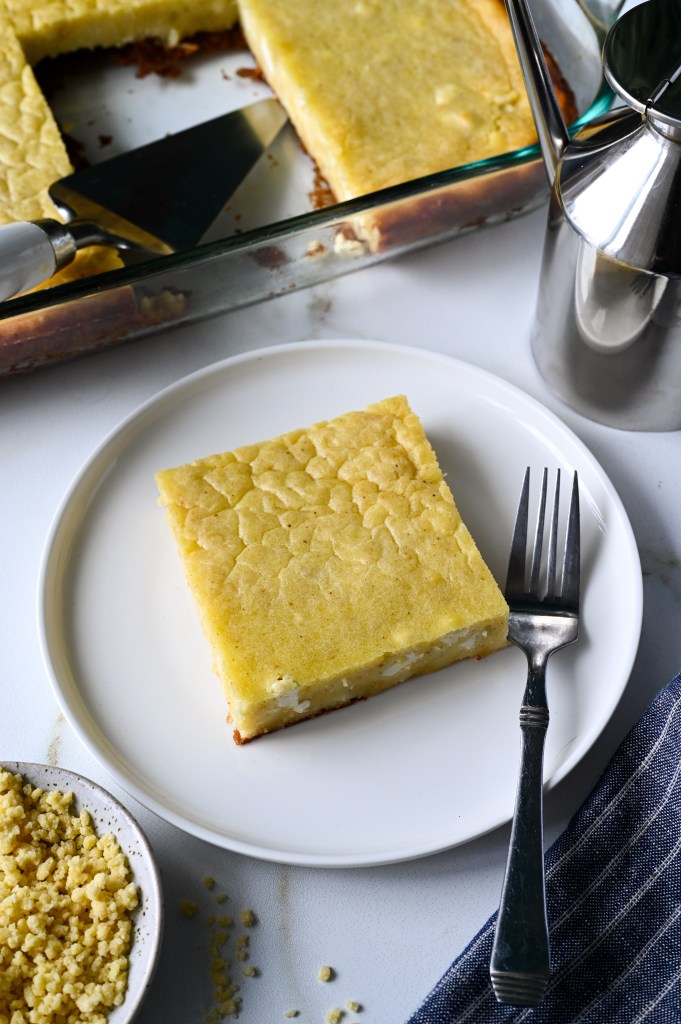
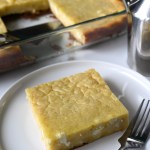
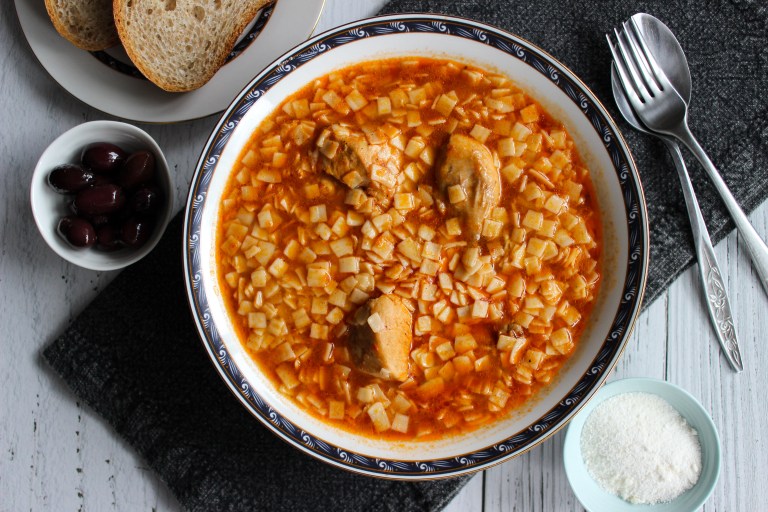
Kourkoutopita is a rustic Greek pita with no phyllo made with trahana
Κουρκουτόπιτα με τραχανά. When you want fast Greek food, turn to our kourkoutopita with trahana. Kourkoutopita is a phyllo-less pita that can come together very easily when it seems that there is no time, and nothing much to eat. The ingredients are basic – well, if you aren’t Greek then the trahana might not be so basic….but we’ll get to that. Other than the trahana, you’ll need ingredients that you likely already have in the refrigerator and pantry.

There are many versions of pita made without phyllo, with variations coming from various regions of Greece. We have already shared one of these, our lovely alevropita which is made with a base of flour, and here we have our kourkoutopita with trahana, full of delicious feta! This is definitely going to become a favourite recipe, we’re convinced!
What is trahana?
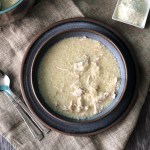
Trahana is a hard pasta made of cracked wheat, bulgur or flour. There are many families who make their own trahana (this is not our family). They do so by making dense masses of the simple ingredients, allowing them to dry thoroughly (often in the sun) and then breaking them up into small pieces. Often times, these small pieces are further passed through a fine metal sieve, to create a pebble like texture. Making trahana was, and in some places probably still is, a great way to preserve milk and other dairy when it is plentiful, for times when it is more scarcely available.
If you will not be making your own trahana, you can usually find trahana for purchase in Greek or Mediterranean grocery stores, or online. When purchased, trahana looks a little like couscous, or like small pebbles, depending upon the technique used in making it. We purchased our trahana to make this amazing recipe of kourkoutopita with trahana.
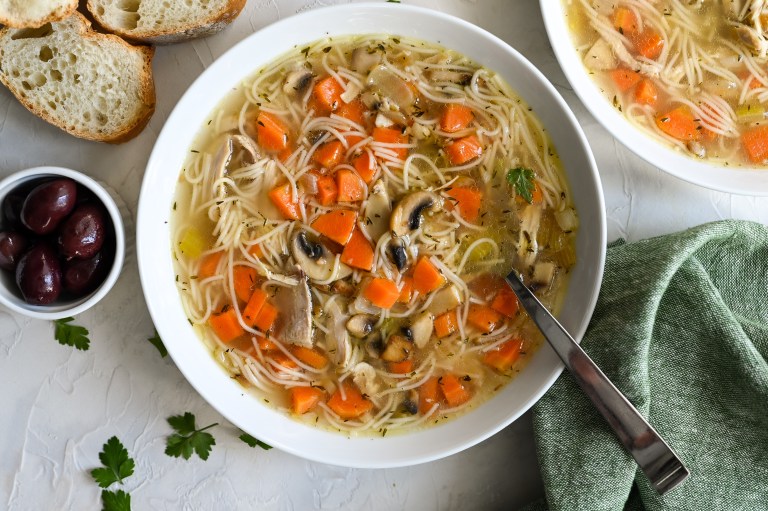
There are two types of trahana, the sour and the sweet varieties. The sour trahana, which we use in our recipe for sour trahana soup with tomato, is made by adding buttermilk or yogourt. To make the sweet trahana that we use in our kourkoutopita with trahana, whole milk is added to the trahana-making process instead.
What you need to make kourkoutopita with trahana
You will need the following simple ingredients to make kourkoutopita with trahana:
- Sweet trahana
- Milk
- Water
- Flour
- Eggs
- Feta
- Olive oil
- Salt & Pepper

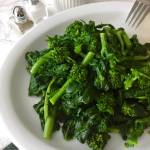
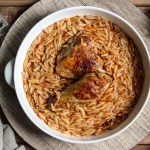
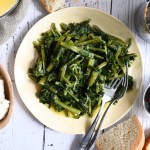
What to serve with your kourkoutopia with trahana
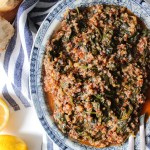
This phyllo-less pita would go really well with a simple salad. Our favourite to pair with kourkoutopita with trahana would be a simple lettuce salad, or maroulosalata. Equally delicious would be a Greek salad (or horiatiki salata) or some delicious horta.
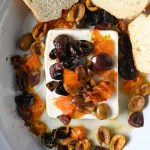
Looking for some more cheese recipes? Try these:
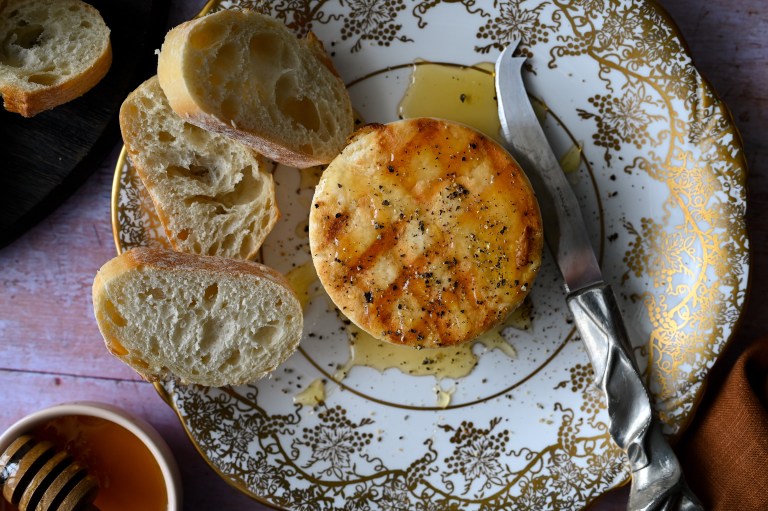
Baked feta with orange and olives
We love hearing from you! If you have made our recipes, or if you have a question or comment, or simply want to say Hi!, please leave a comment and star rating below! Also be sure to follow along with us, on Facebook, Instagram and Pinterest. We have lots of fun over there.
This post may contain some affiliate links, which means that we make a small commission off items you purchase at no additional cost to you.
Kourkoutopita with trahana
Equipment
- 1 casserole dish 9 x 14 inches
Ingredients
- 1 cup sweet trahana
- 2 cups milk
- 1 cup water or brine from the feta
- 2 cups flour
- 4 eggs
- 1 cup olive oil
- 500 grams feta, crumbled
- ½ tsp salt
- ½ tsp pepper
- olive oil for greasing bottom of pan
Instructions
- Preheat your oven to 350 °F
- Grease the bottom of your baking dish well with olive oil and set aside.
- In a medium size bowl combine the trahana with the milk and allow to sit for approximately 30 minutes.1 cup sweet trahana, 2 cups milk
- Then, in a large bowl combine the trahana with milk, the water (or brine from the feta), the flour, eggs, olive oil, feta and salt and pepper.1 cup water, 2 cups flour, 4 eggs, 1 cup olive oil, 500 grams feta, crumbled, ½ tsp salt, ½ tsp pepper
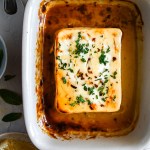
- Pour the mixture into your prepared baking pan and bake in the middle rack of your oven for approximately 45 minutes until set and browned slightly on top.
- Remove from oven and let cool slightly before cutting the kourkoutopita and serving.
- Enjoy!


Leave a Reply