Your cart is currently empty!


Taking the guesswork out of Greek cooking…one cup at a time
Taking the guesswork out of Greek cooking…one cup at a time
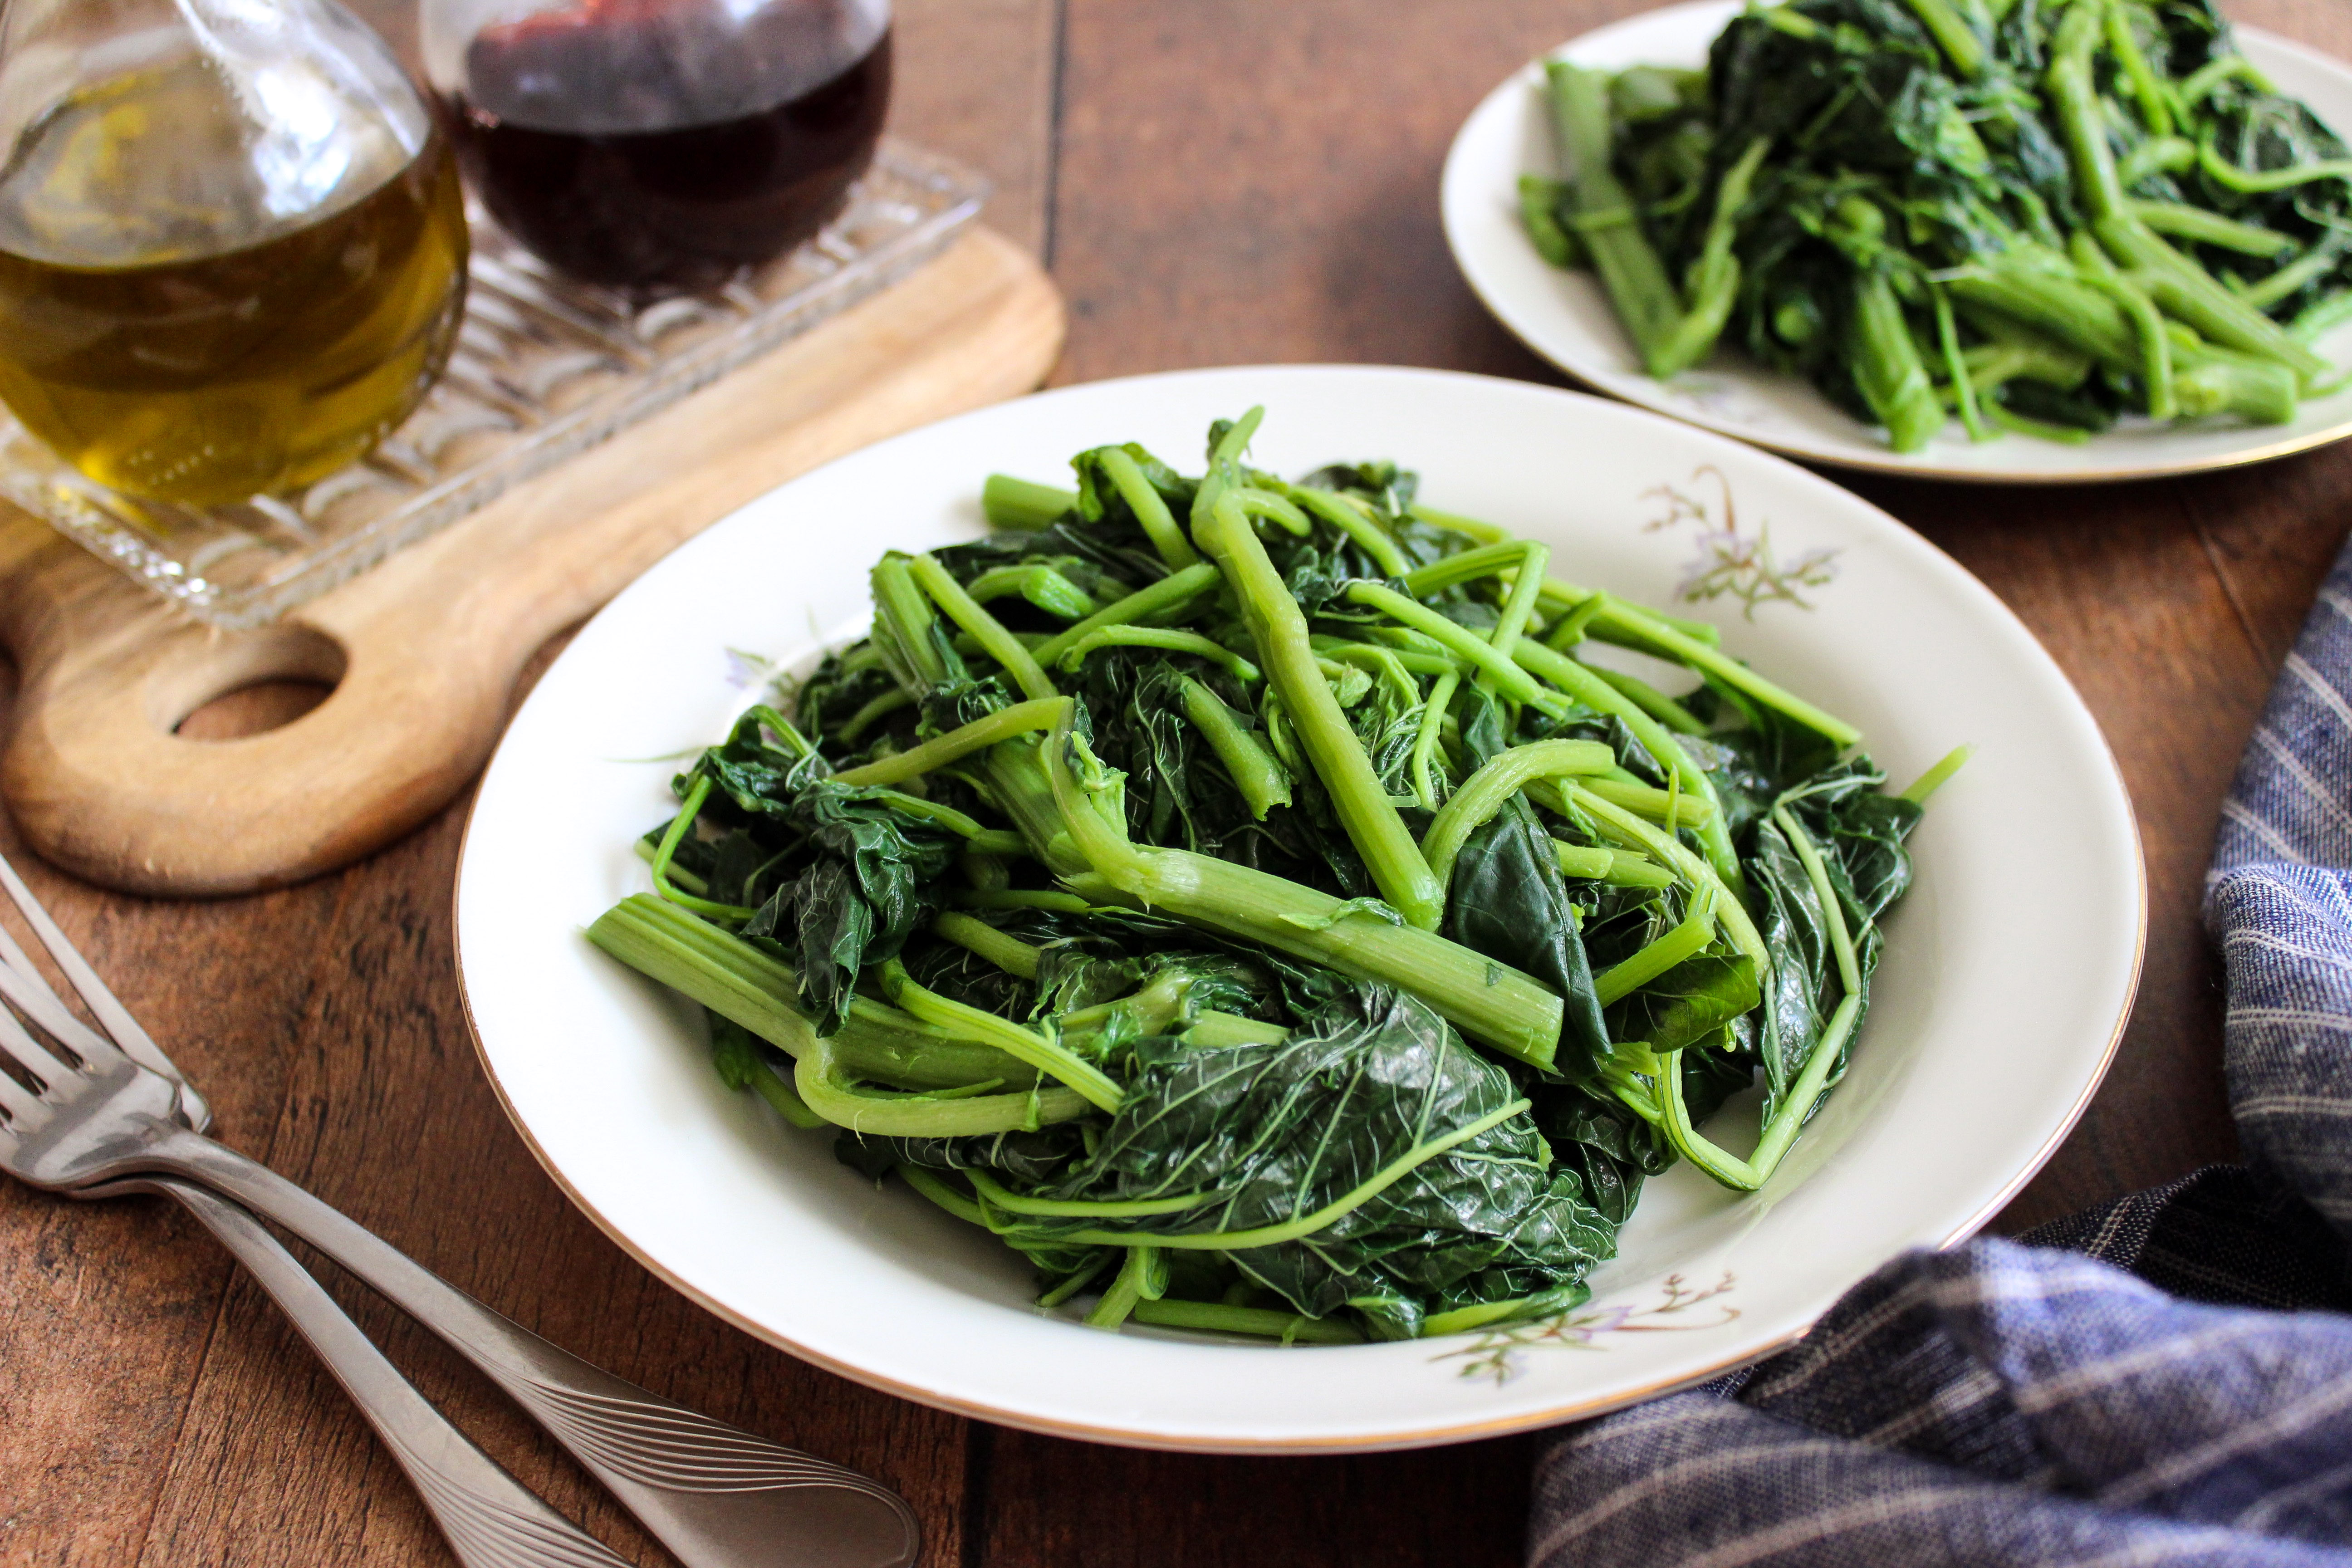
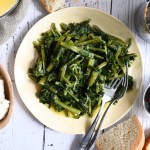
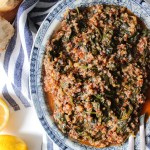
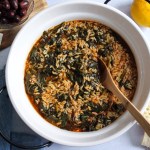
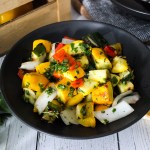
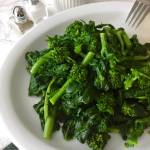
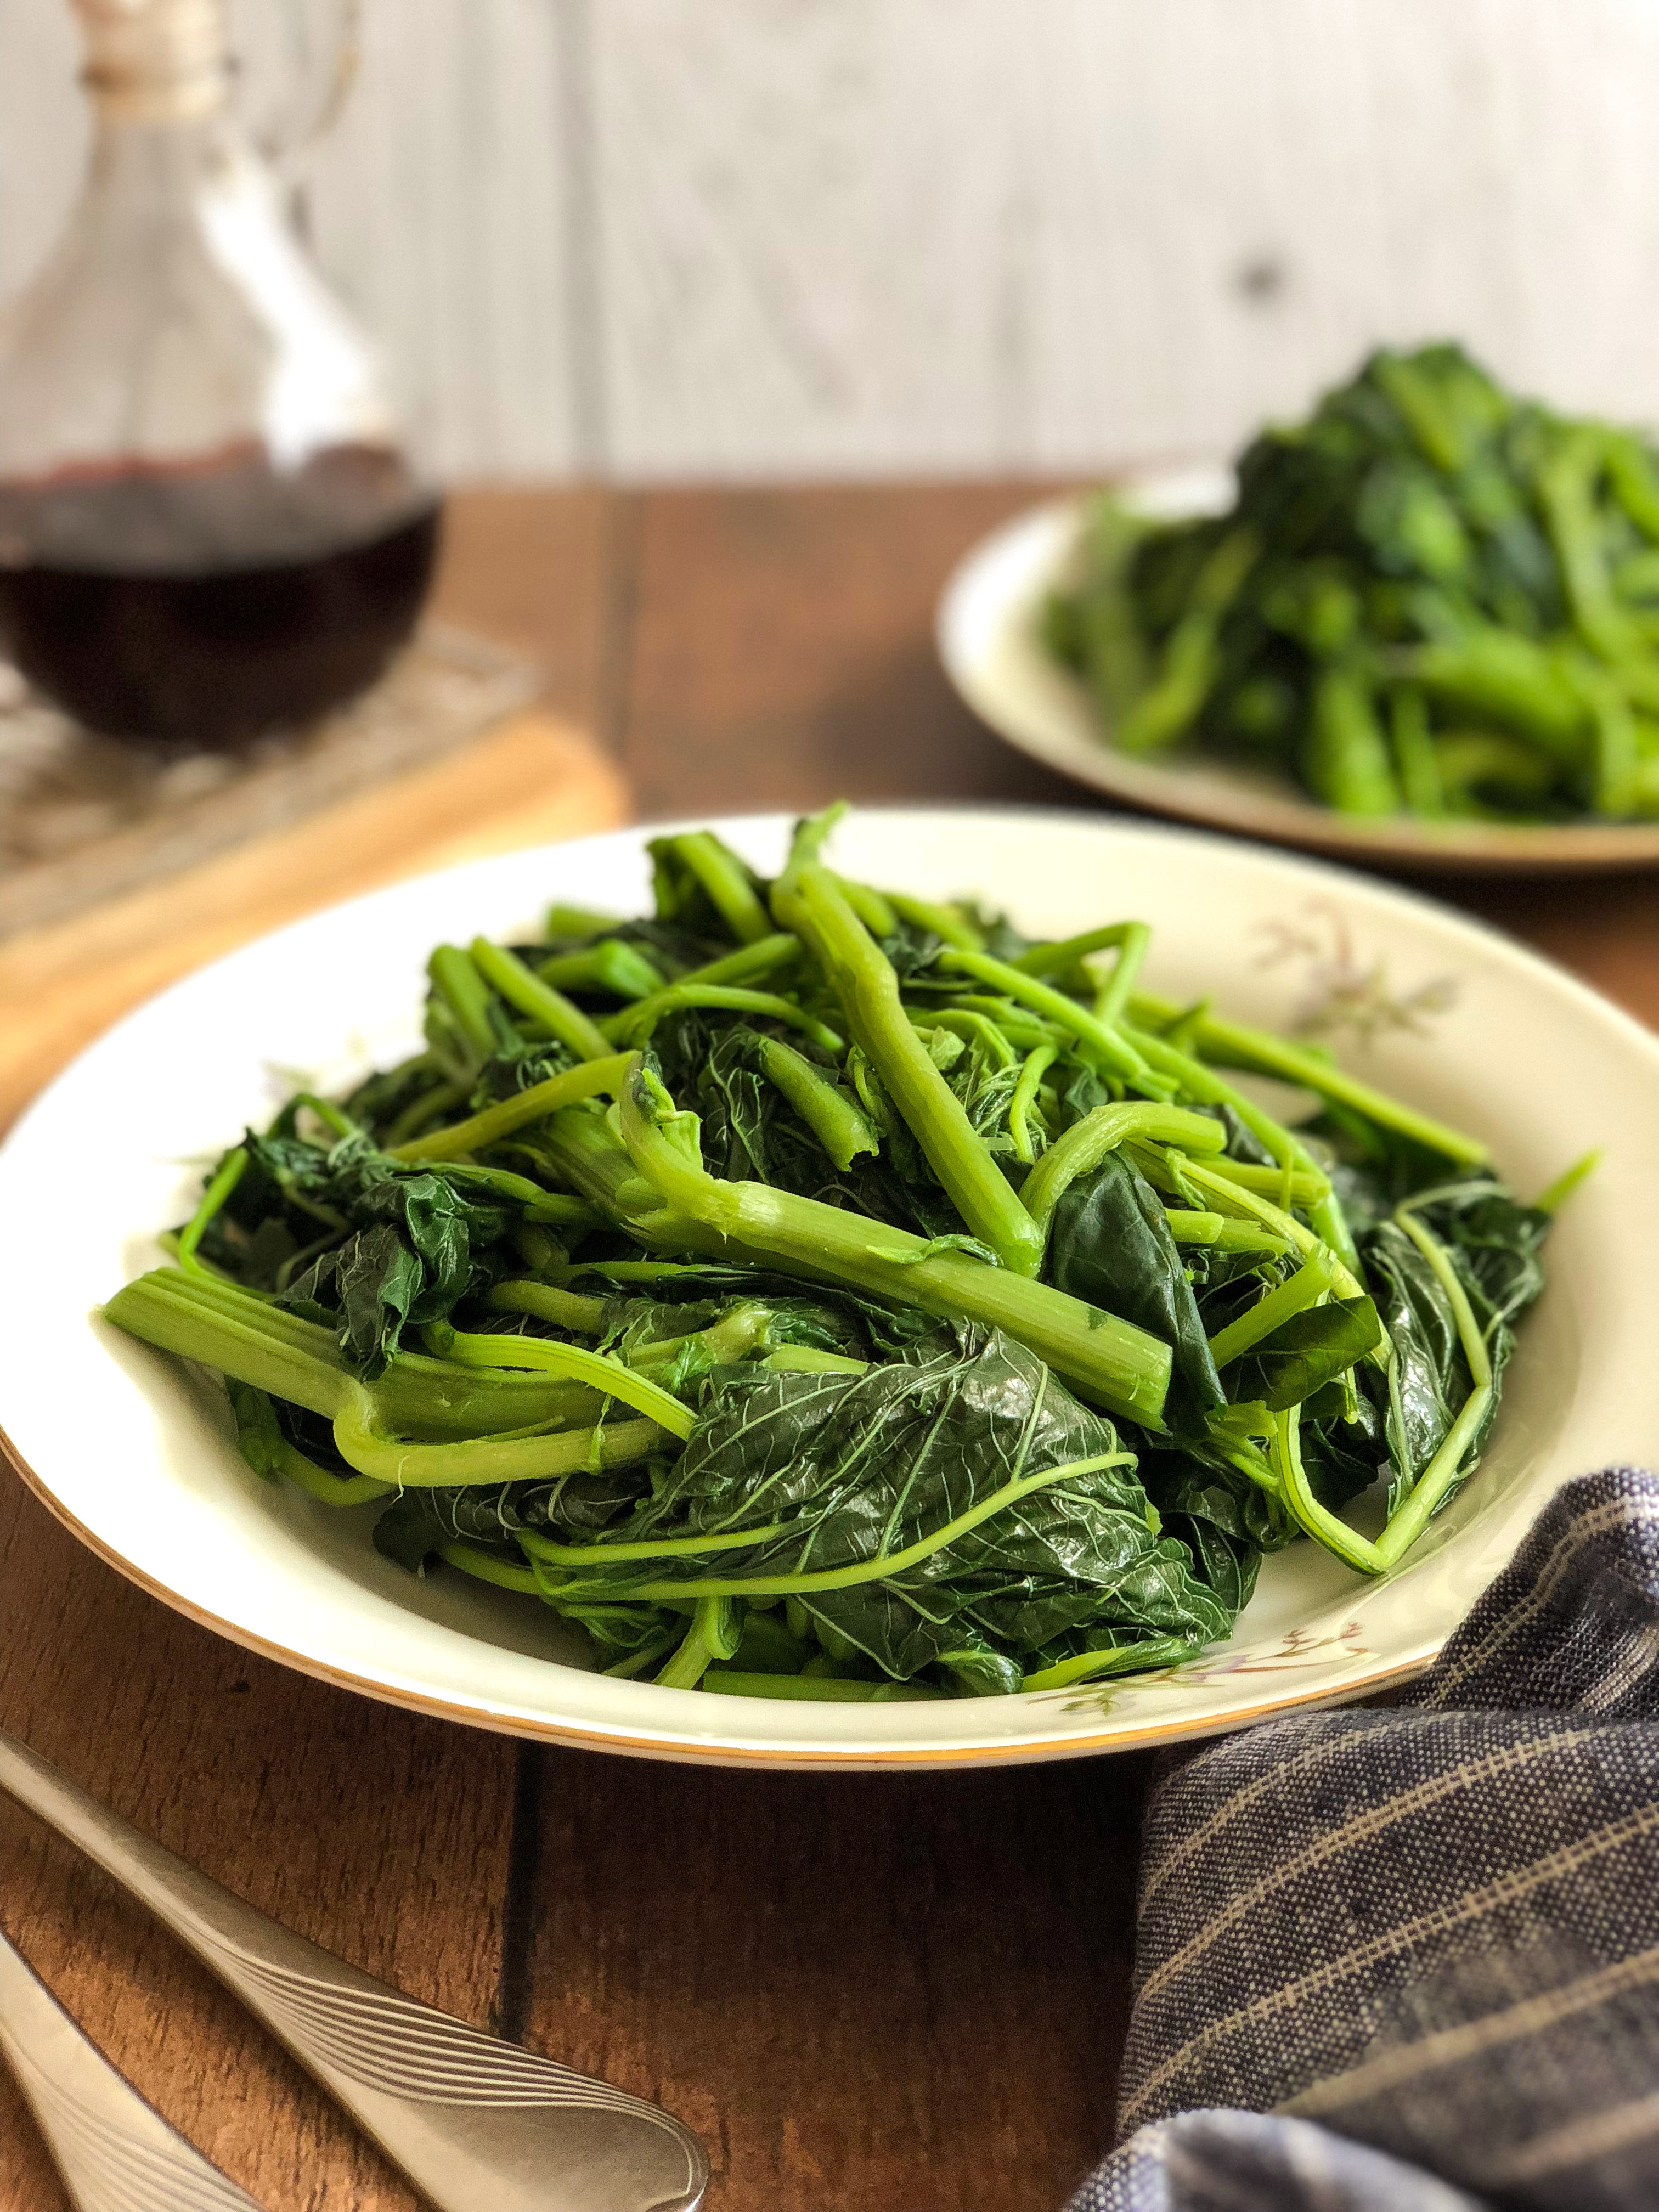
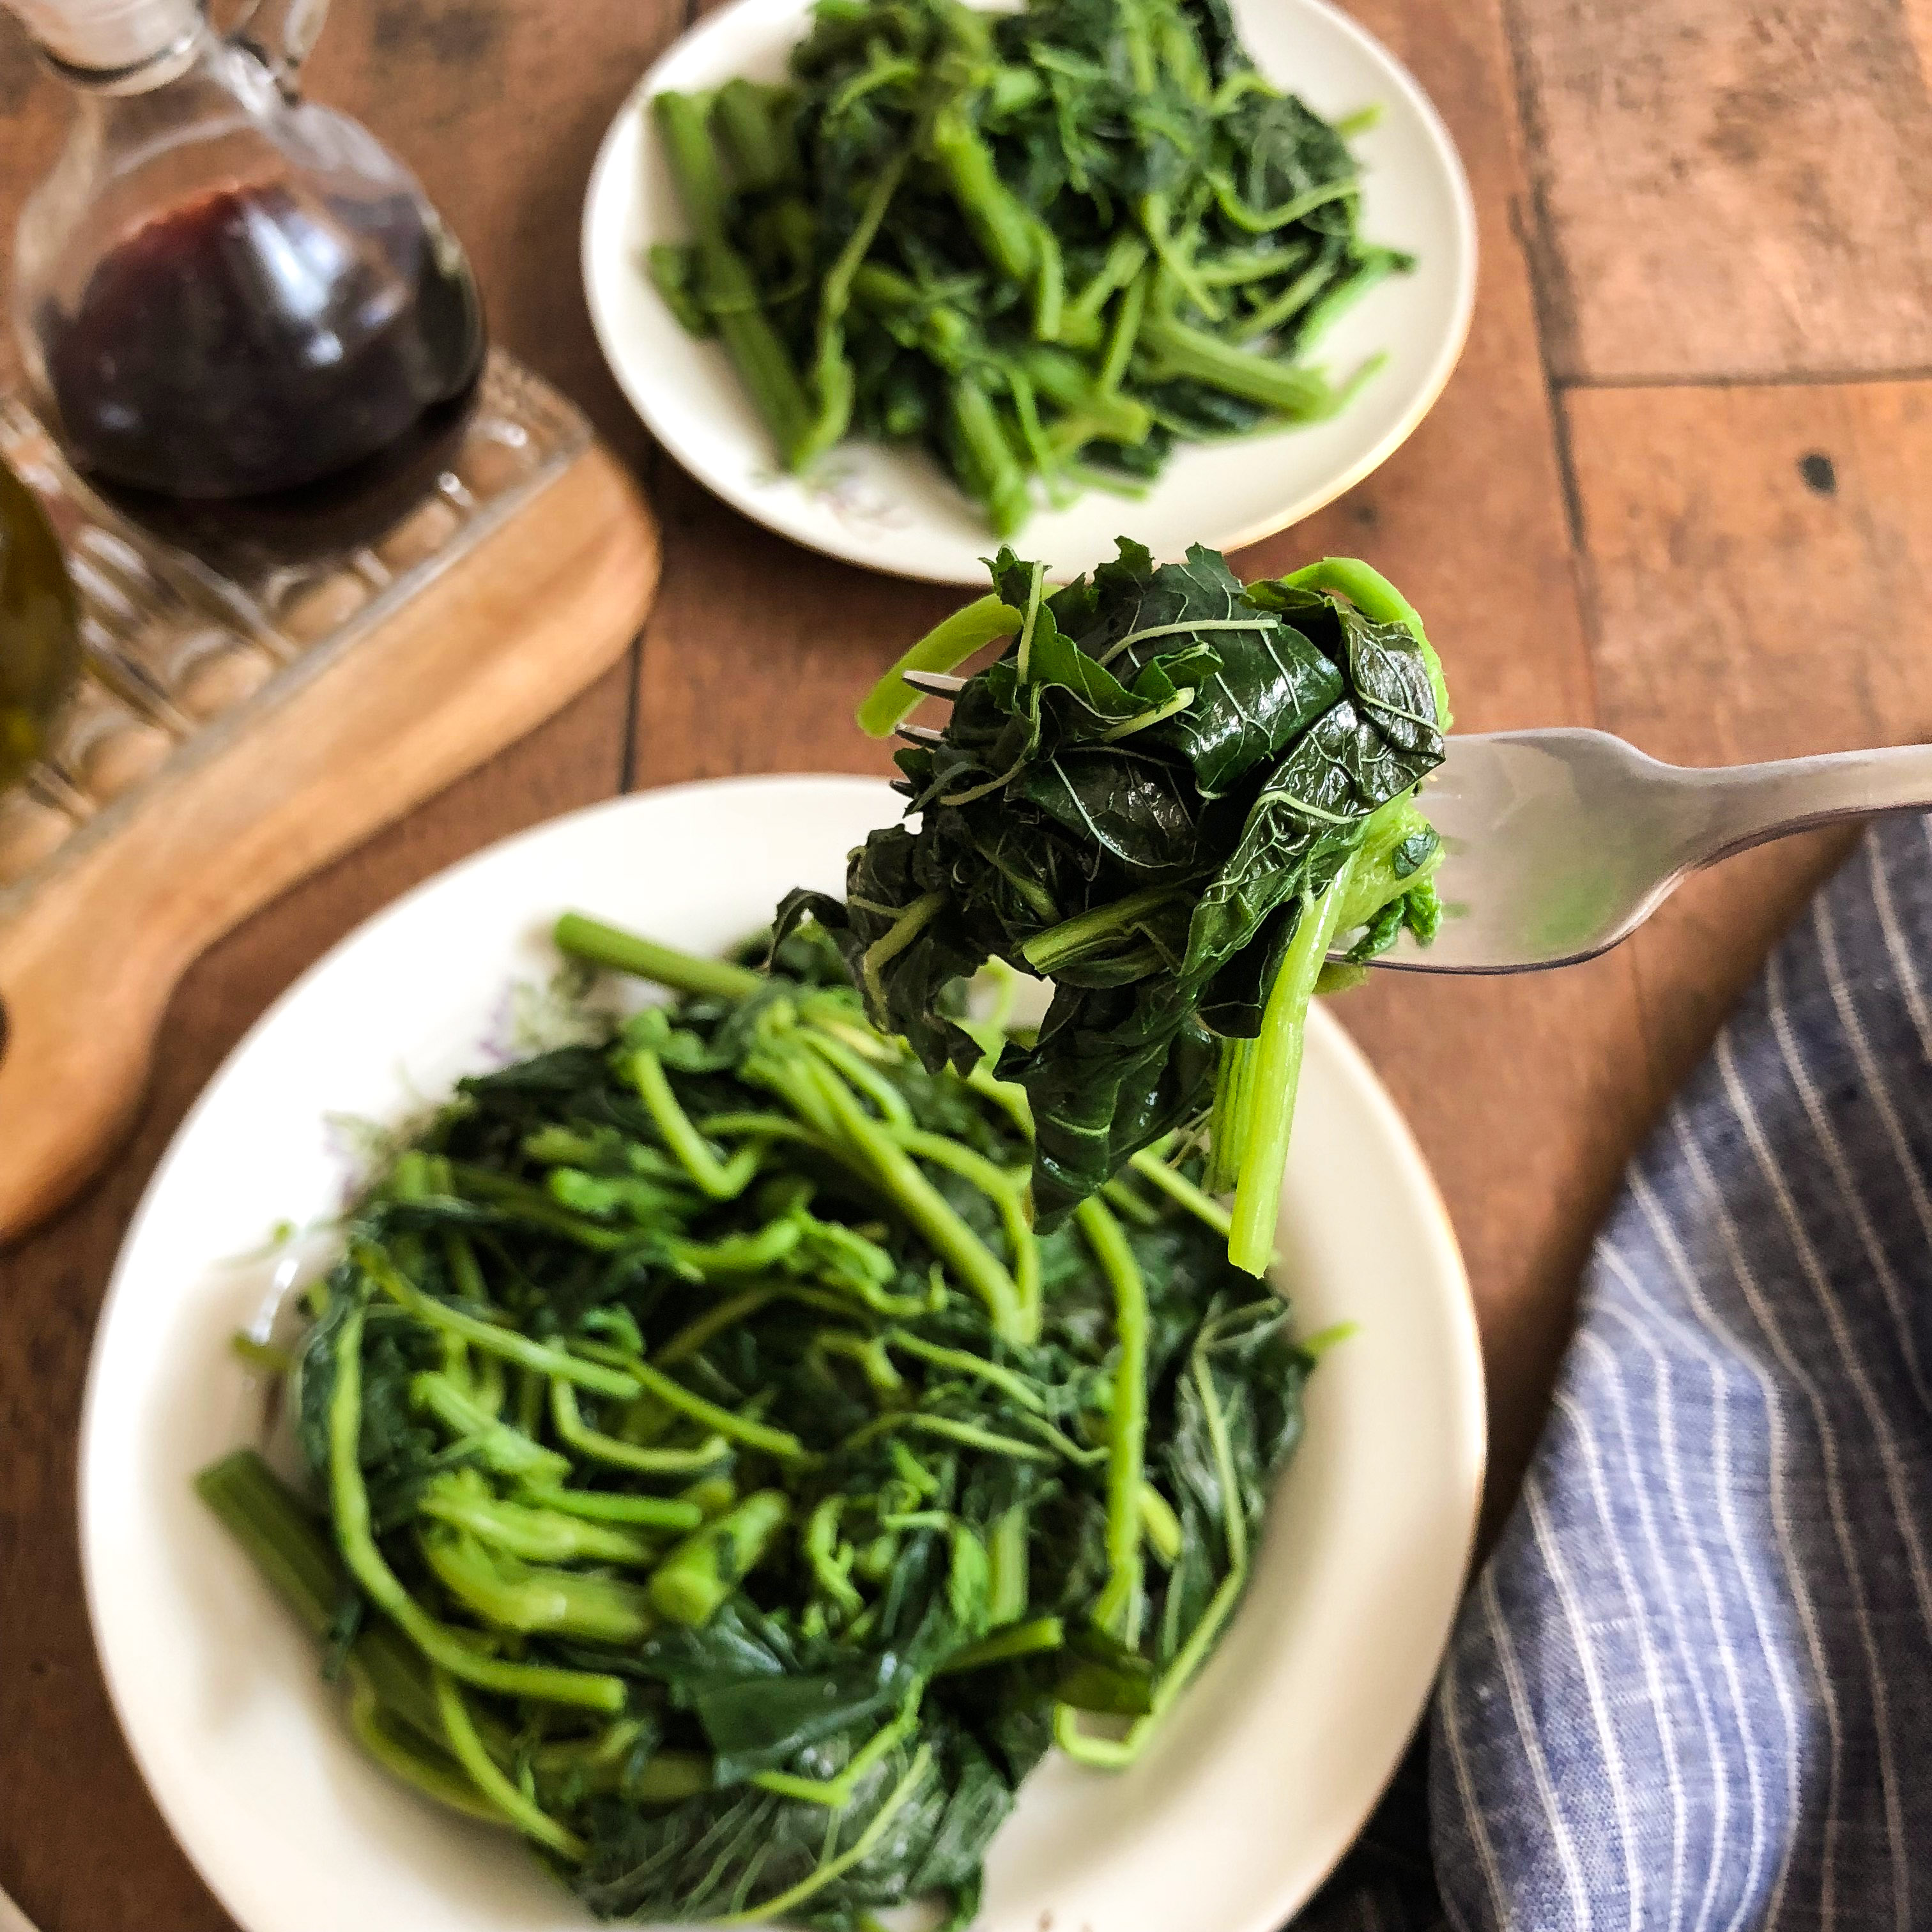
Vibrant vlita! Quick, easy and so very good!
When is the last time you had boiled spinach for supper? Or a plate piled high with steamed collard greens? Not as a side to anything, but as the actual meal. Like, that was the only thing on your plate. If you’re Greek, then the answer might be, earlier this afternoon. And if you’re not Greek, then this type of pauper, bland meal might seem a little strang, and sad. But trust us…it’s not!
Greeks love their horta, a term we use to classify a wide range of greens, and a word whose nomenclature has a slightly different significance depending upon which part of Greece, and which family, you grew up in. For us, although horta is a catch-all way of describing cooked greens, we reserve it primarily to refer to dandelion greens…those weeds we grew up hunting for and foraging in remote landscapes, the sides of highways and possibly, likely, private property fields. This was an activity that most Greek children of our generation can relate to; take a read over here if you would like a trip down that particularly humiliating memory lane, and get ready to smile. Because really, those were great times.
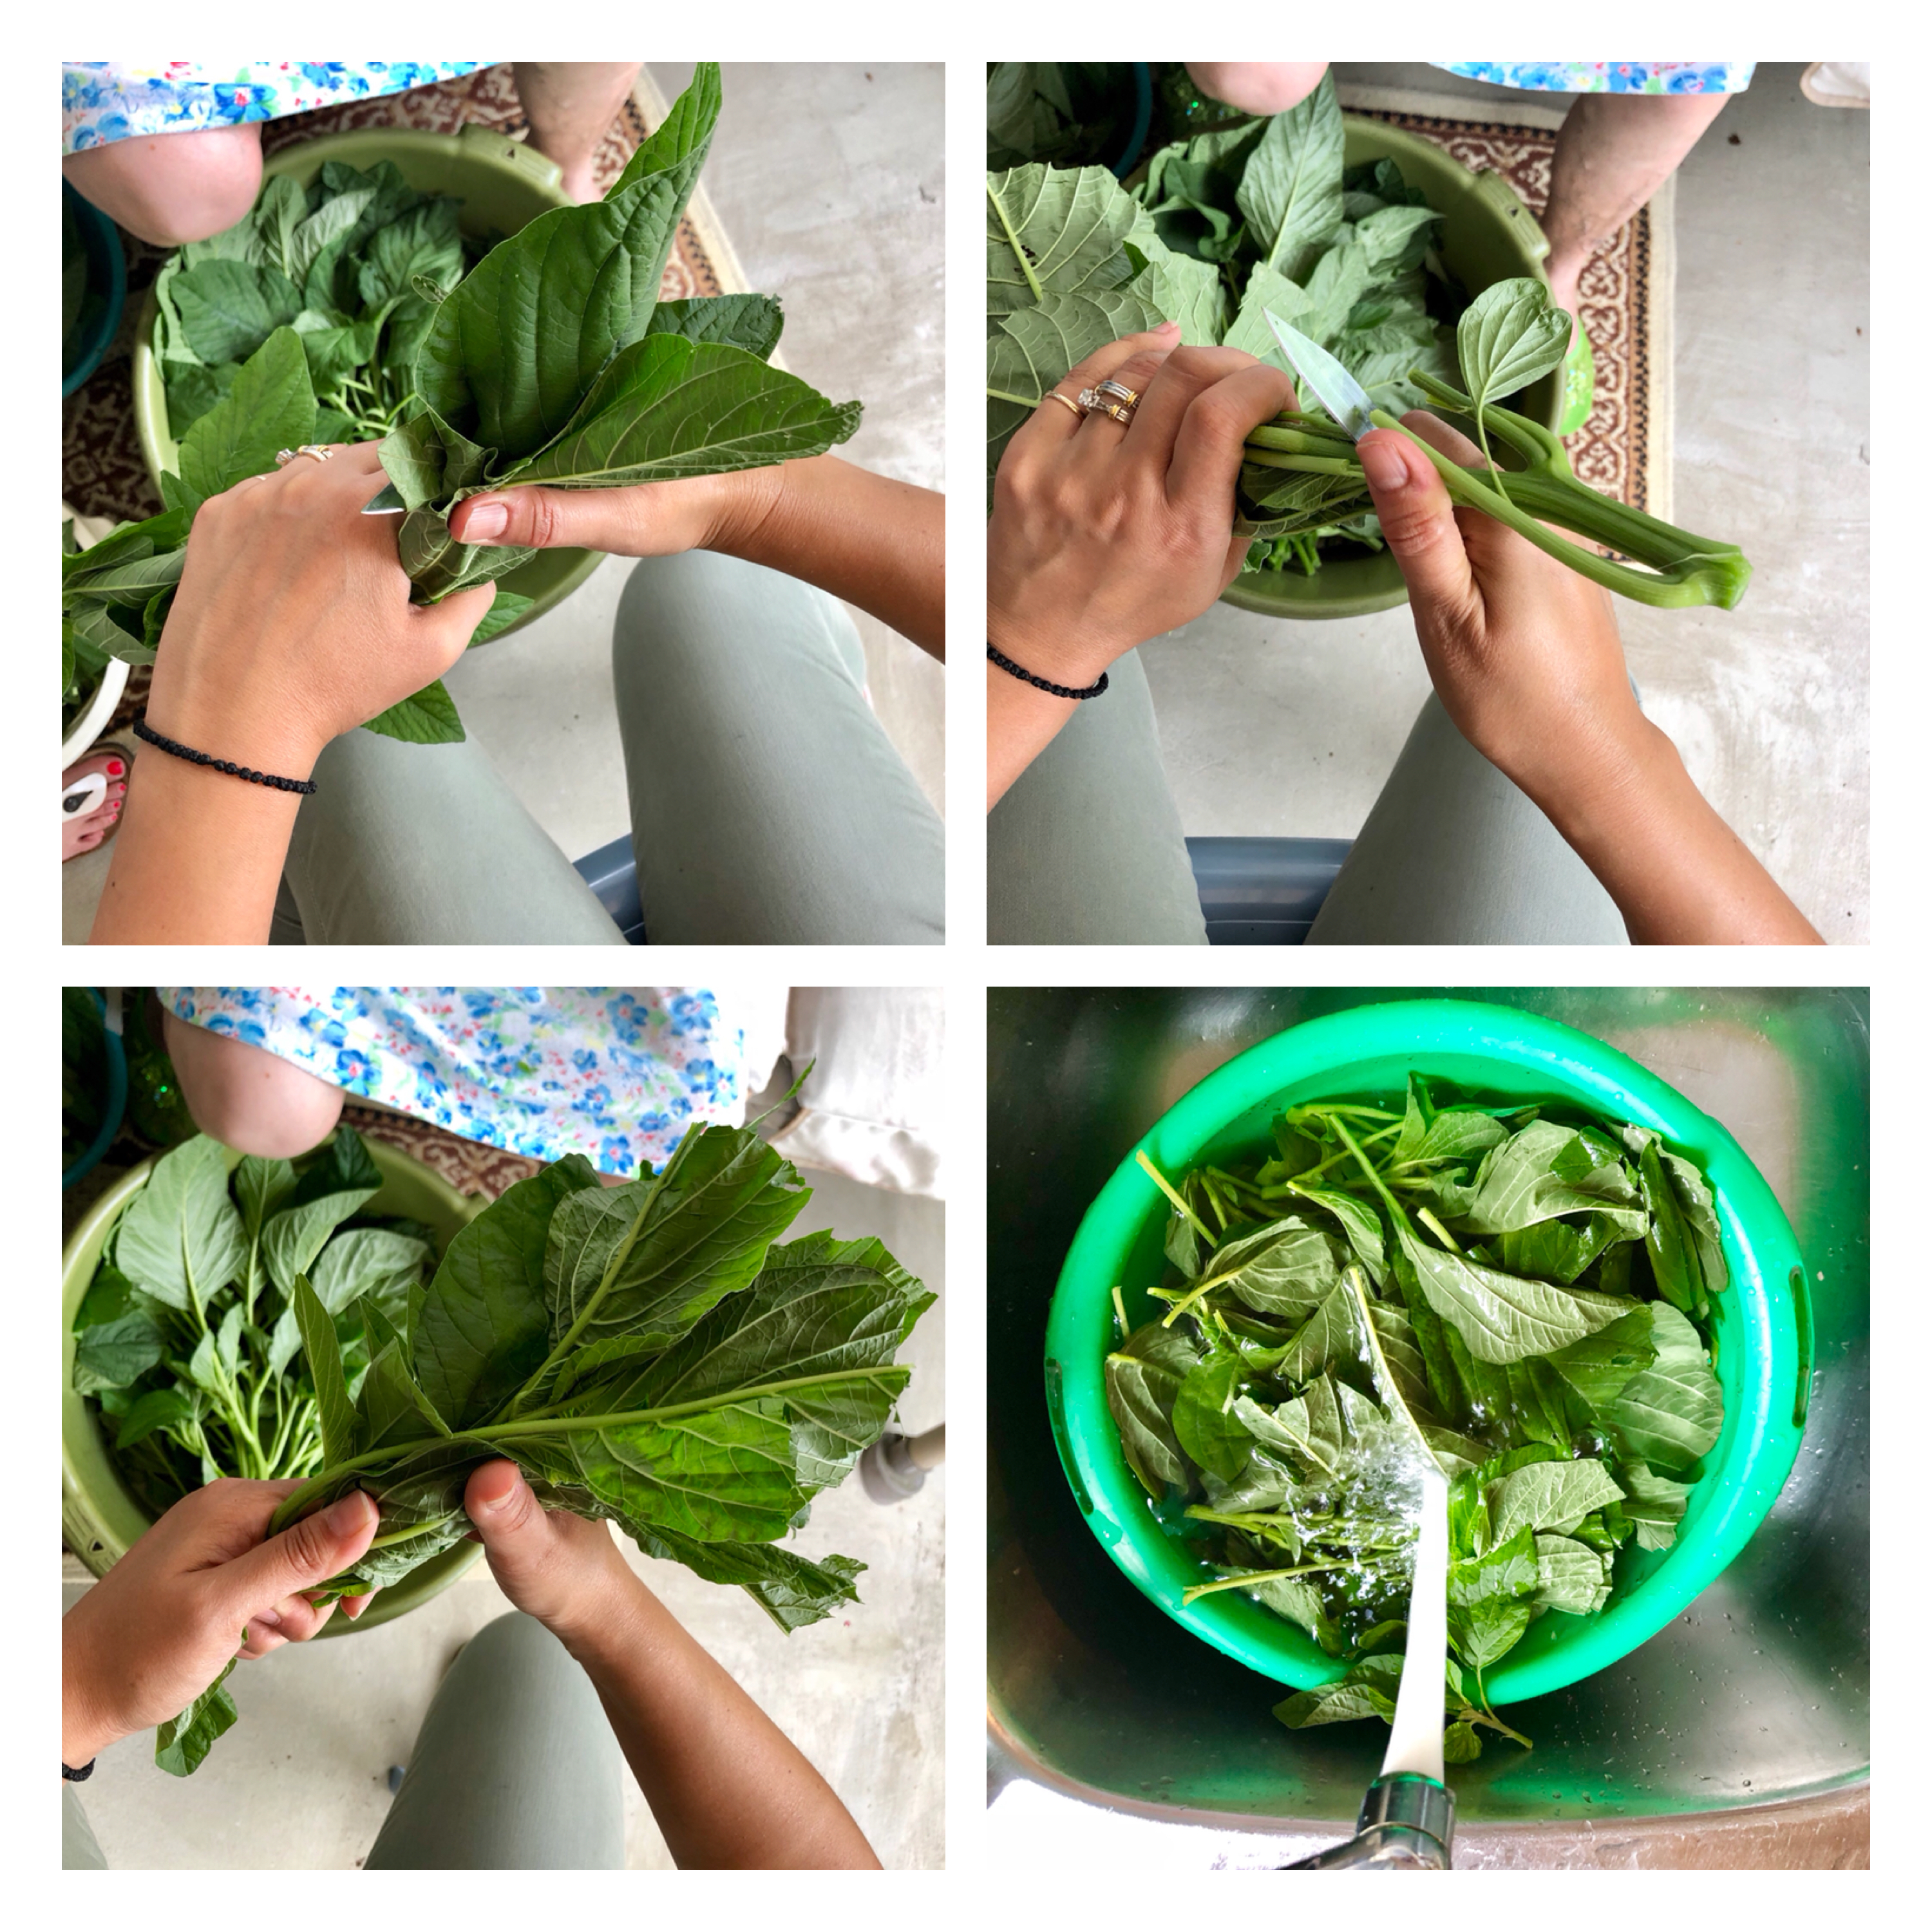
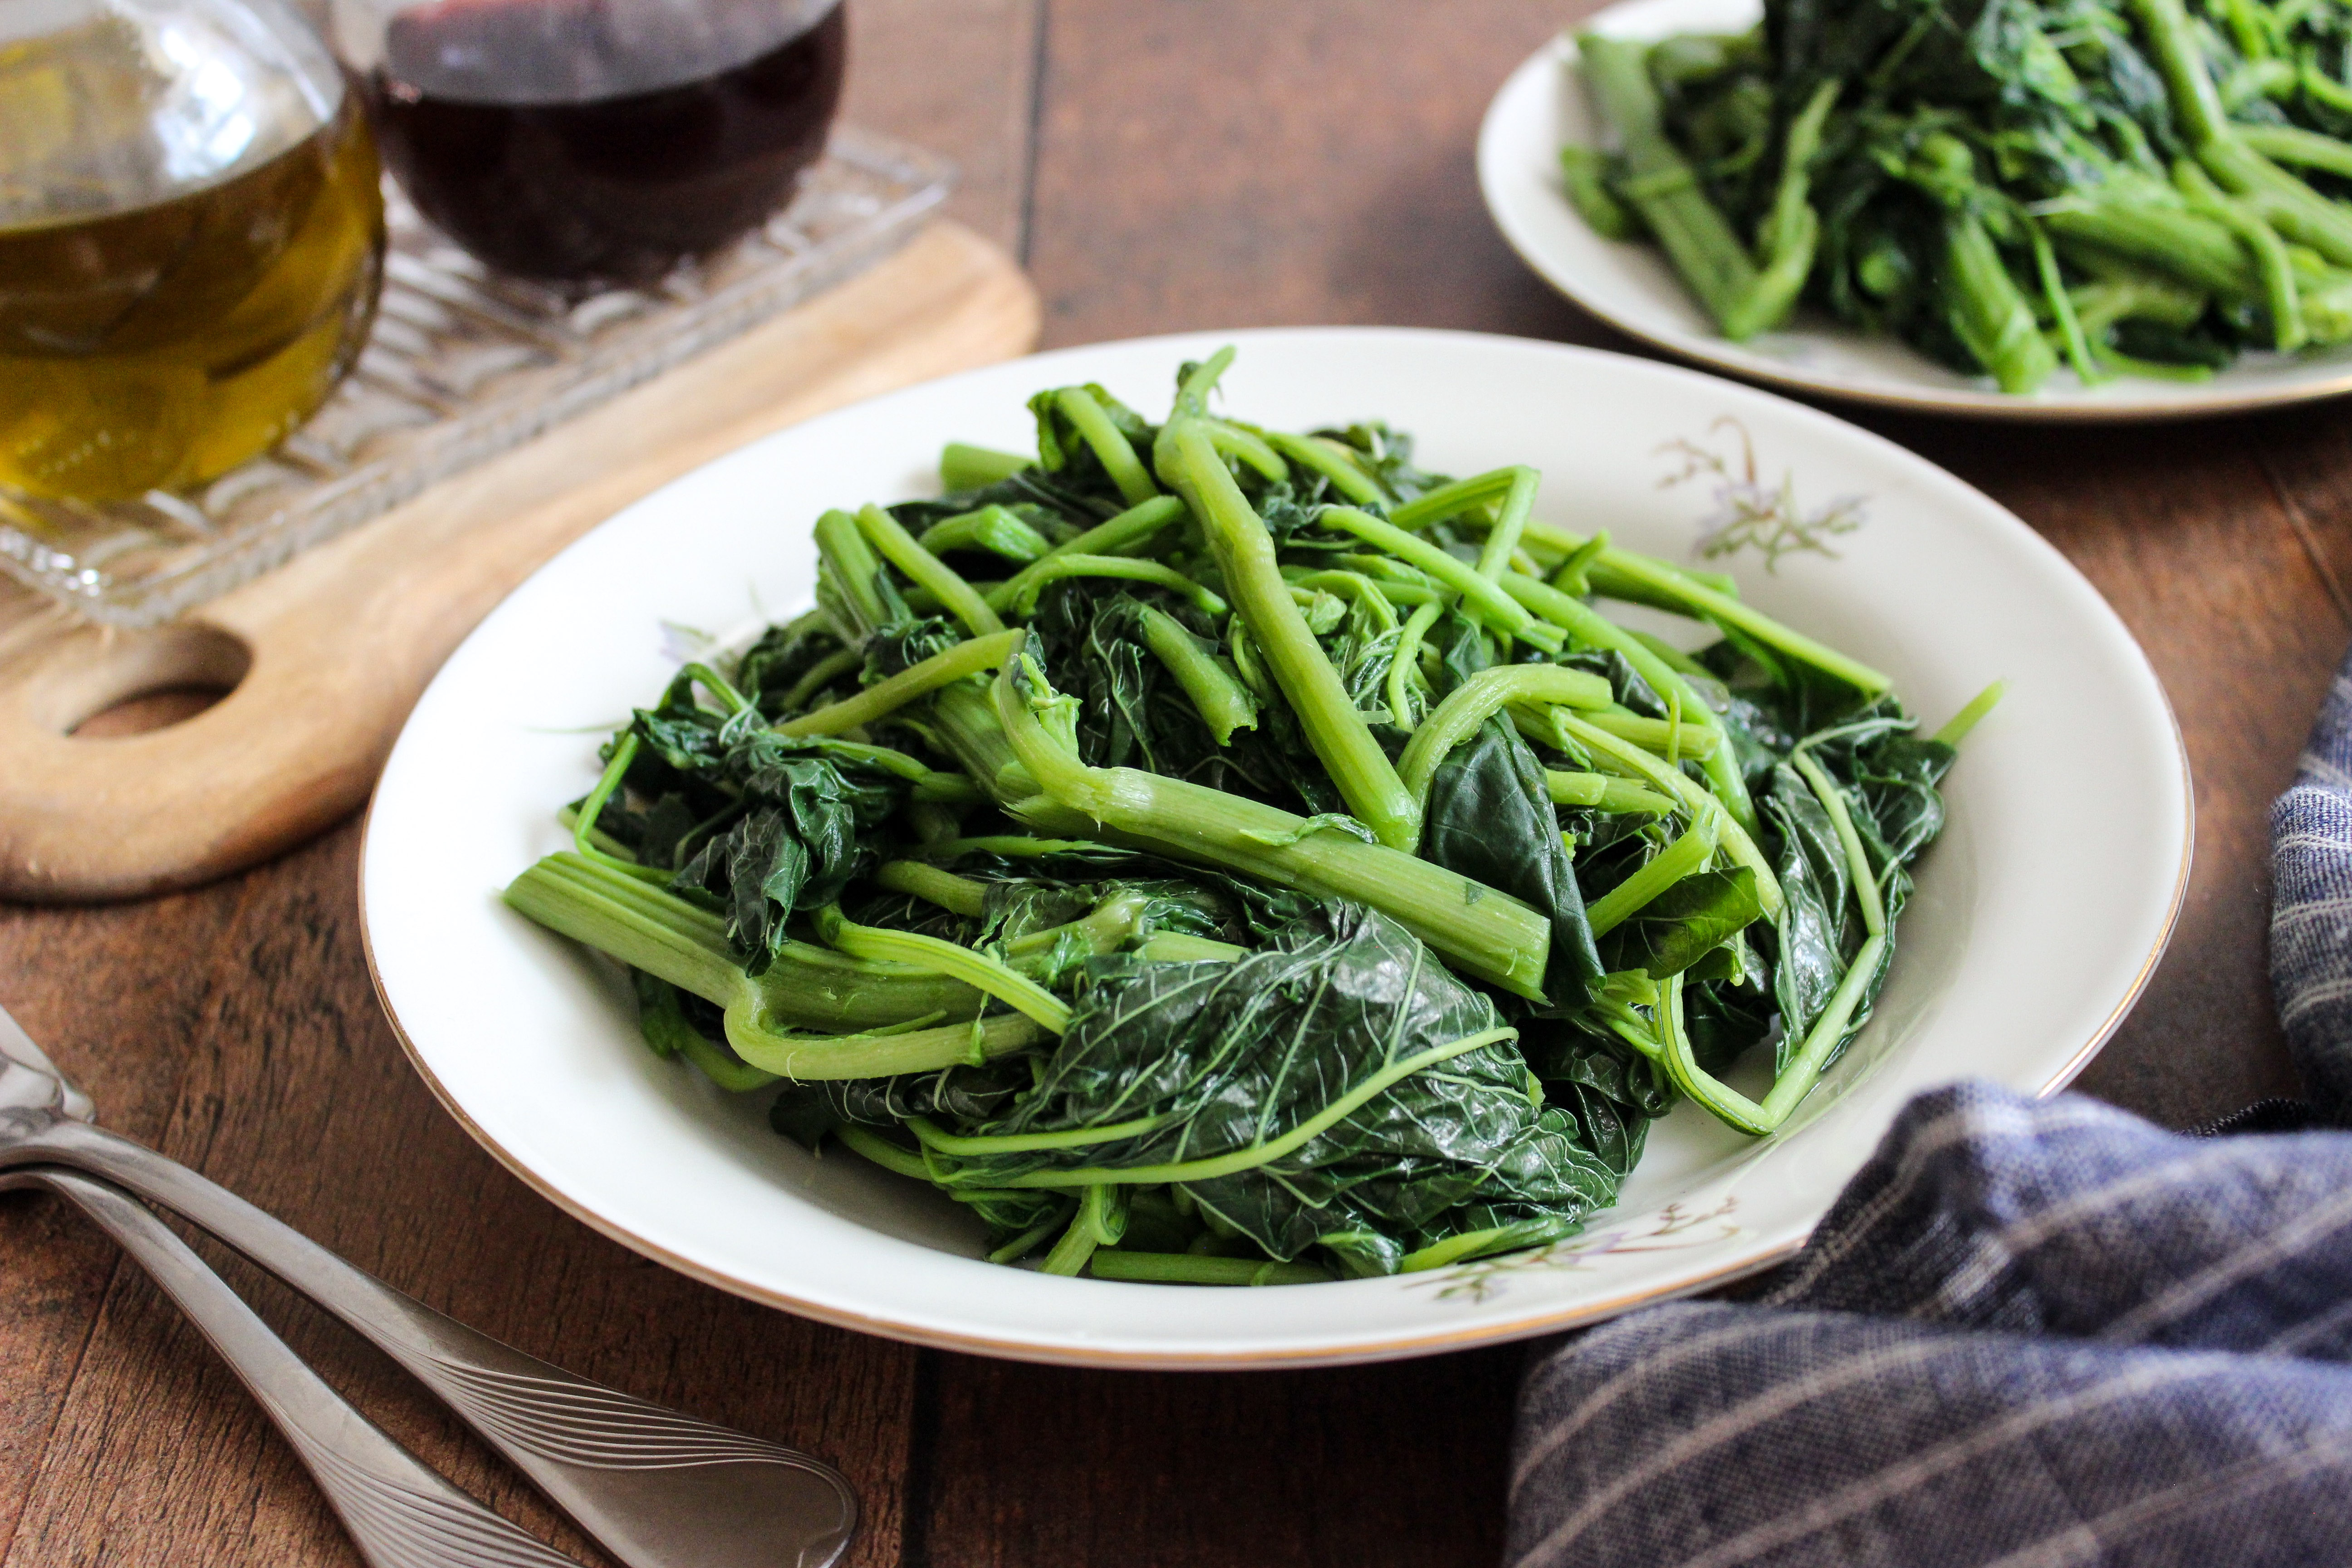
Another green which we often had growing up, was vlita. We considered vlita to be the more refined cousin of the dandelion green. Horta were picked on the side of the road whereas vlita grew in our parents’ garden. Much more civilized. Also, the taste of vlita is more mellow, not sharp and bitter as dandelion greens often are. And they are tender; found fresh and cooked properly, the stalk is soft without being mushy and the leaves delicious.


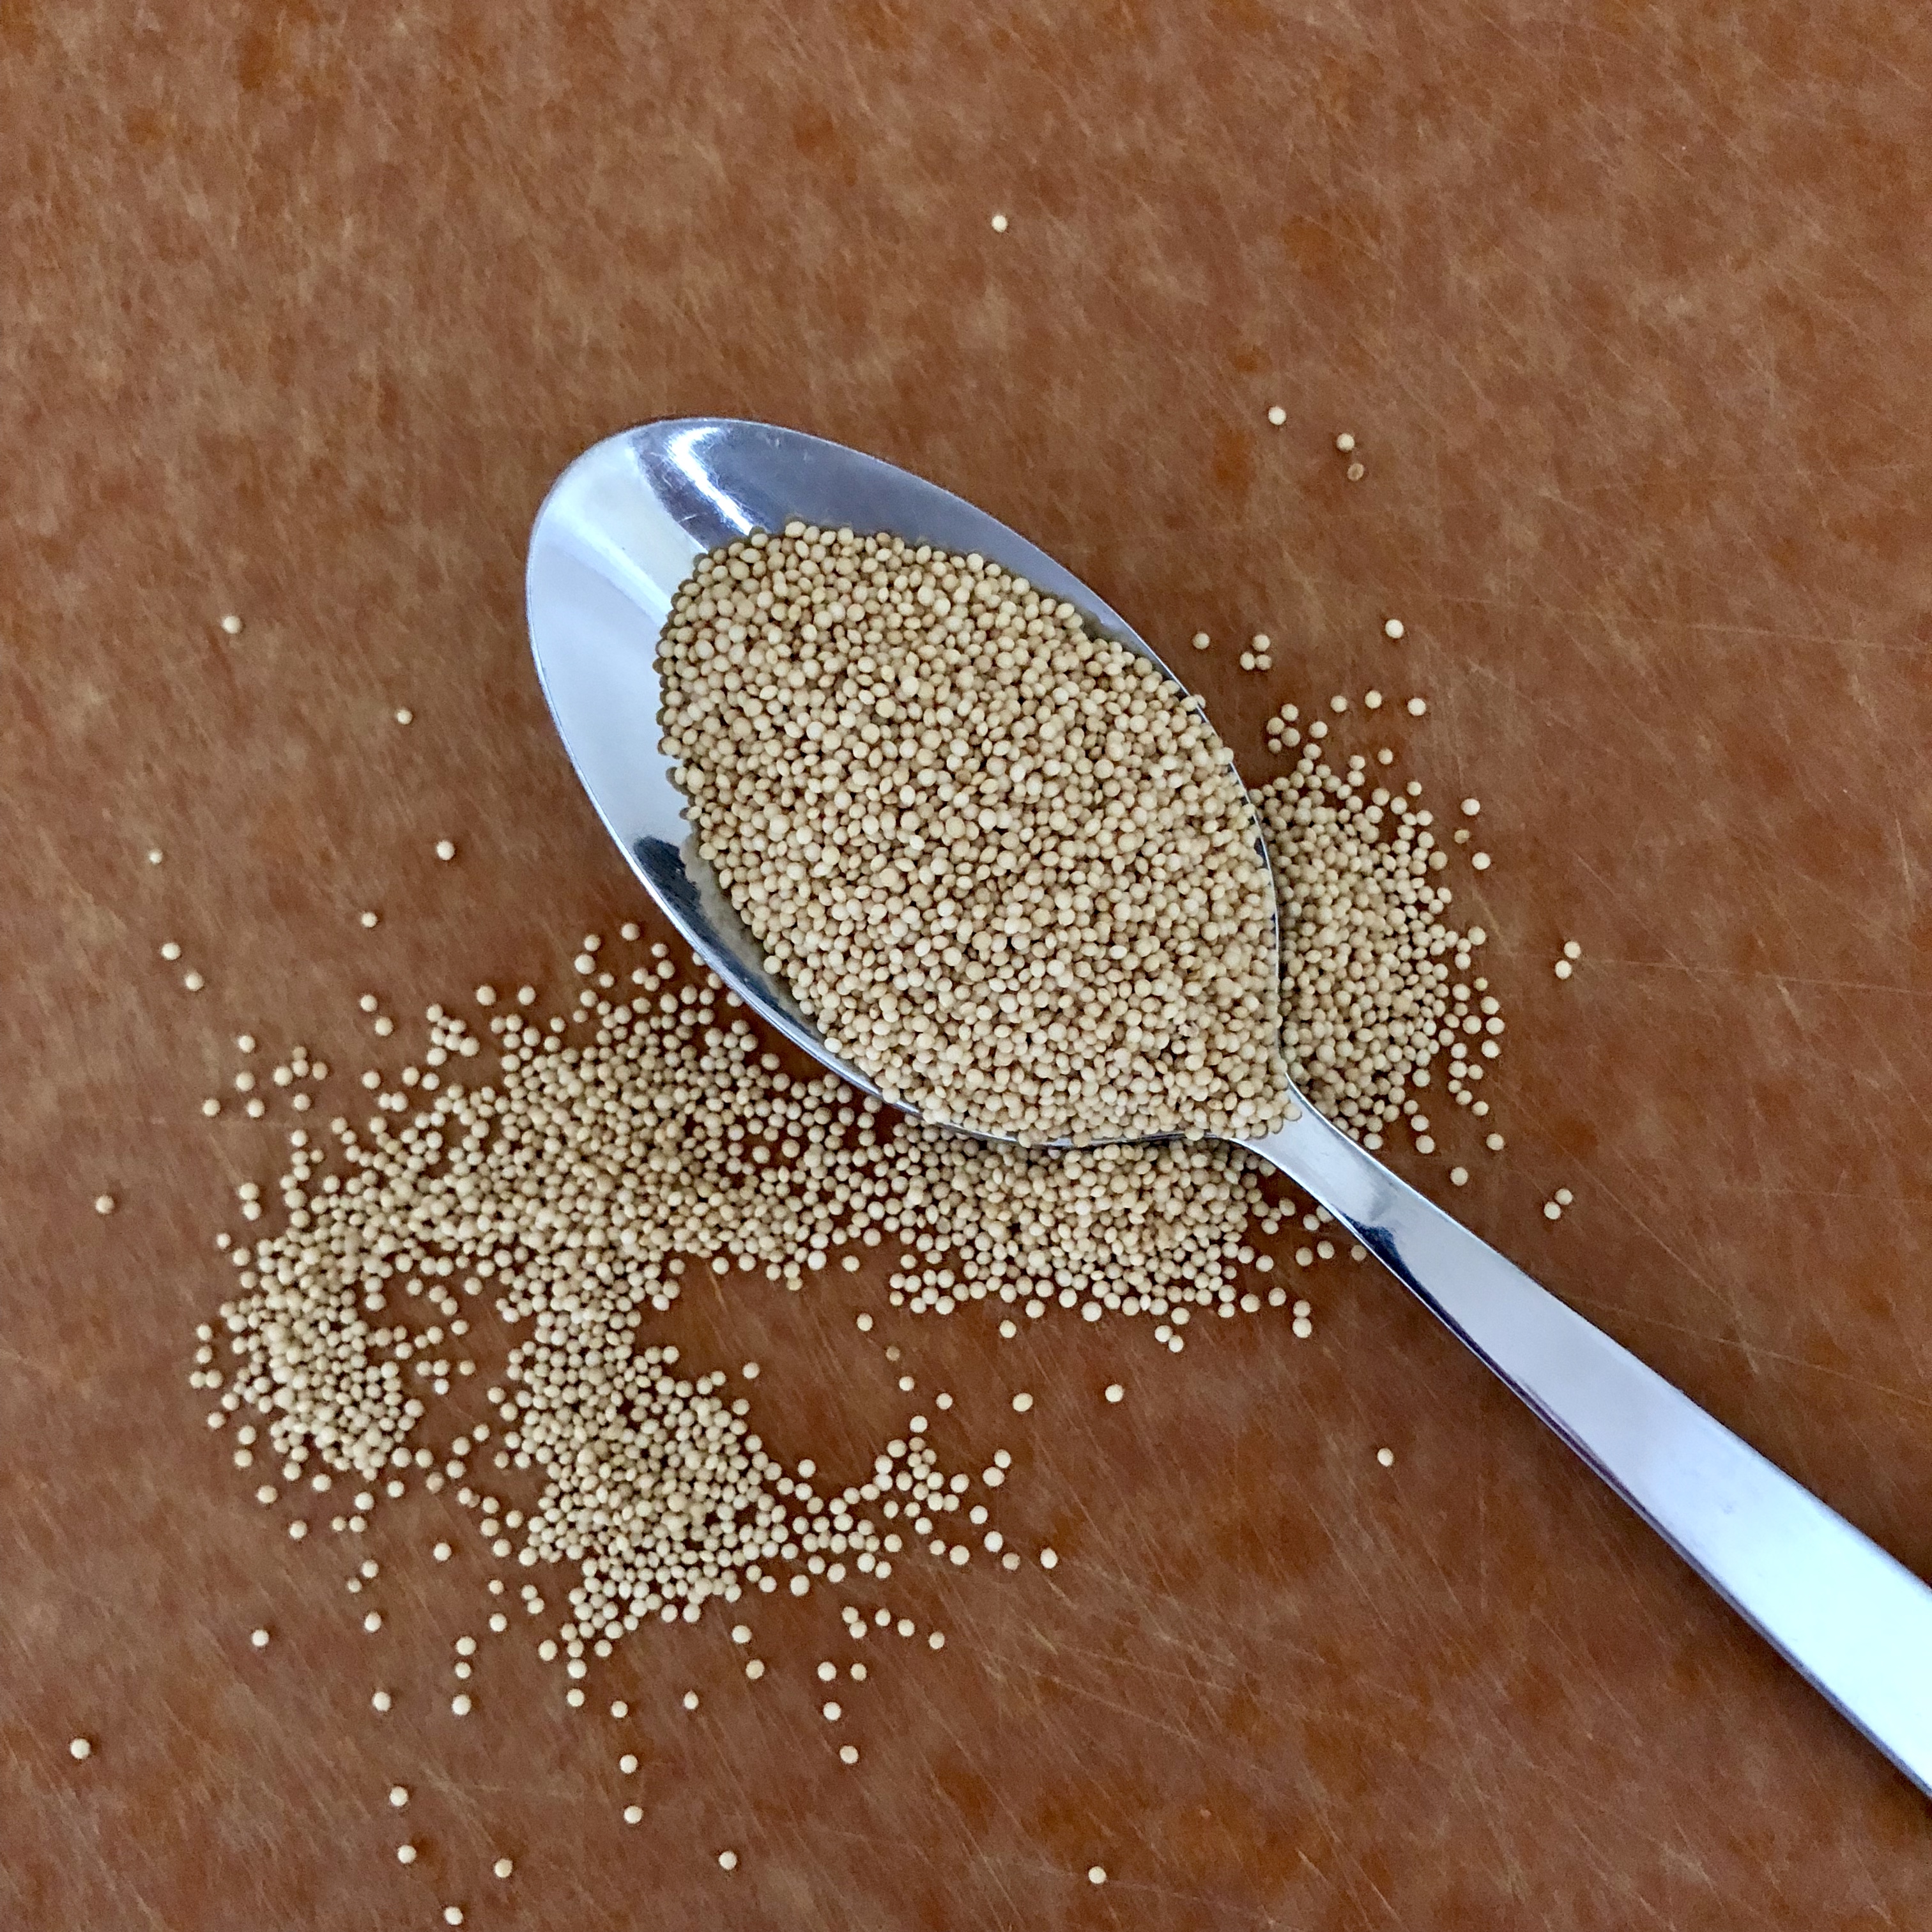
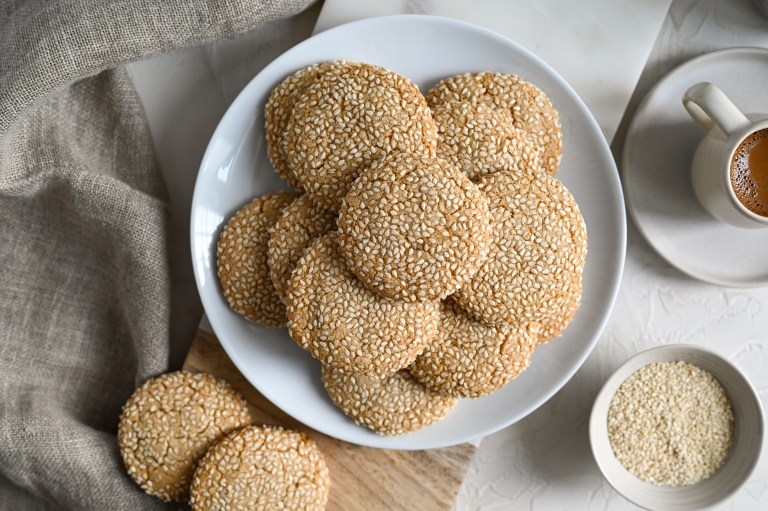
Vlita are in fact amaranth plants; the species name is Amaranthus viridis and belongs to the botanical family called Amaranthaceae. The common name in English is slender amaranth or green amaranth. The plant grows annually and has a large green stem which can reach a height of between 60 – 80 centimeters. Many other stems emerge from the base, and each has several oval shaped leaves growing off of it. According to our parents, vlita are quite easy to grow and do well every year in their garden. The plant also has edible seeds which can be used for anything from baking cookies to making porridge. Although our parents never use the seeds, we found a bag of seeds at the health food shop, paid a small fortune for them, and look forward to sharing some recipes using these seeds in the future!
Interestingly enough, even if you think that you have never eaten vlita, you may have. They grow in various parts of the world and are used in several different cuisines. It is eaten in the Maldives, Latin America, India and is a staple of the Jamaican diet, where it is called callaloo. In fact, when one of us was in Jamaica last summer, breakfast was often scrambled eggs with callaloo…who knew we would be eating horta in the Caribbean!
Helpful hints
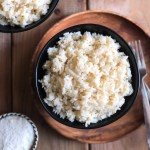
Vlita are incredibly nutritious; a quick read on google tells us so, and our parents have been telling us so forever. That is why it is actually acceptable to a Greek parent to serve only this to their children for lunch, and still feel that they are giving their child a nutritious meal. With a side of feta and a slice of bread, there really is nothing better. To ensure that you keep as much of the nutrients as you can, it is important not to overcook your vlita. You want the stems, which are the thickest part, to be just fork tender, but not overly mushy, and you want your greens to maintain their vibrant green colour. You will have to keep an eye on your vlita as there is no real set cooking time (as you will see in the recipe); it will really depend upon how fresh your vlita are, and how thick the stems are. An estimate for cooking time however is between 10 – 15 minutes.


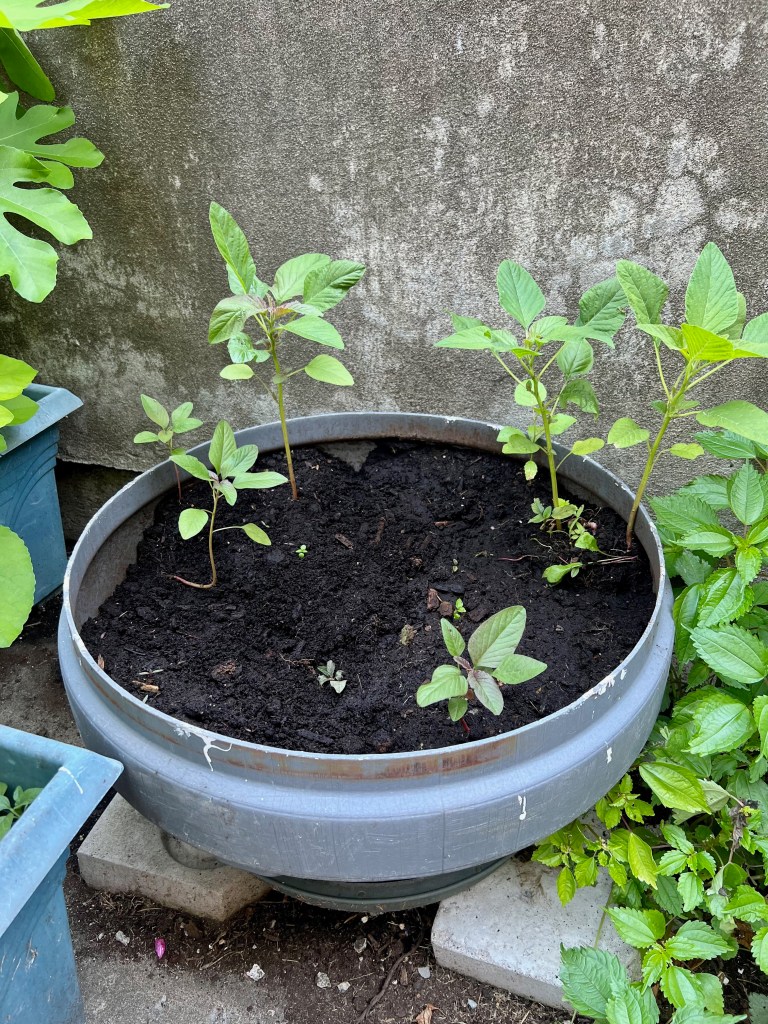
We have received so many questions and comments about growing your own vlita or amaranth greens – our parents’ garden is a shining example of just how successful this can be! Here are some tips that will help you to have success in your garden too:
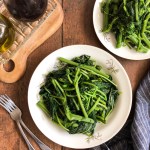
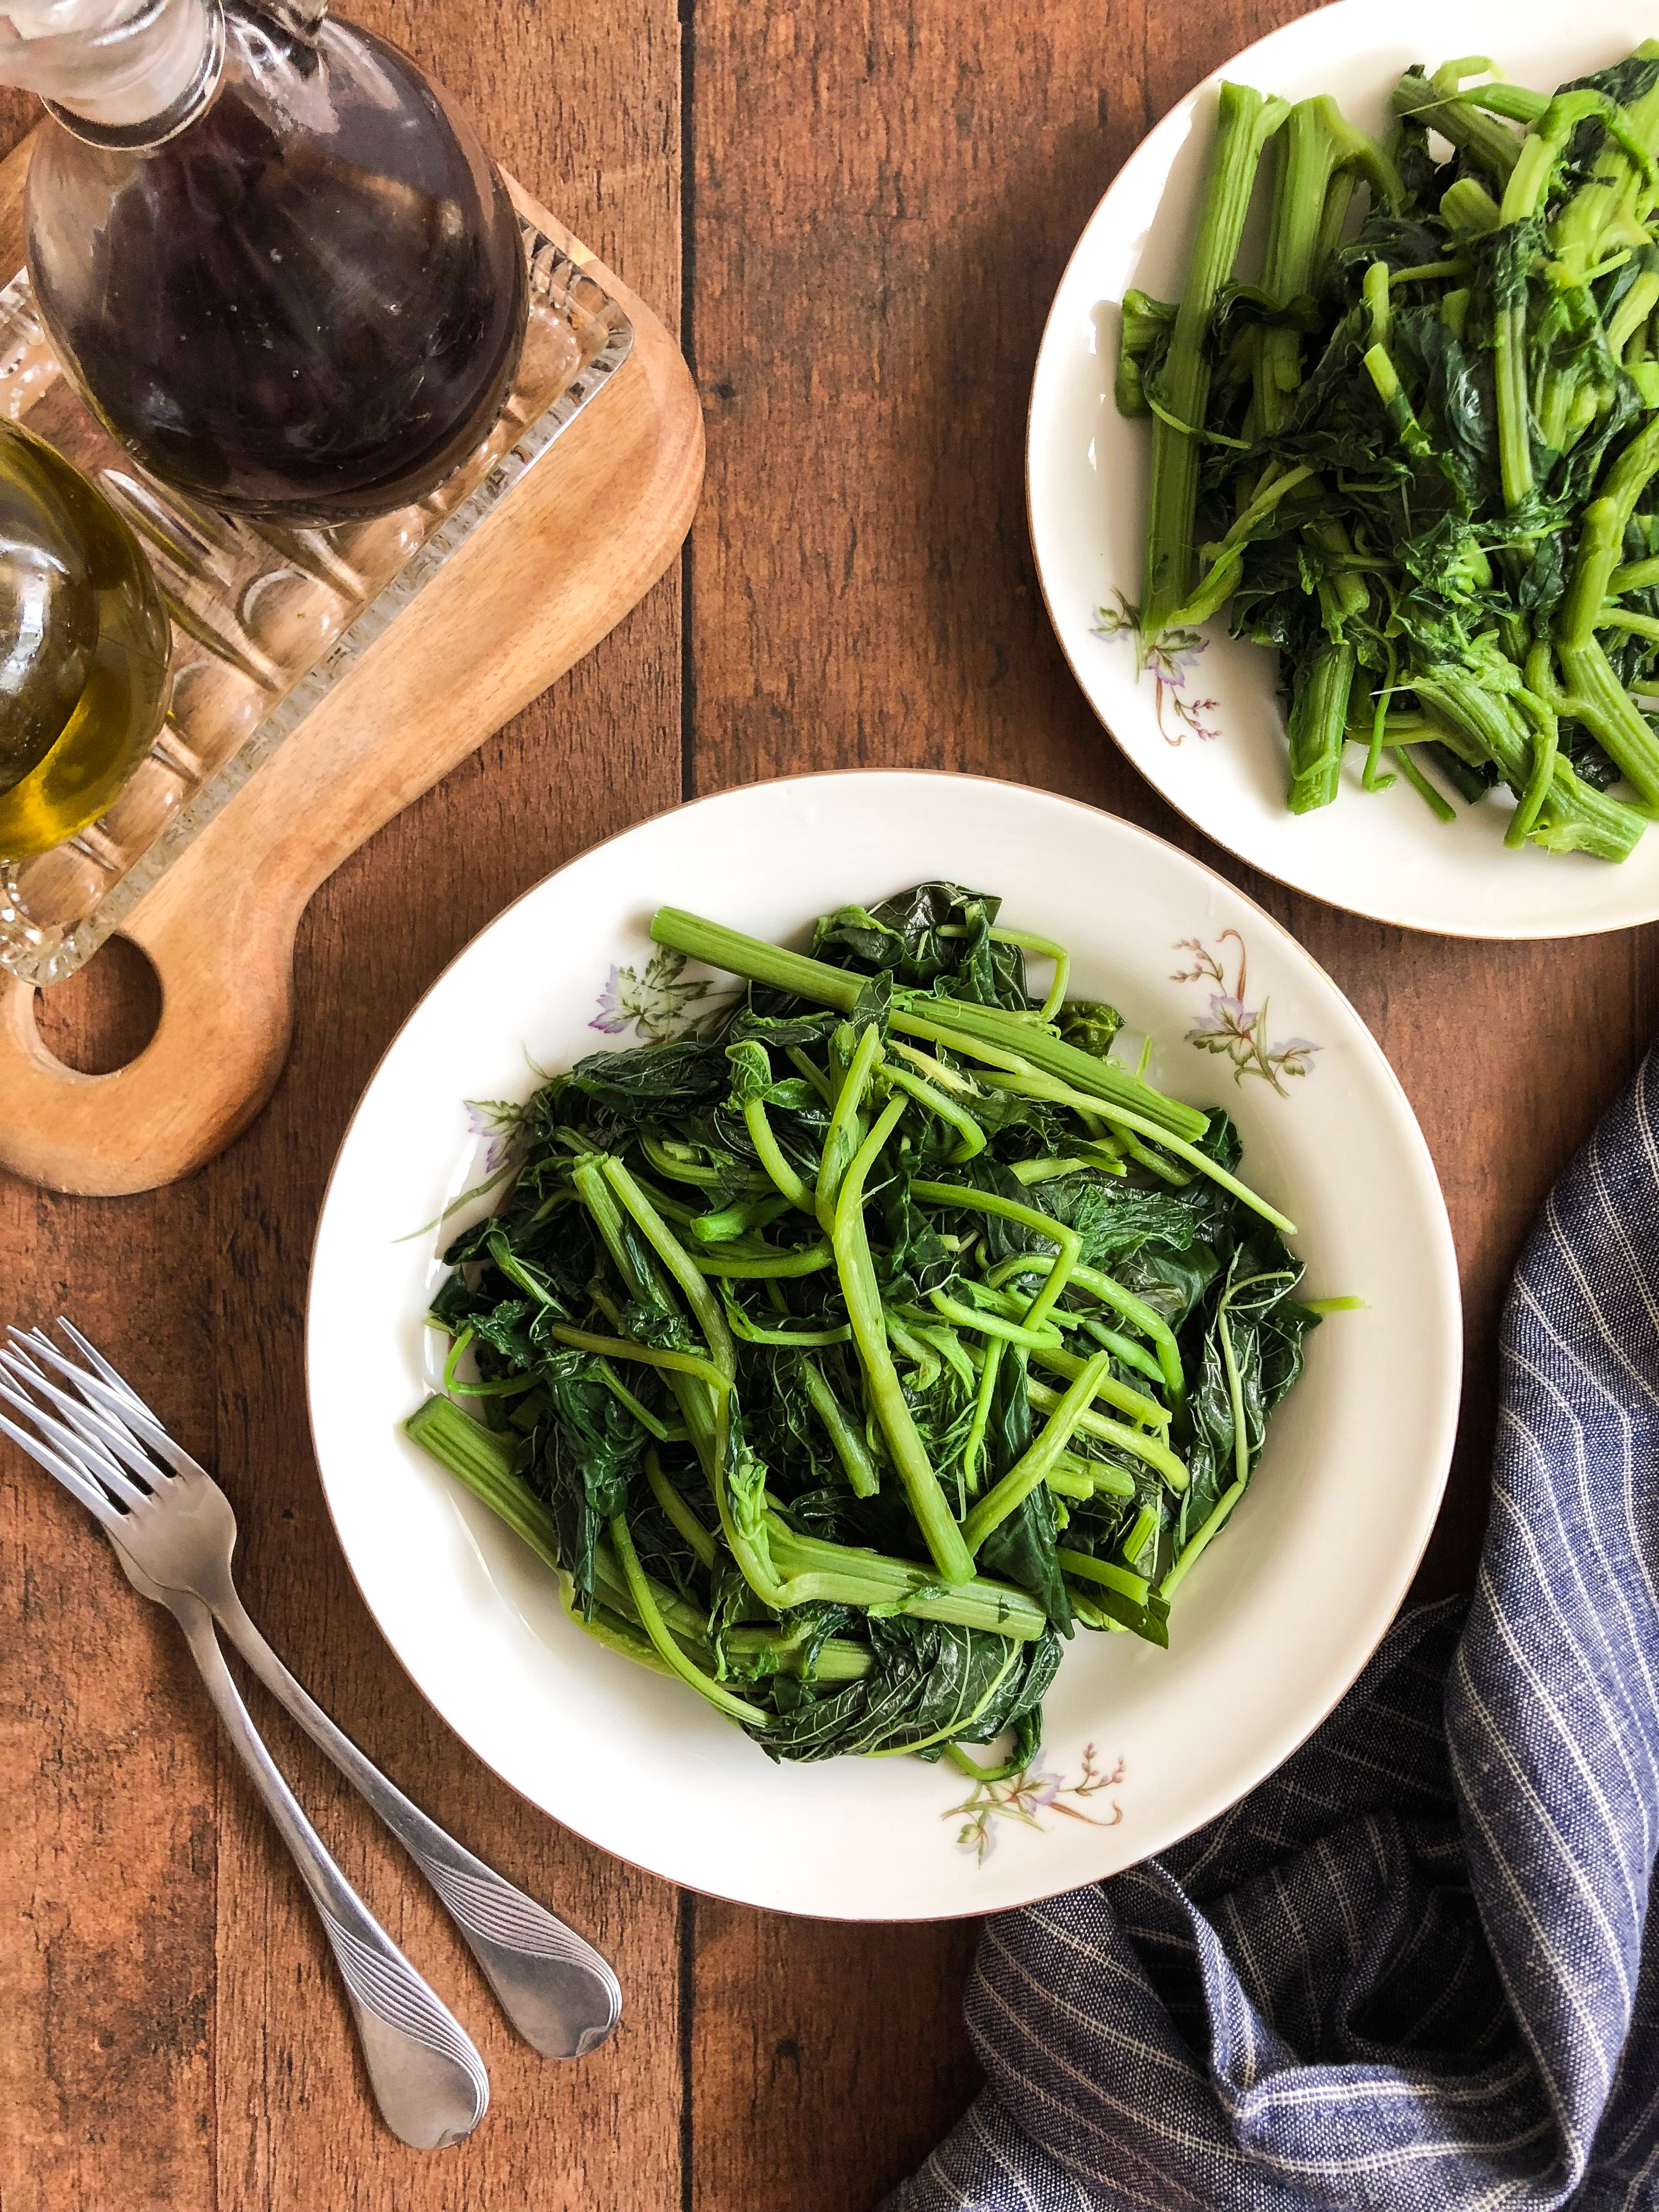
We love to eat vlita topped with red wine vinegar and olive oil. If you would prefer lemon juice to vinegar, go ahead.
Regardless of what you will top your vlita with, do so just before serving them. Otherwise, the acid in your vinegar or lemon juice will change the colour your vlita.
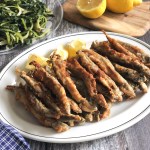
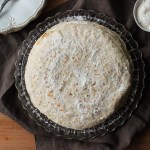
Although vlita are great as their own meal, they are also very often served with bakaliaro and skordalia (cod and garlic mashed potato spread). You may want to do this too one day!
Freezing vlita is a great way to enjoy this green even in the fall and winter months. Drain them well after cooking and freeze them in serving size portions in well sealed freezer bags. When you are ready to eat them, defrost them, and simply drop the greens into a pot of boiling water (remove from freezer bag) and cook until they are heated through.
Looking for some more summer greens? How about these?
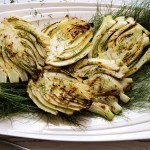
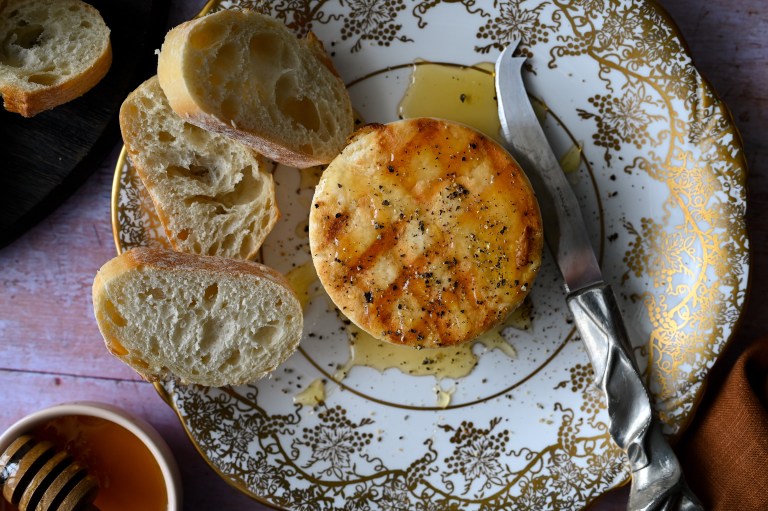
Dandelion greens on grilled bread
We love hearing from you! If you have made our recipes, or if you have a question or comment, or simply want to say Hi!, please leave a comment and star rating below! Also be sure to follow along with us, on Facebook, Instagram and Pinterest. We have lots of fun over there.
This post may contain some affiliate links, which means that we make a small commission off items you purchase at no additional cost to you.
I was just talking the other day about dandelion greens, how my parents would make a day of it going to a specific place to pick them. My daughters were astonished.
Ha ha! Aren’t these stories wonderful though Joyce?! We actually feel a little sad that we never had our girls experience the embarrassment and joy of horta picking! 🙂 🙂
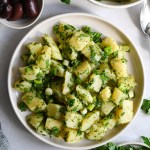
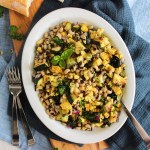
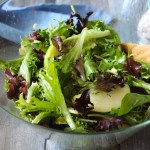
Such a tasty and healthy salad, goes so well with fish or other simple protein!
It really does Marilena! Delicious on their own, or as a side. 🙂
Where can I buy Vlita in the USA ?
Hi Rose. You can usually find vlita in a well stocked Mediterranean grocery store. You can also find it sold under the name callaloo in Caribbean grocery stores or health food markets.
[…] rolls with egg-lemon sauce (Λαχανον… Sauteed mushrooms with cream… Vlita (Βλήτα ή βλίτα)… Rizogalo / Rice pudding (Ρυζόγαλο)… Grilled zucchini […]
CONNECT & FOLLOW
FEATURED CATEGORIES
THE STORY BEHIND MIA KOUPPA

If you cross the Harvard Bridge in Boston and happen to be with a tour guide, you will learn that in the late 1950’s MIT student Oliver Smoots came up with a unique unit of measure as part of a fraternity pledge. By lying head to toe across the bridge, Oliver determined that its length was 364.4 Smoots.
TRENDING RECIPES
SAVEUR BLOG AWARDS


Leave a Reply